DIGITAL MODELING AND 3D PRINTING
2019-
I dabbled in 3D modeling a bit when I was younger, but I didn't seriously become interested in it until my first part-time IT job, where an older colleague had a few 3D printers that he used for both fun and serious problem-solving. Shortly after that, I got involved in the craft myself.
Learning, upgrading, and troubleshooting
I bought my first printer in late 2019, when the larger ecosystem was just starting to build momentum. Not knowing much about the brands that were available at the time, I selected an inexpensive XYZPrinting da Vinci Mini W+. Had I known then what I learned just a short time later, I would have gotten a first-generation Creality Ender-3 and avoided XYZPrinting altogether.
For someone who barely understood how printers and slicing software worked, it was good enough to get started, but I began running into problems almost immediately. The da Vinci Mini did not have a heated bed, so even simple shapes would try to warp and come loose from the build plate. It was horrendously slow, probably even for its time, and it used a proprietary NFC-tagging system to only work with first-party filament. (I didn't know it at the time, but XYZPrinting was already rapidly declining and would be bankrupt in a few years.) Between the technical challenges and the lack of interesting projects, I really didn't use my printer much at all during that first year.
My second printer came from a friend of a friend at my next job. Unlike a standardized commercial model, this machine was one of a kind, a remix of the open-source "D-Bot" printer design, and I would further customize it in the first few years of ownership. Some of that was planned, like a dual-extrusion upgrade for which the original owner purchased parts but never completed, and some of it was unplanned. While poking around with the sensor pins on the original Arduino-based control board, I accidentally shorted one of them to ground and seriously damaged the unit. I managed to work around it in the short term, but the better fix was to replace the control electronics altogether with a modern board, upgraded motor drive chips, a slick new control panel, and an up-to-date build of Marlin firmware with new software features. Later, I would add diagonal structural bracing and replace the power supply and control module for the heated bed after they eventually failed. Today, most of the machine is my work, with the exception of the cube frame, the print bed, the three-axis "CoreXY" motion system, and some of the wiring.
This machine was an absolute workhorse for me, but it was not particularly reliable. Destroying the electronics was my fault, but I had a ton of other problems along the way. Clogged nozzles, heat creep, mechanical backlash, bed leveling, and more. And even when it was fully working, the printer's size and construction limited the precision it could achieve.
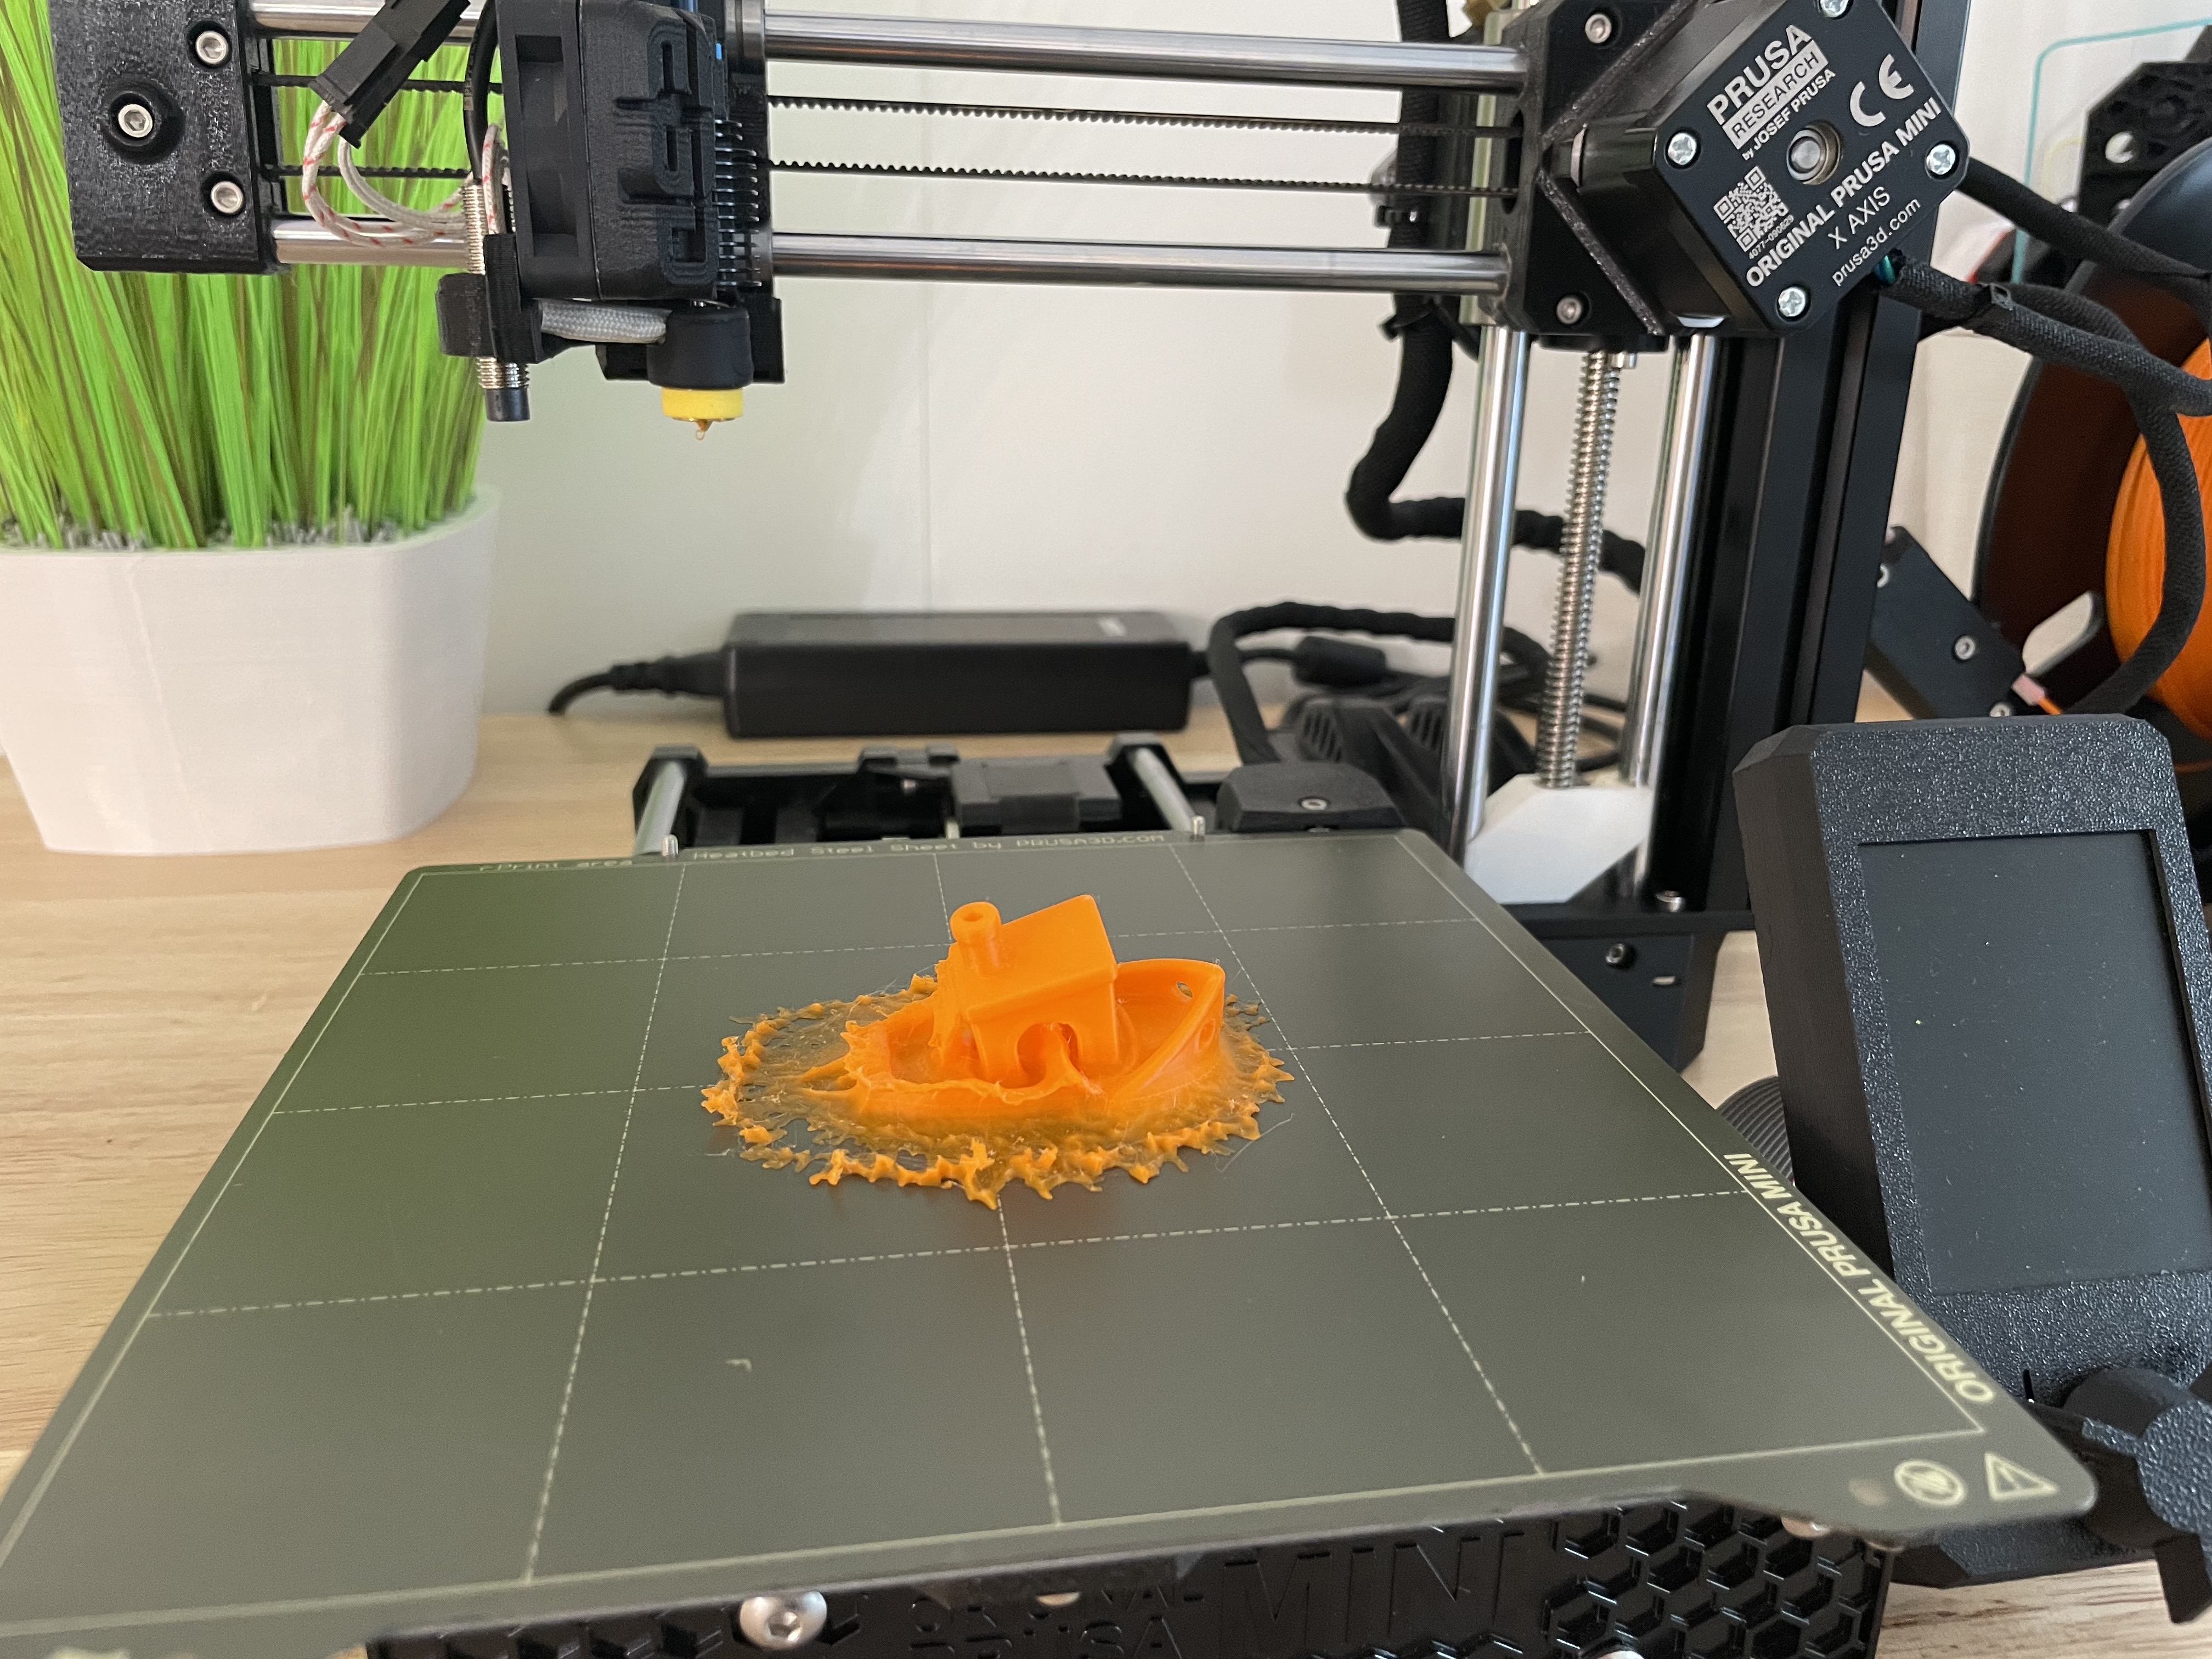
I wanted something simple with fewer moving parts that could be more dependable, so I ordered a used Prusa Mini+ on eBay. Unfortunately, when it arrived, I found it had been heavily damaged in shipping. Its original owner thought it sufficient to just put the thing in a box and throw foam around it, leaving the machine unable to withstand the impact it must have taken. Opening the box, I found one of the heavy stepper motors torn off its mount and one corner of the electronics compartment smashed. It was trivially simple to print a new mounting piece, and the broken corner was basically just cosmetic damage. It wasn't until months later that I realized an aluminum structural plate had also gotten bent in the impact and the entire machine was out of plumb! (The automatic bed leveling system was compensating for the tilt, masking the symptoms.) I had to disassemble most of the printer to replace that part, but after that the printer has been extremely solid. I made one upgrade to this machine, replacing its original hotend with an E3D Revo Micro, which enables me to conveniently swap nozzles for different behavior or if I have a problem with one.
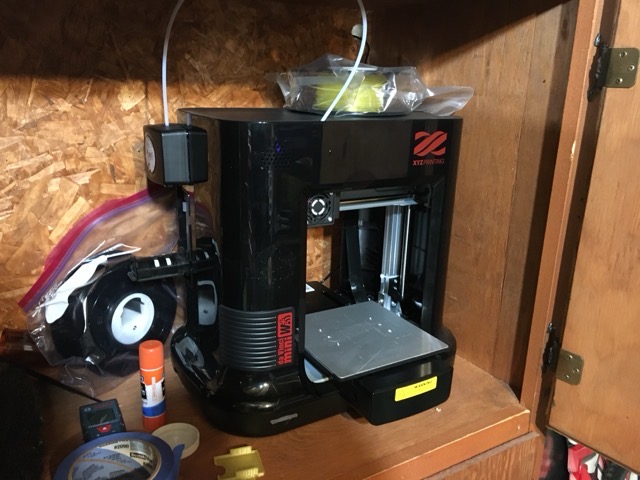

My first 3D printer: an XYZPrinting da Vinci Mini W+. (2020)


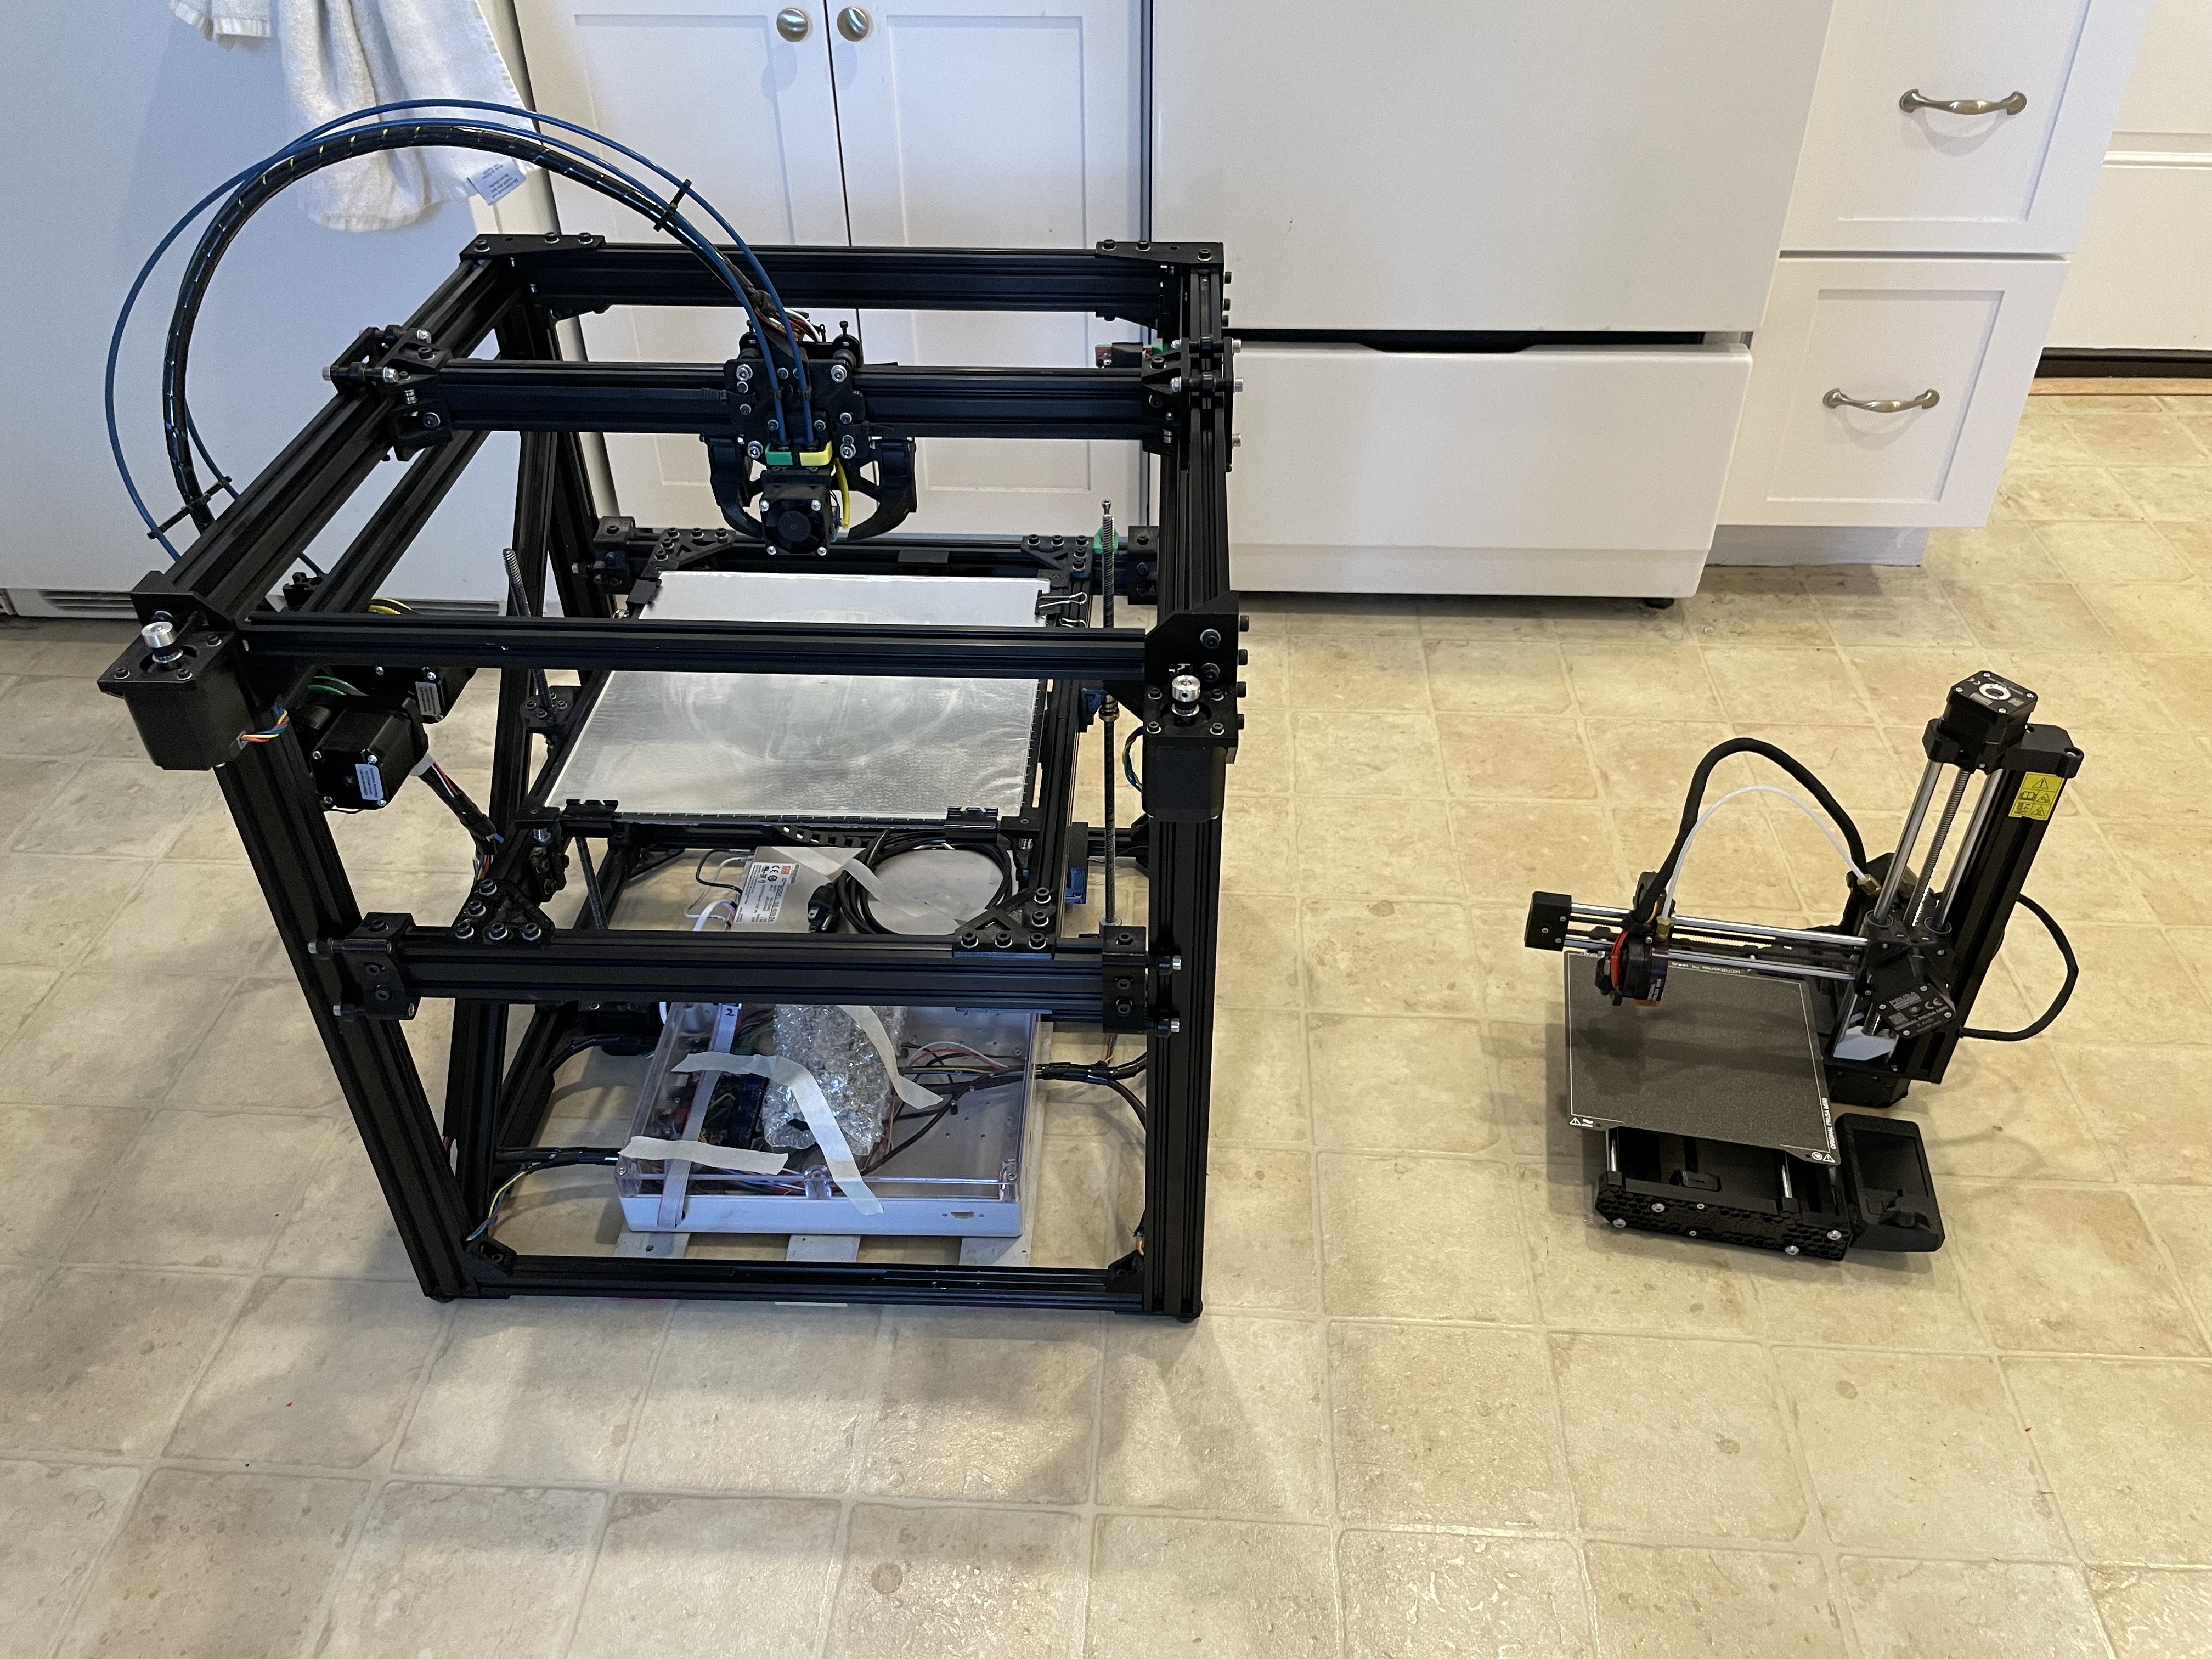
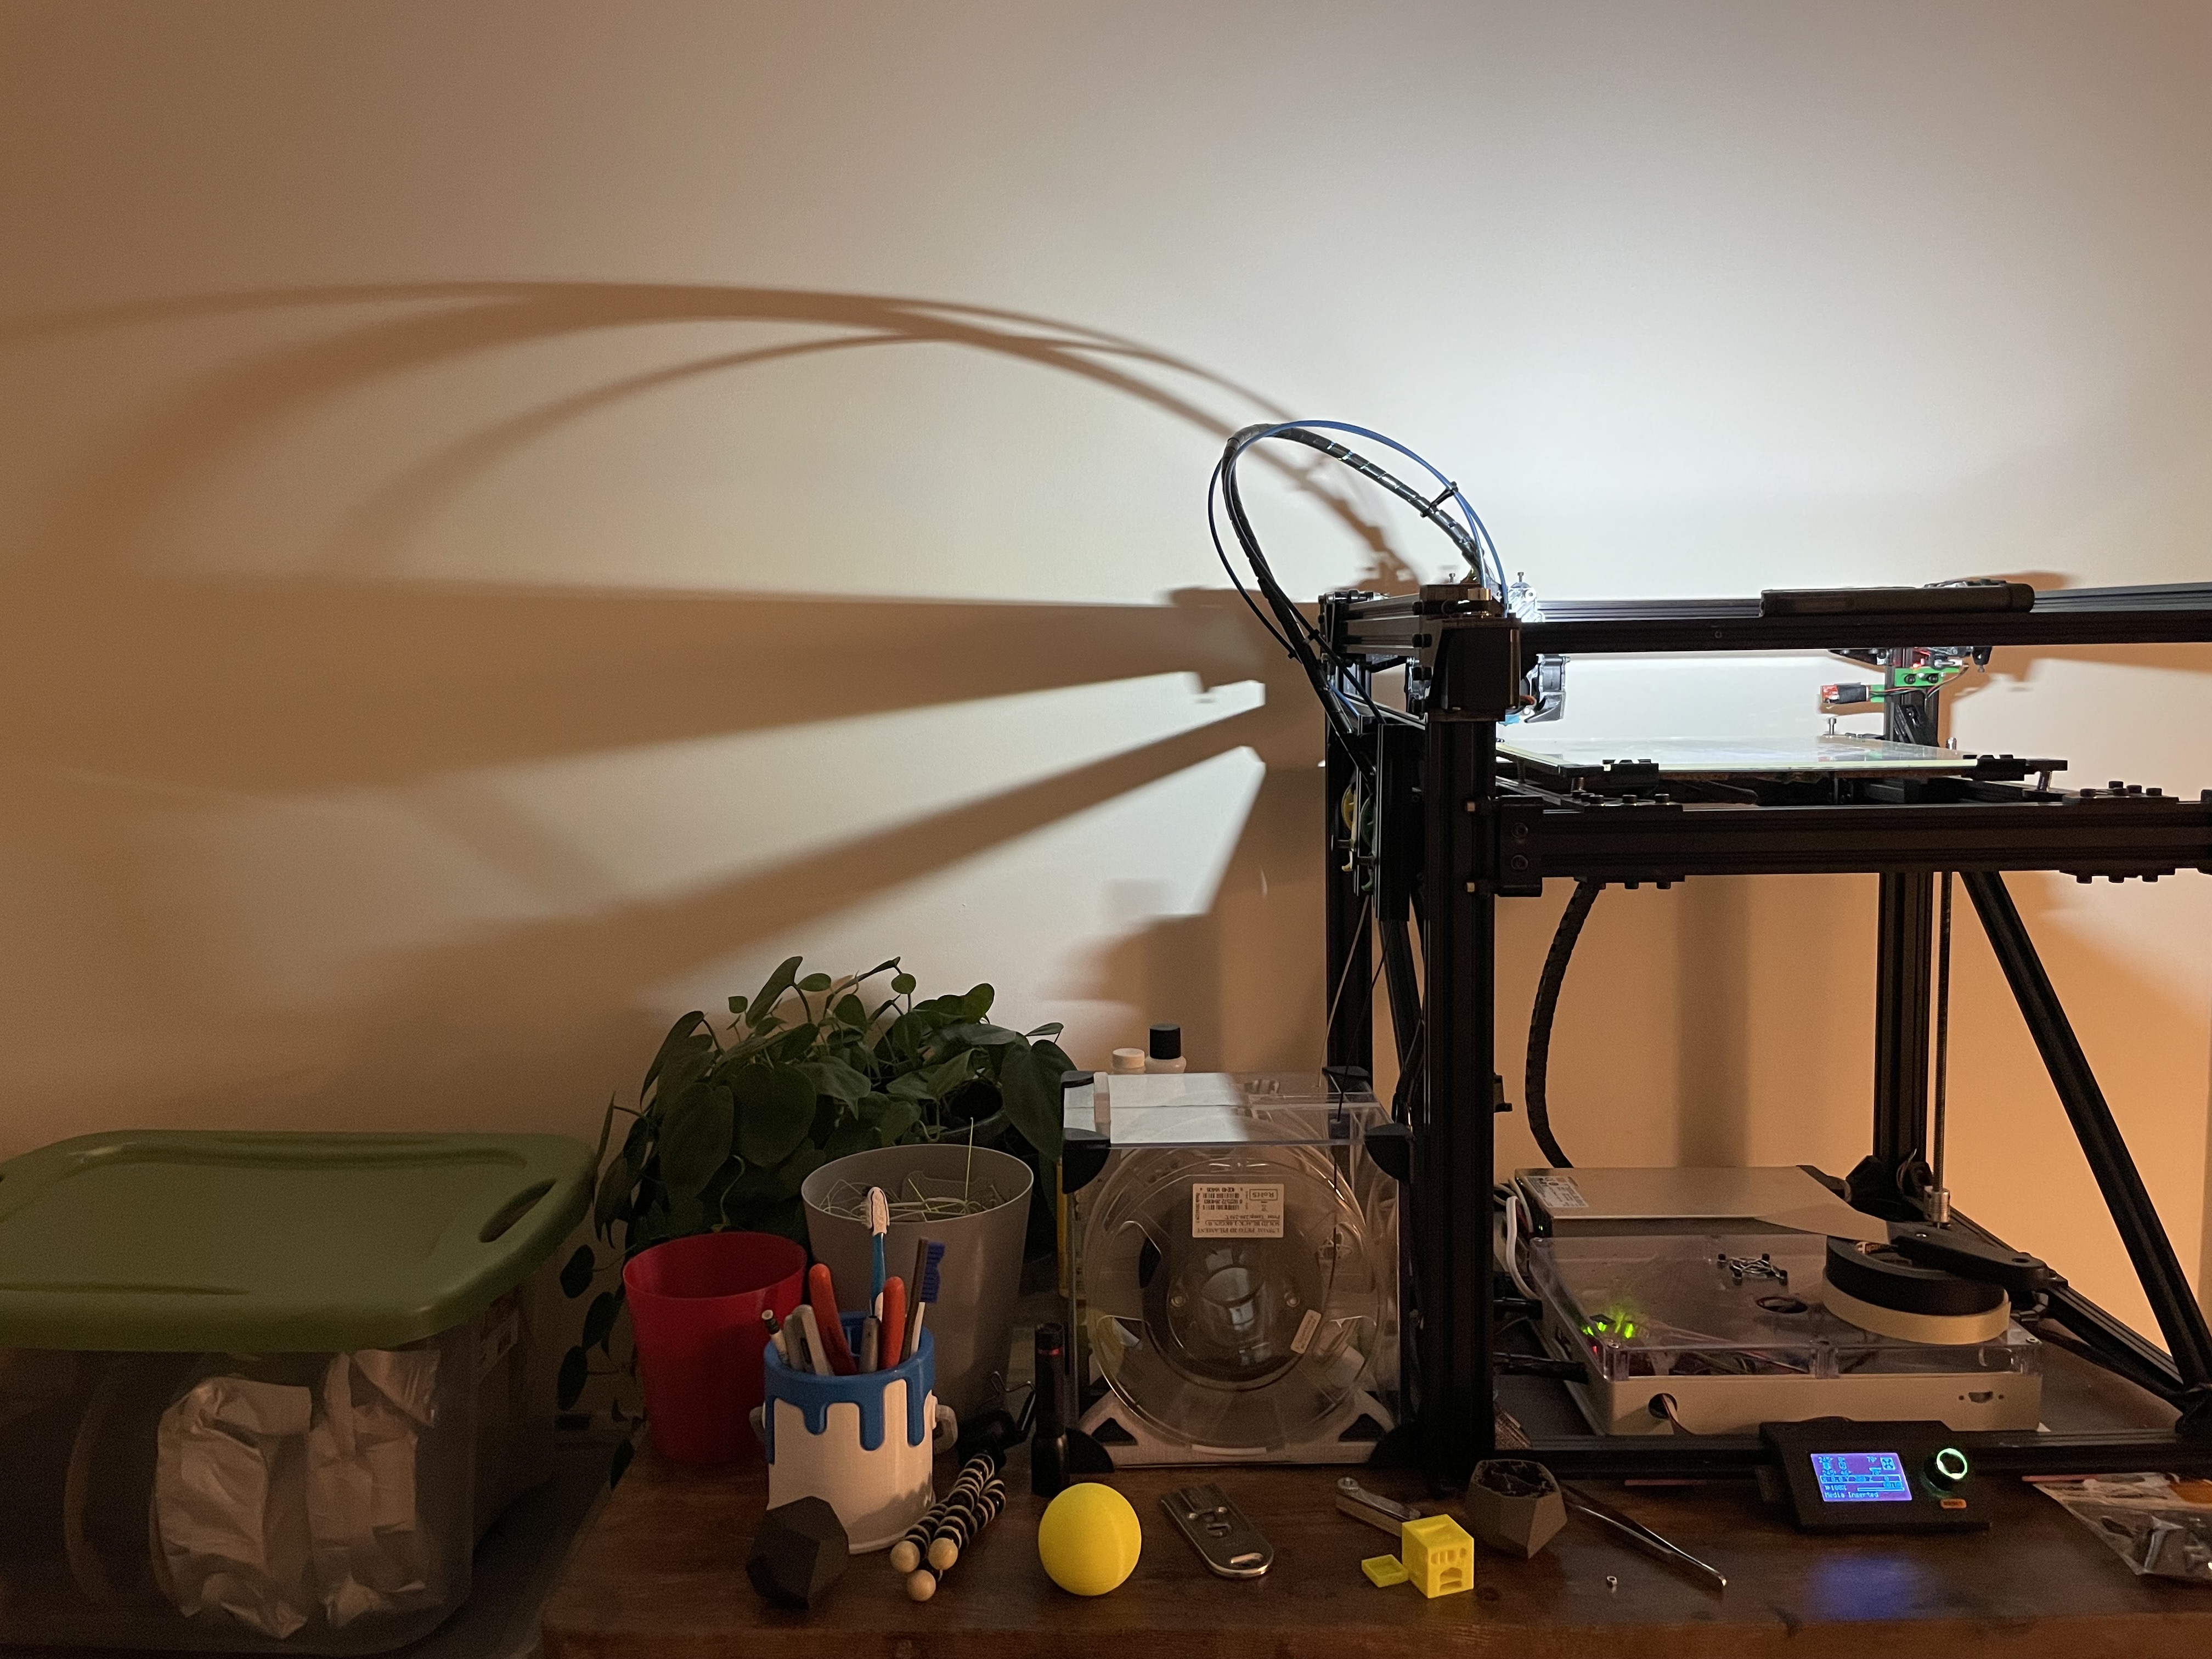
My second and third printers: A heavily-customized, one-of-a-kind "D-Bot," and a Prusa Mini+, shown here being prepared for moving. (2024)
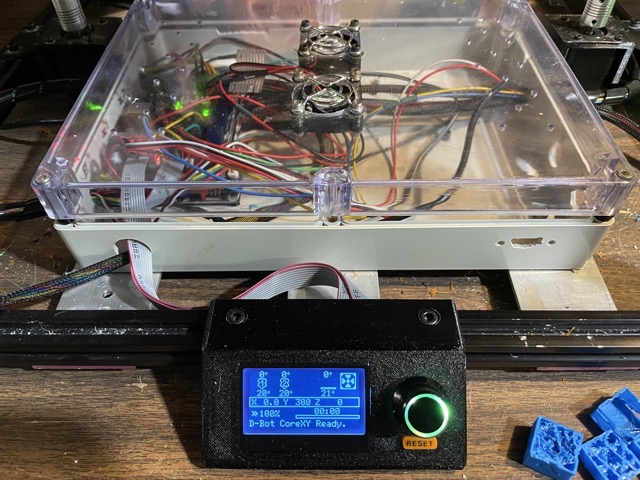
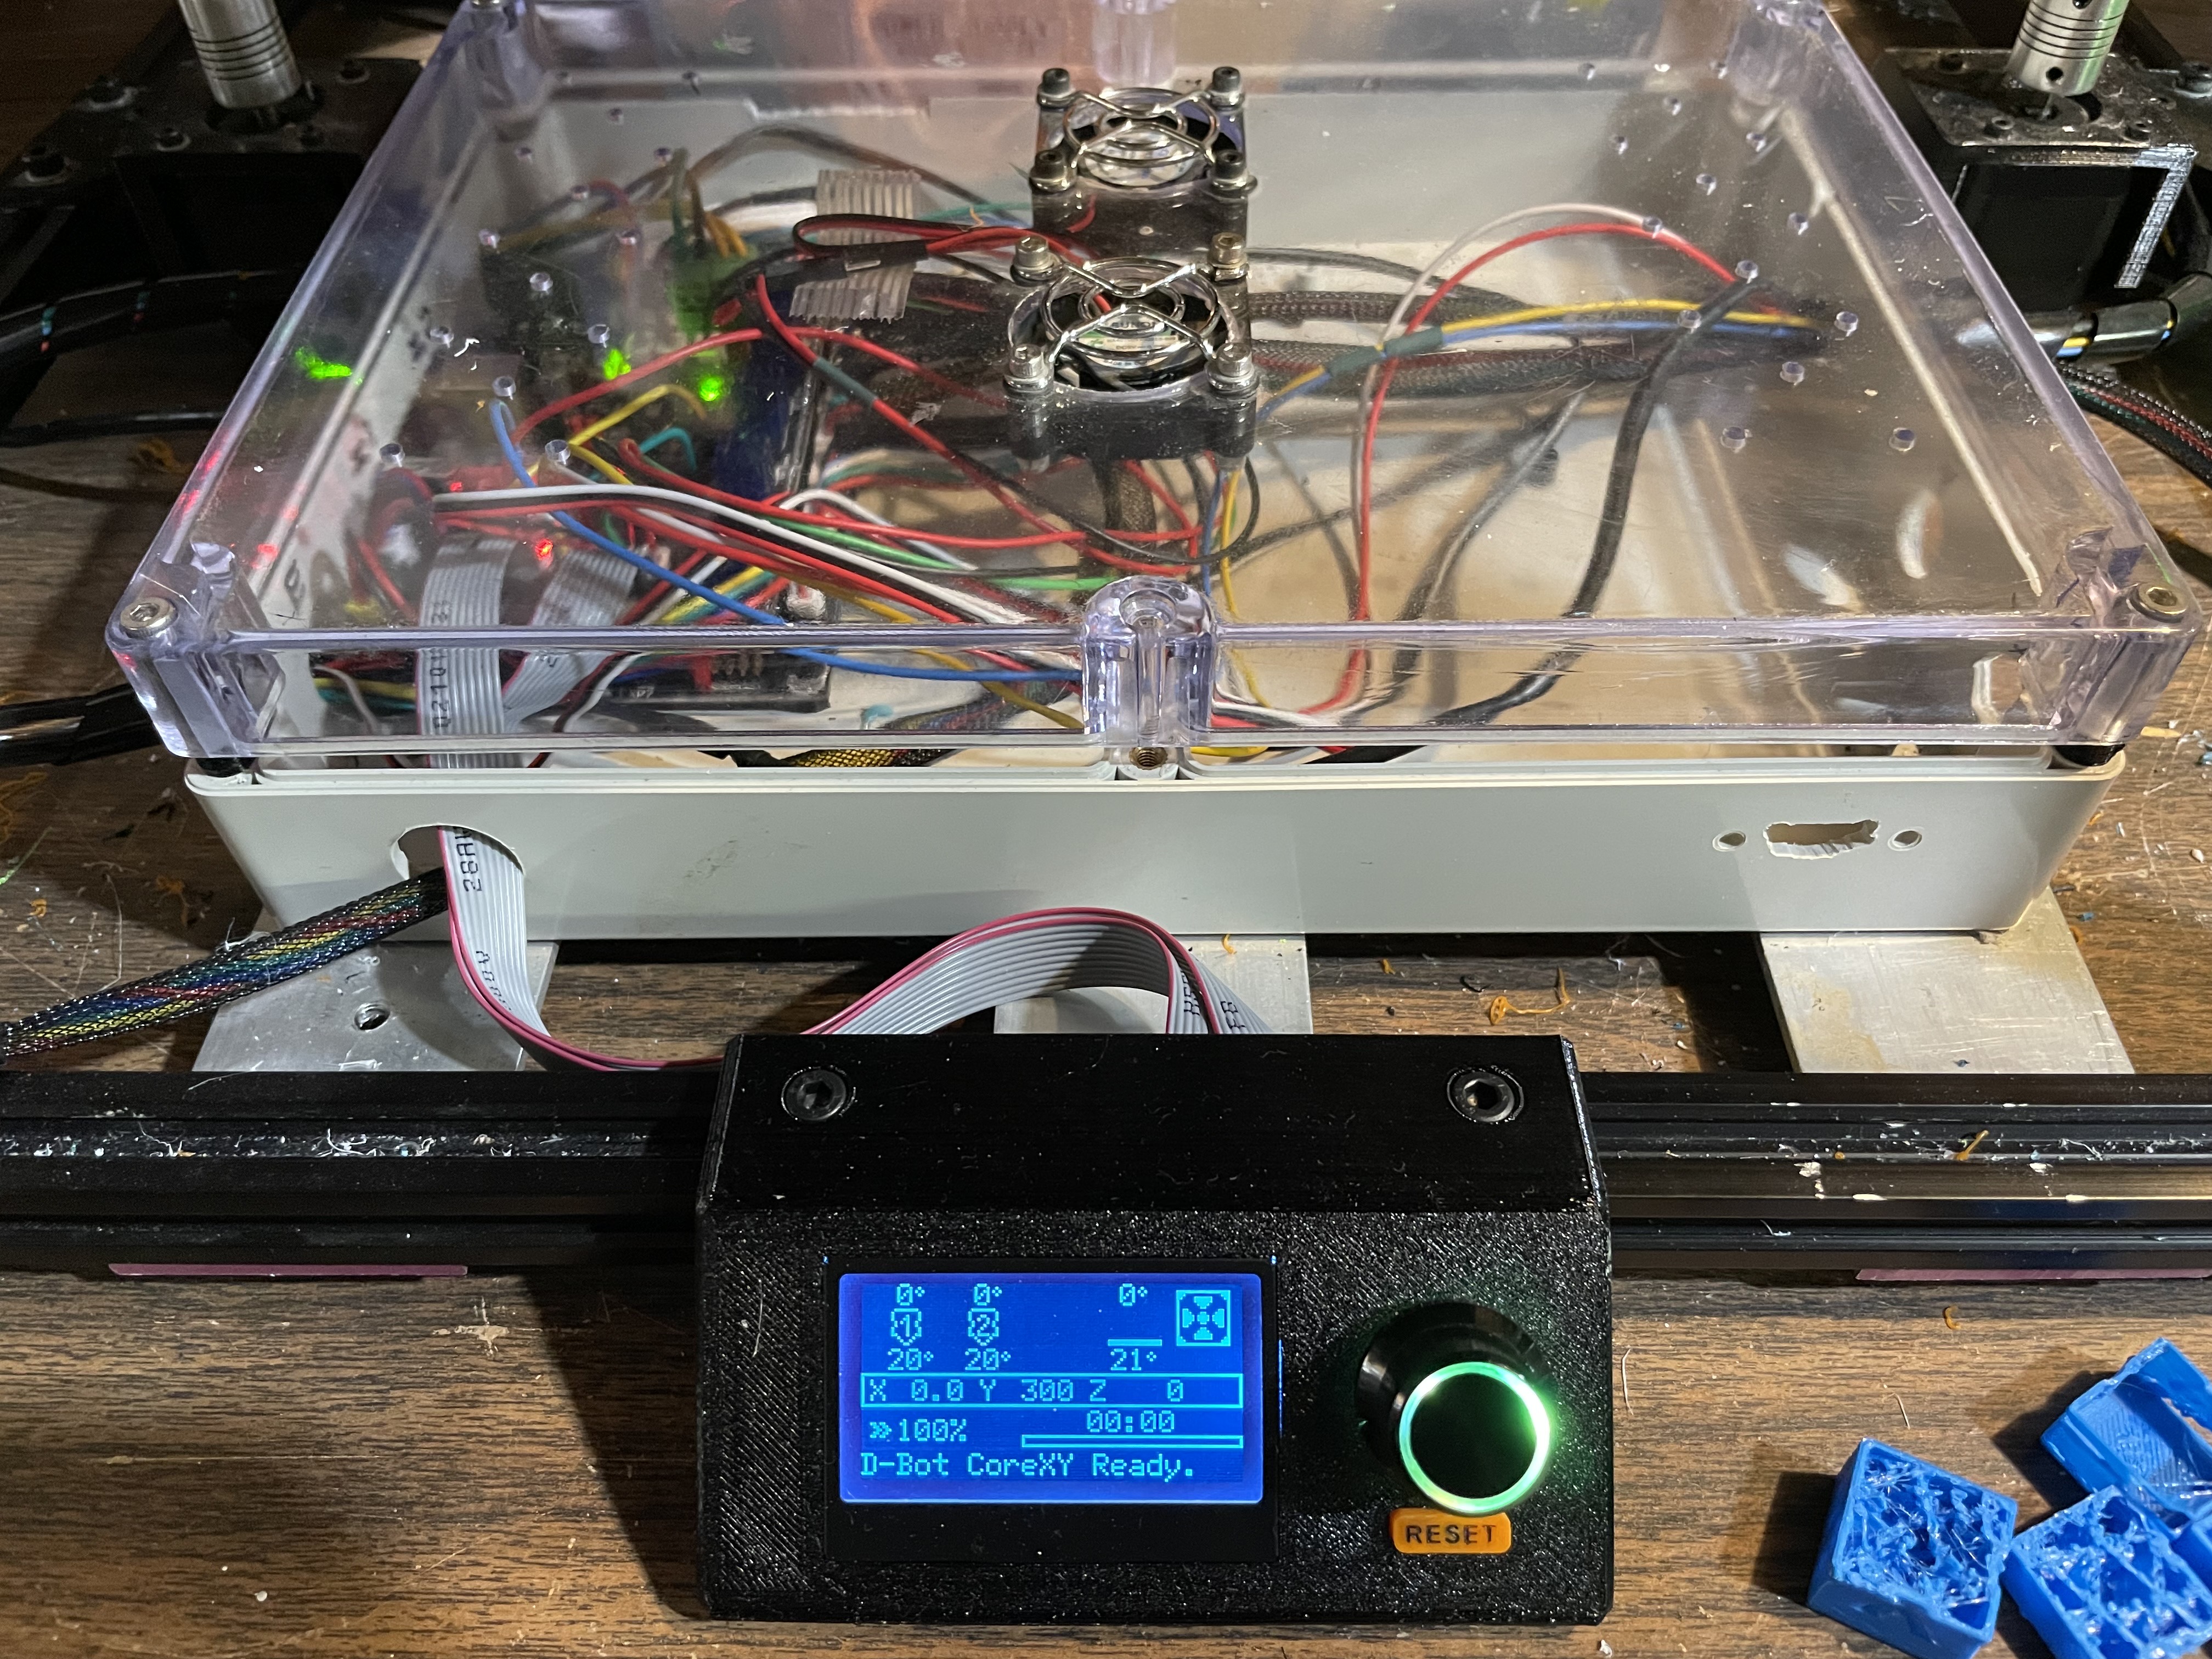
The D-Bot's electronics compartment, freshly upgraded with a brand-new system board and control panel. (2021)
A botched calibration caused the bed to fluctuate wildly in temperature. Thermal expansion shifted the bed up and down, affecting layer formation. (2022)

A small work lamp resting on the frame cast a mesmerizing, moving shadow on the wall behind. (2023)
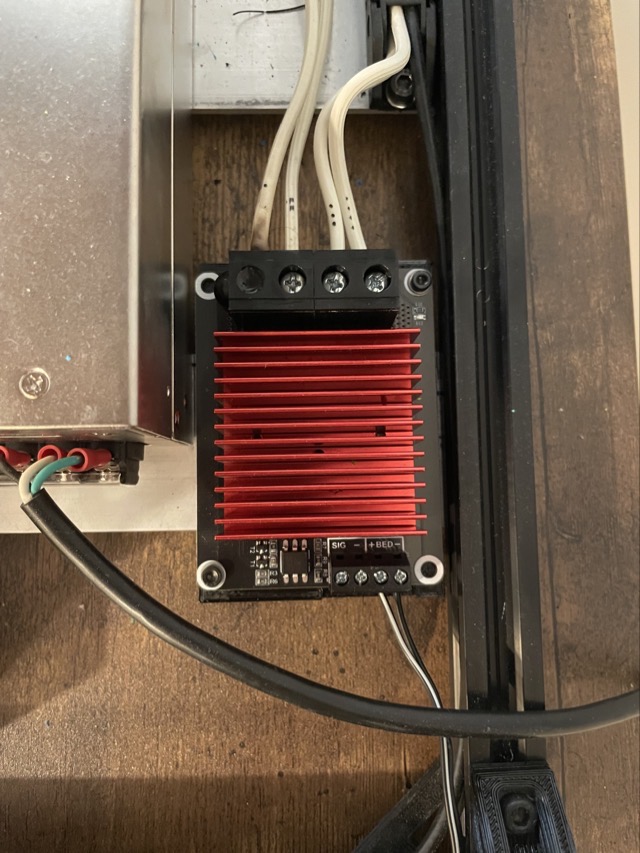
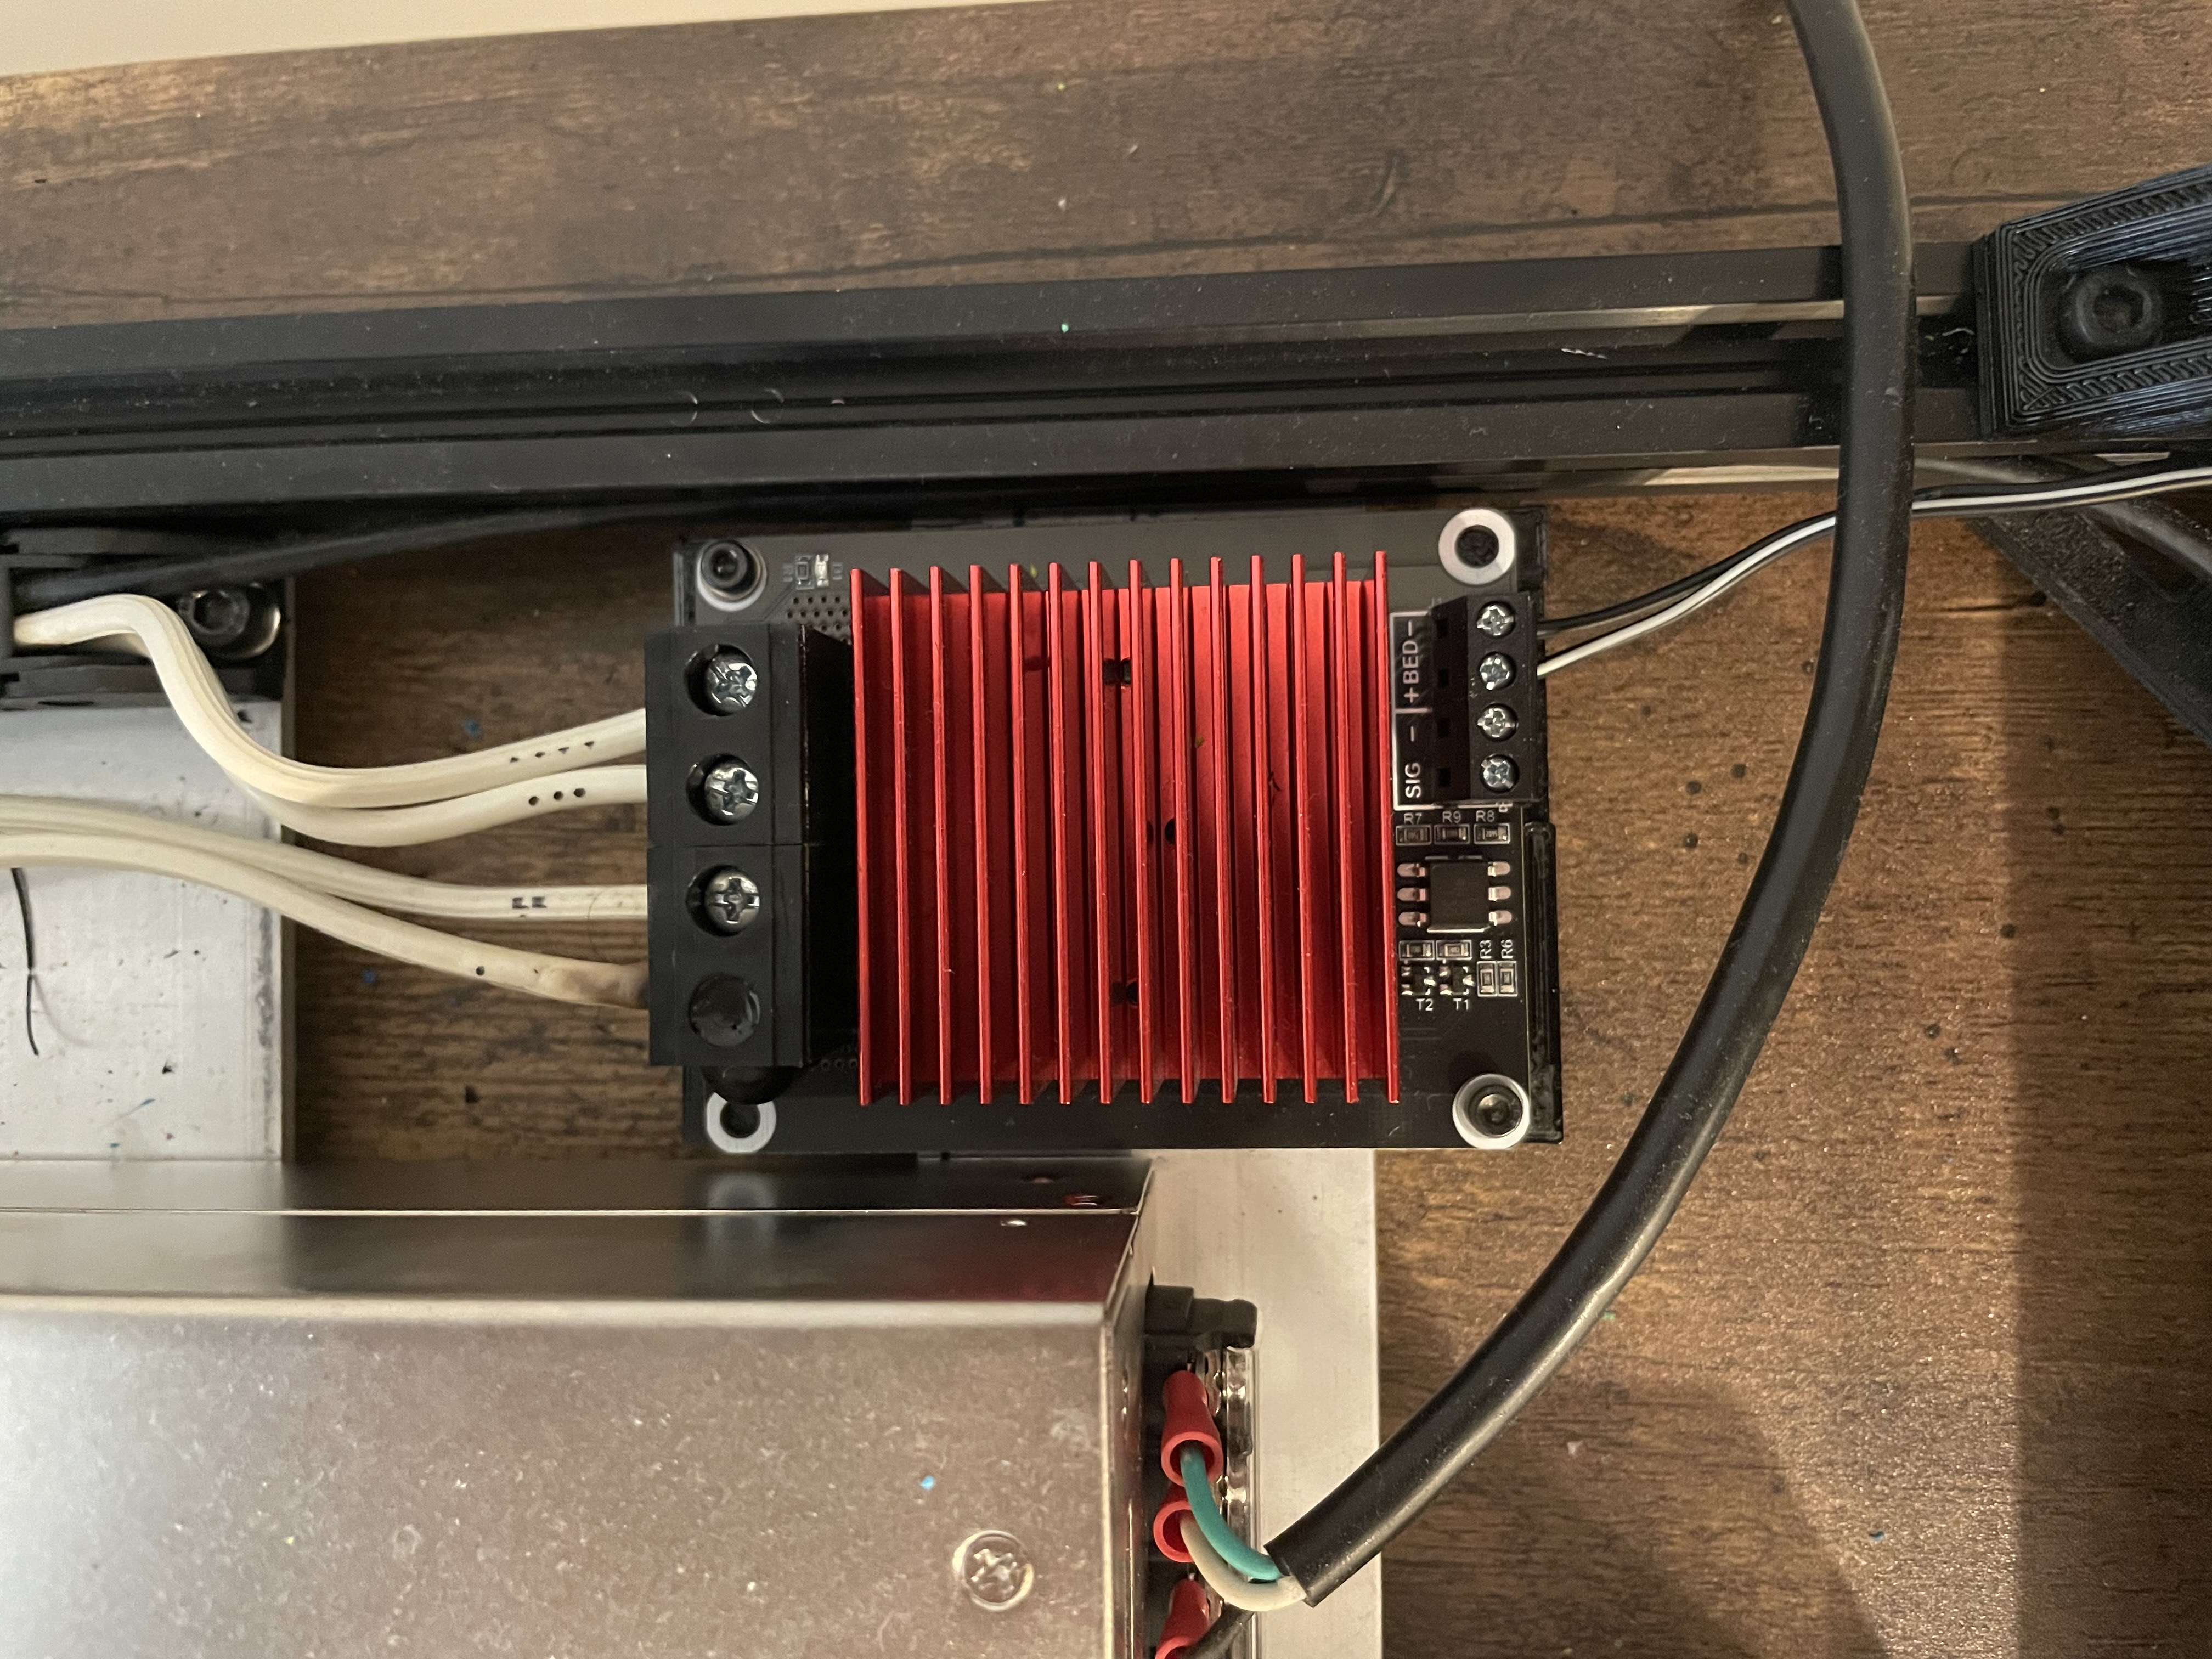
A loose wire connection caused the power module controlling the bed to overheat and melt its plastic housing. (2023)
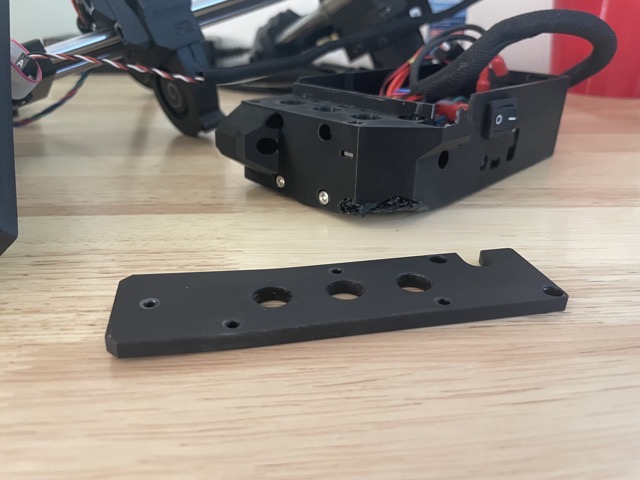

My Prusa Mini was crudely packaged by its previous owner and seriously damaged in shipping to me. I had to buy or re-print several important parts to repair it. (2024)

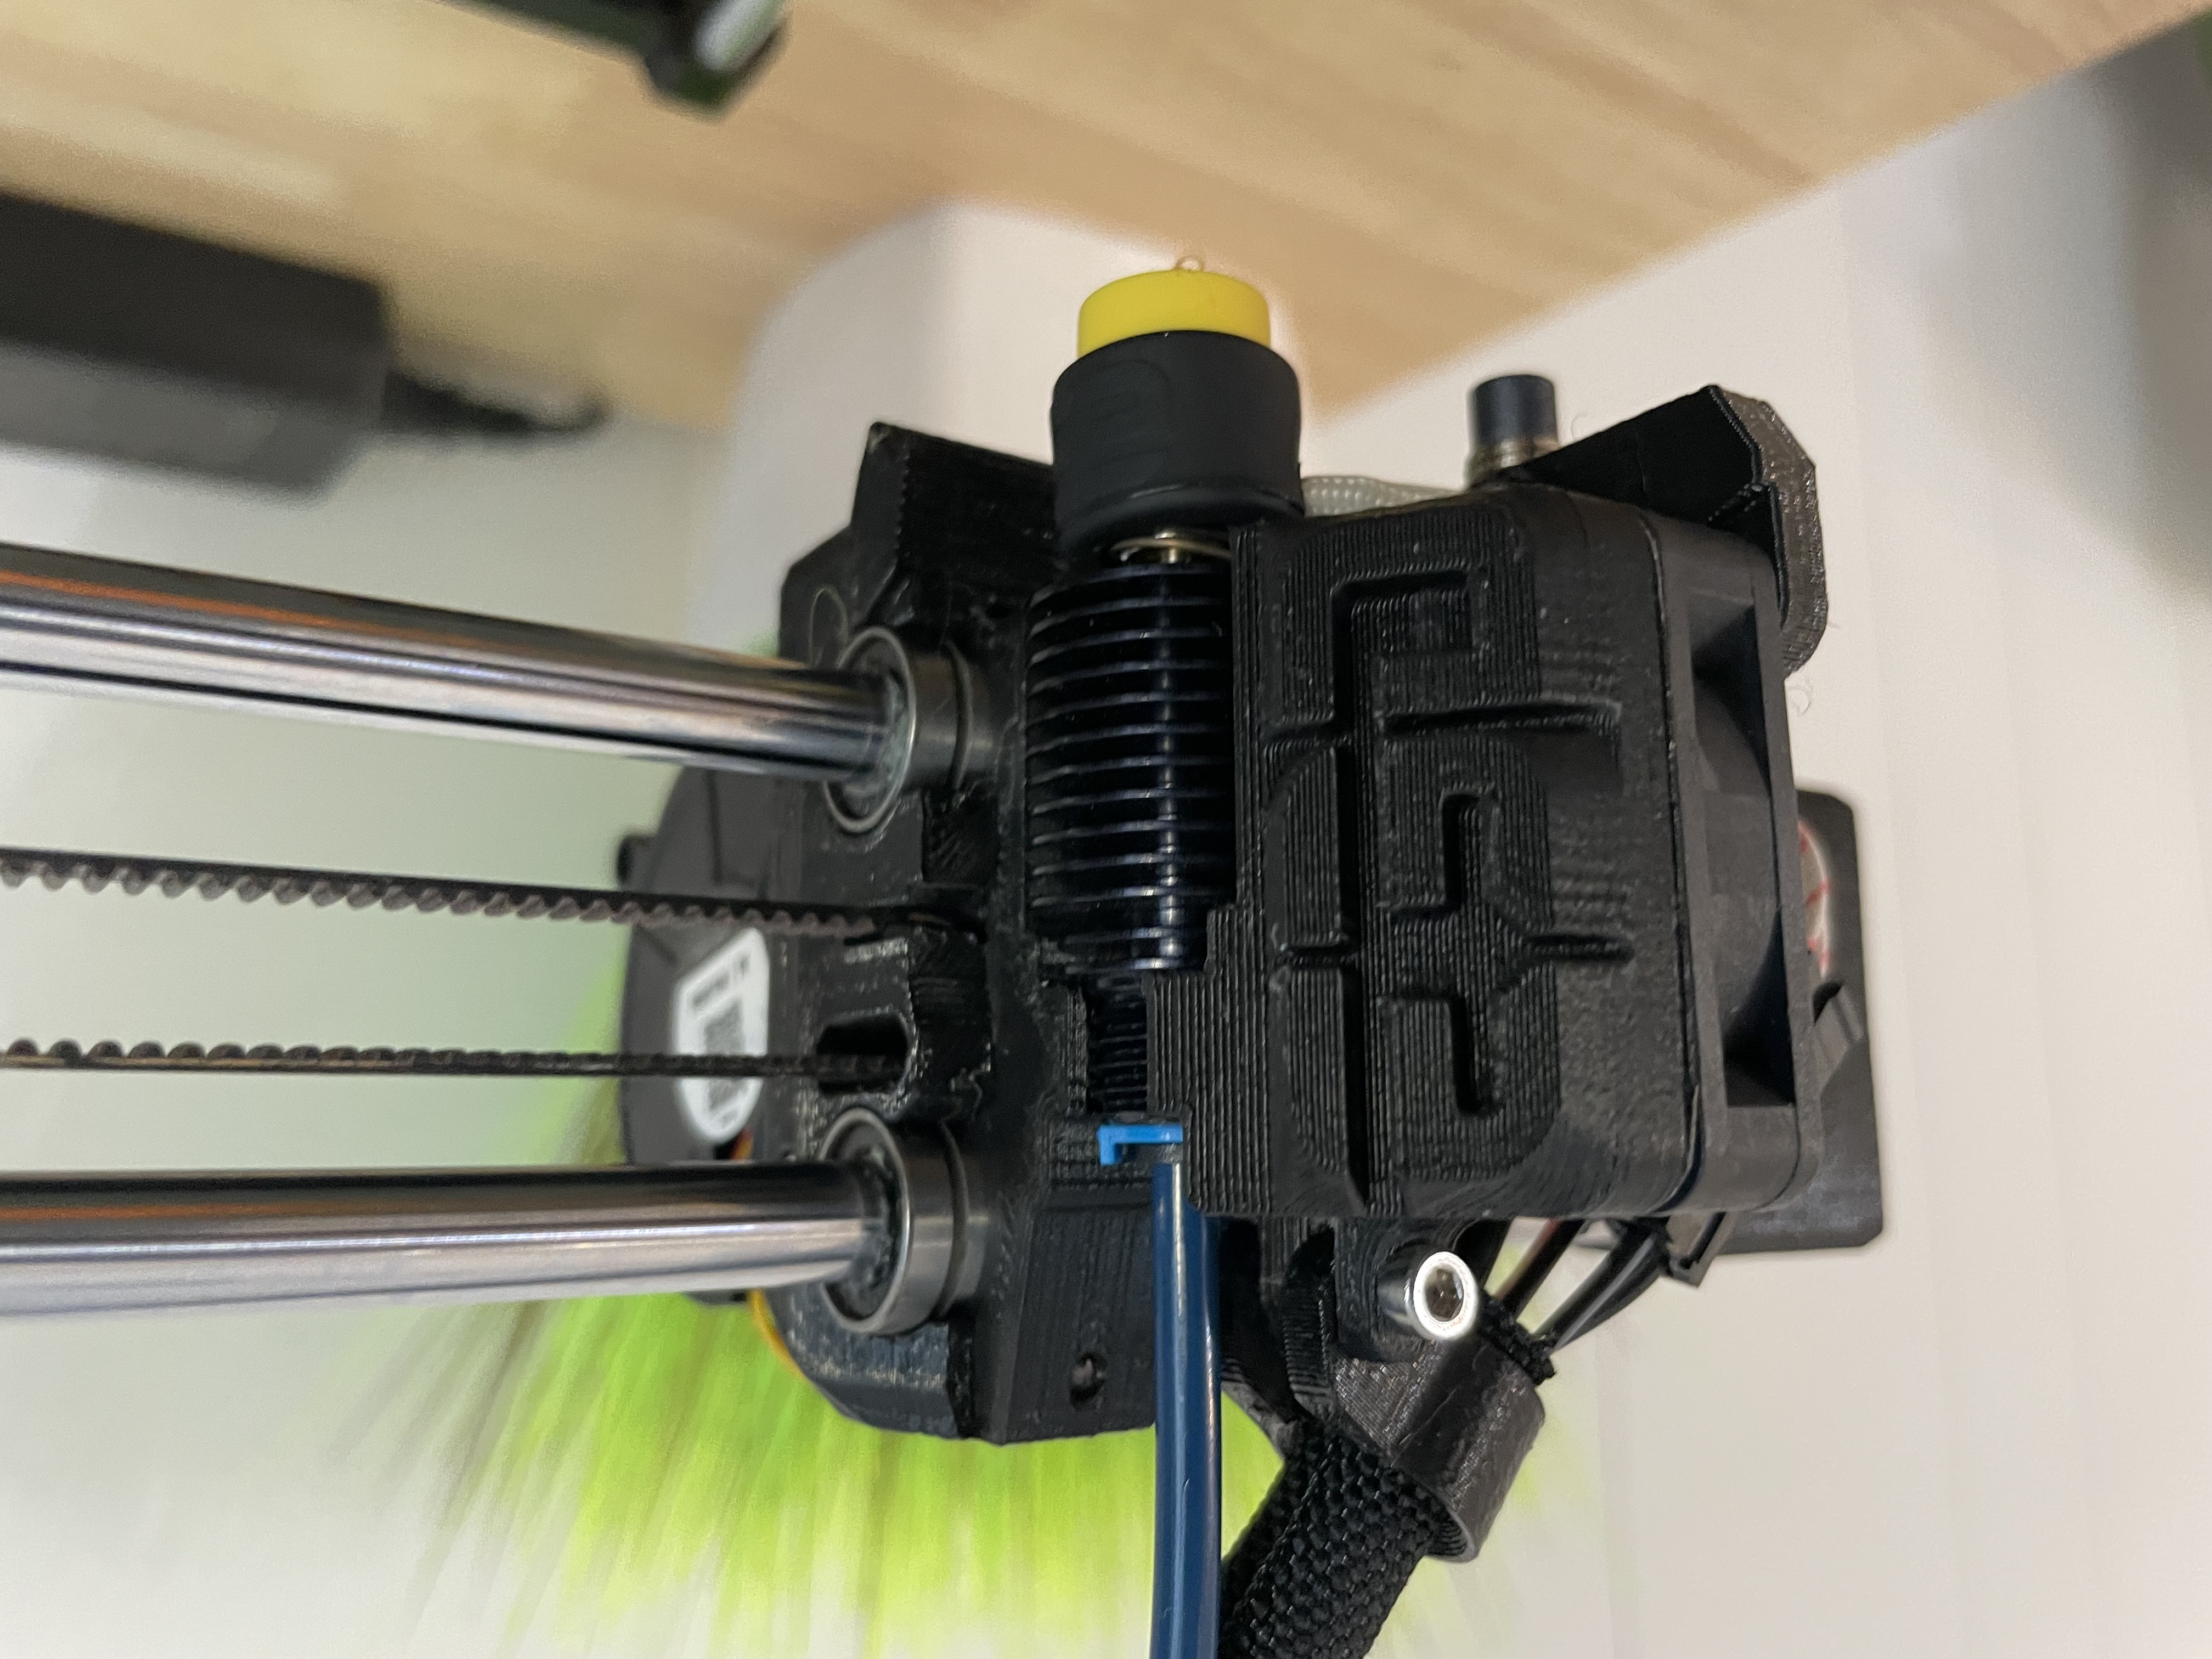
I upgraded the Prusa Mini with an E3D Revo Micro hotend. (2024)
Understanding the technology
3D printing is frequently portrayed in popular media as a near-magical capability, something like the replicators from Star Trek. The truth is considerably more boring, and molten plastic is surprisingly difficult to control with precision. It takes a powerful heater to melt plastic while it's continuously fed through the hotend, and in order to work efficiently you want that flow path to have as little resistance as possible. Those same properties suddenly work against you in situations where you don't want to extrude, such as moving from one place to another.
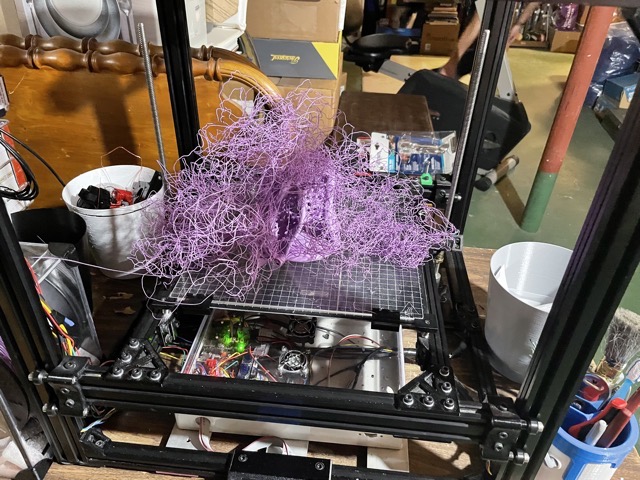
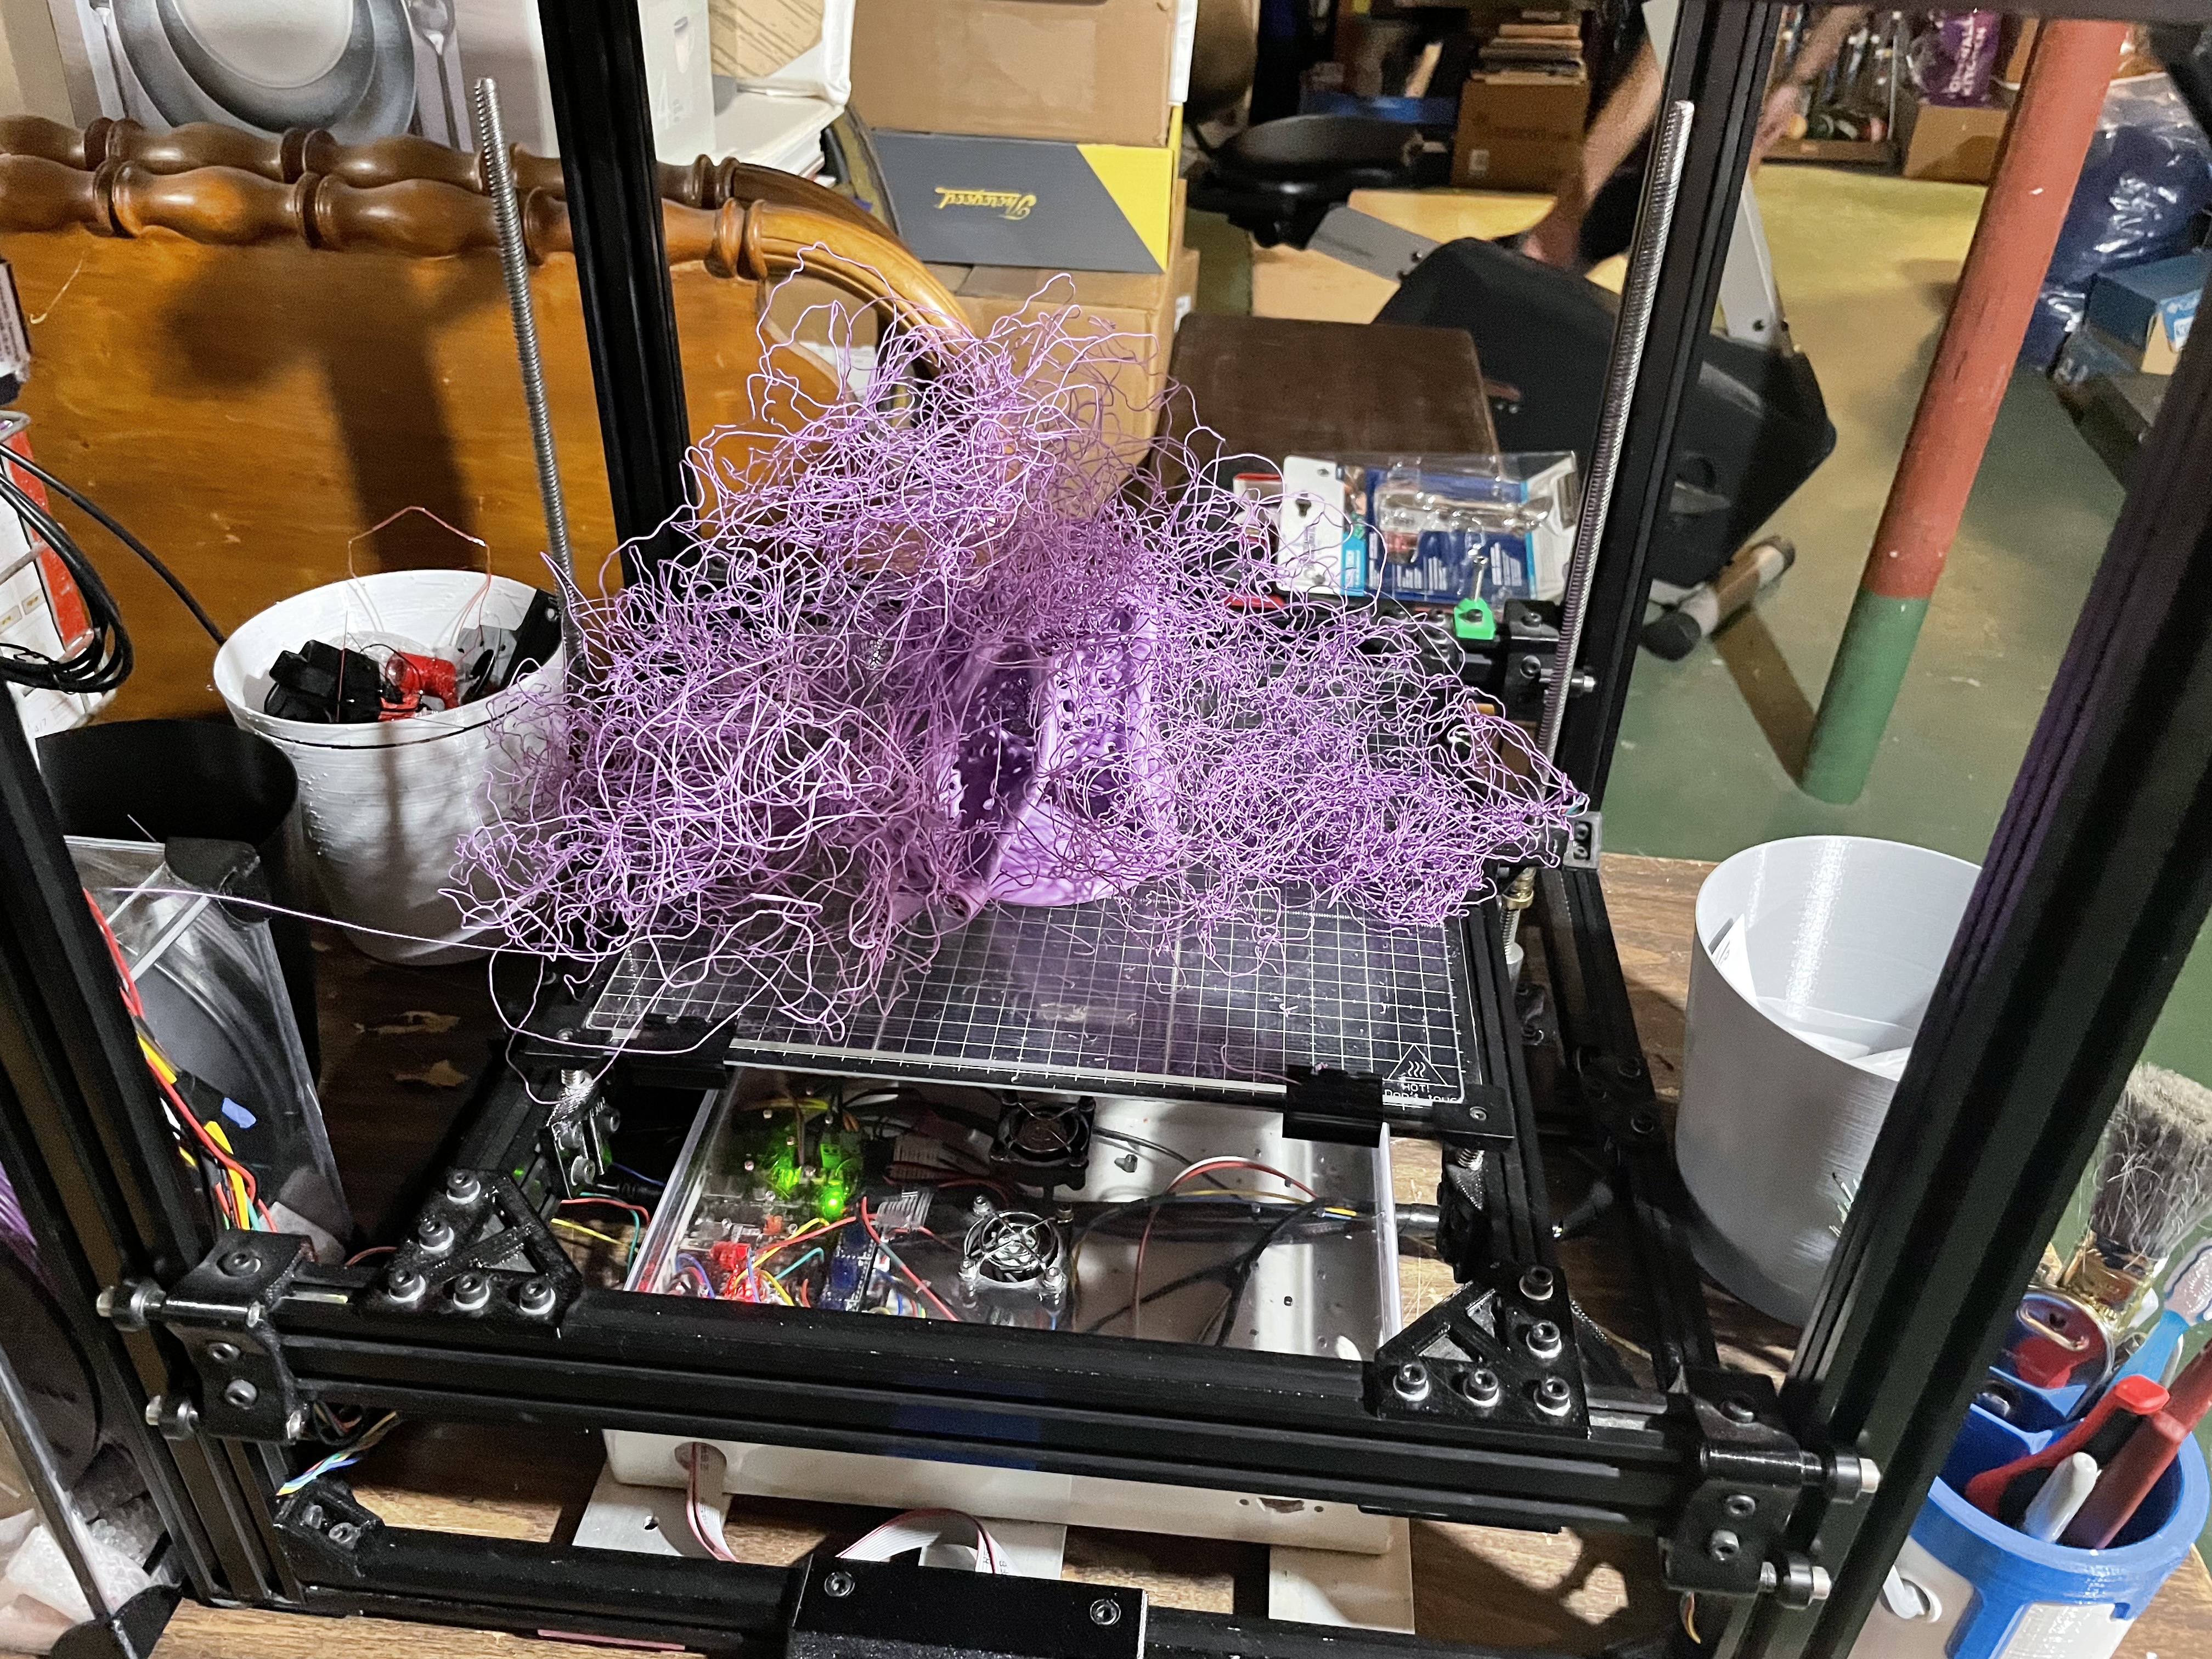
This was a particular challenge when using the dual extrusion mode on my D-Bot. Unlike more common multi-material setups (where a separate mechanism automatically loads and unloads filament through a single nozzle) or tool changers (with multiple independent print heads that get out of the way when not in use), both of my print heads are fixed together at the same height. When both are hot and full of material, whichever one isn't actively printing is free to ooze and scrape off bits of material in unwanted places on my model.
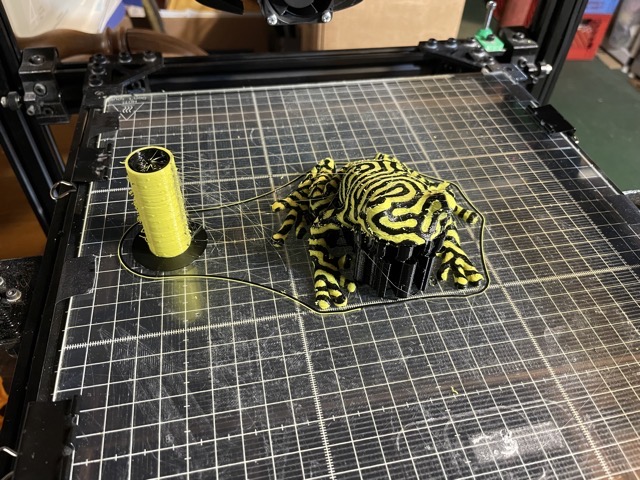
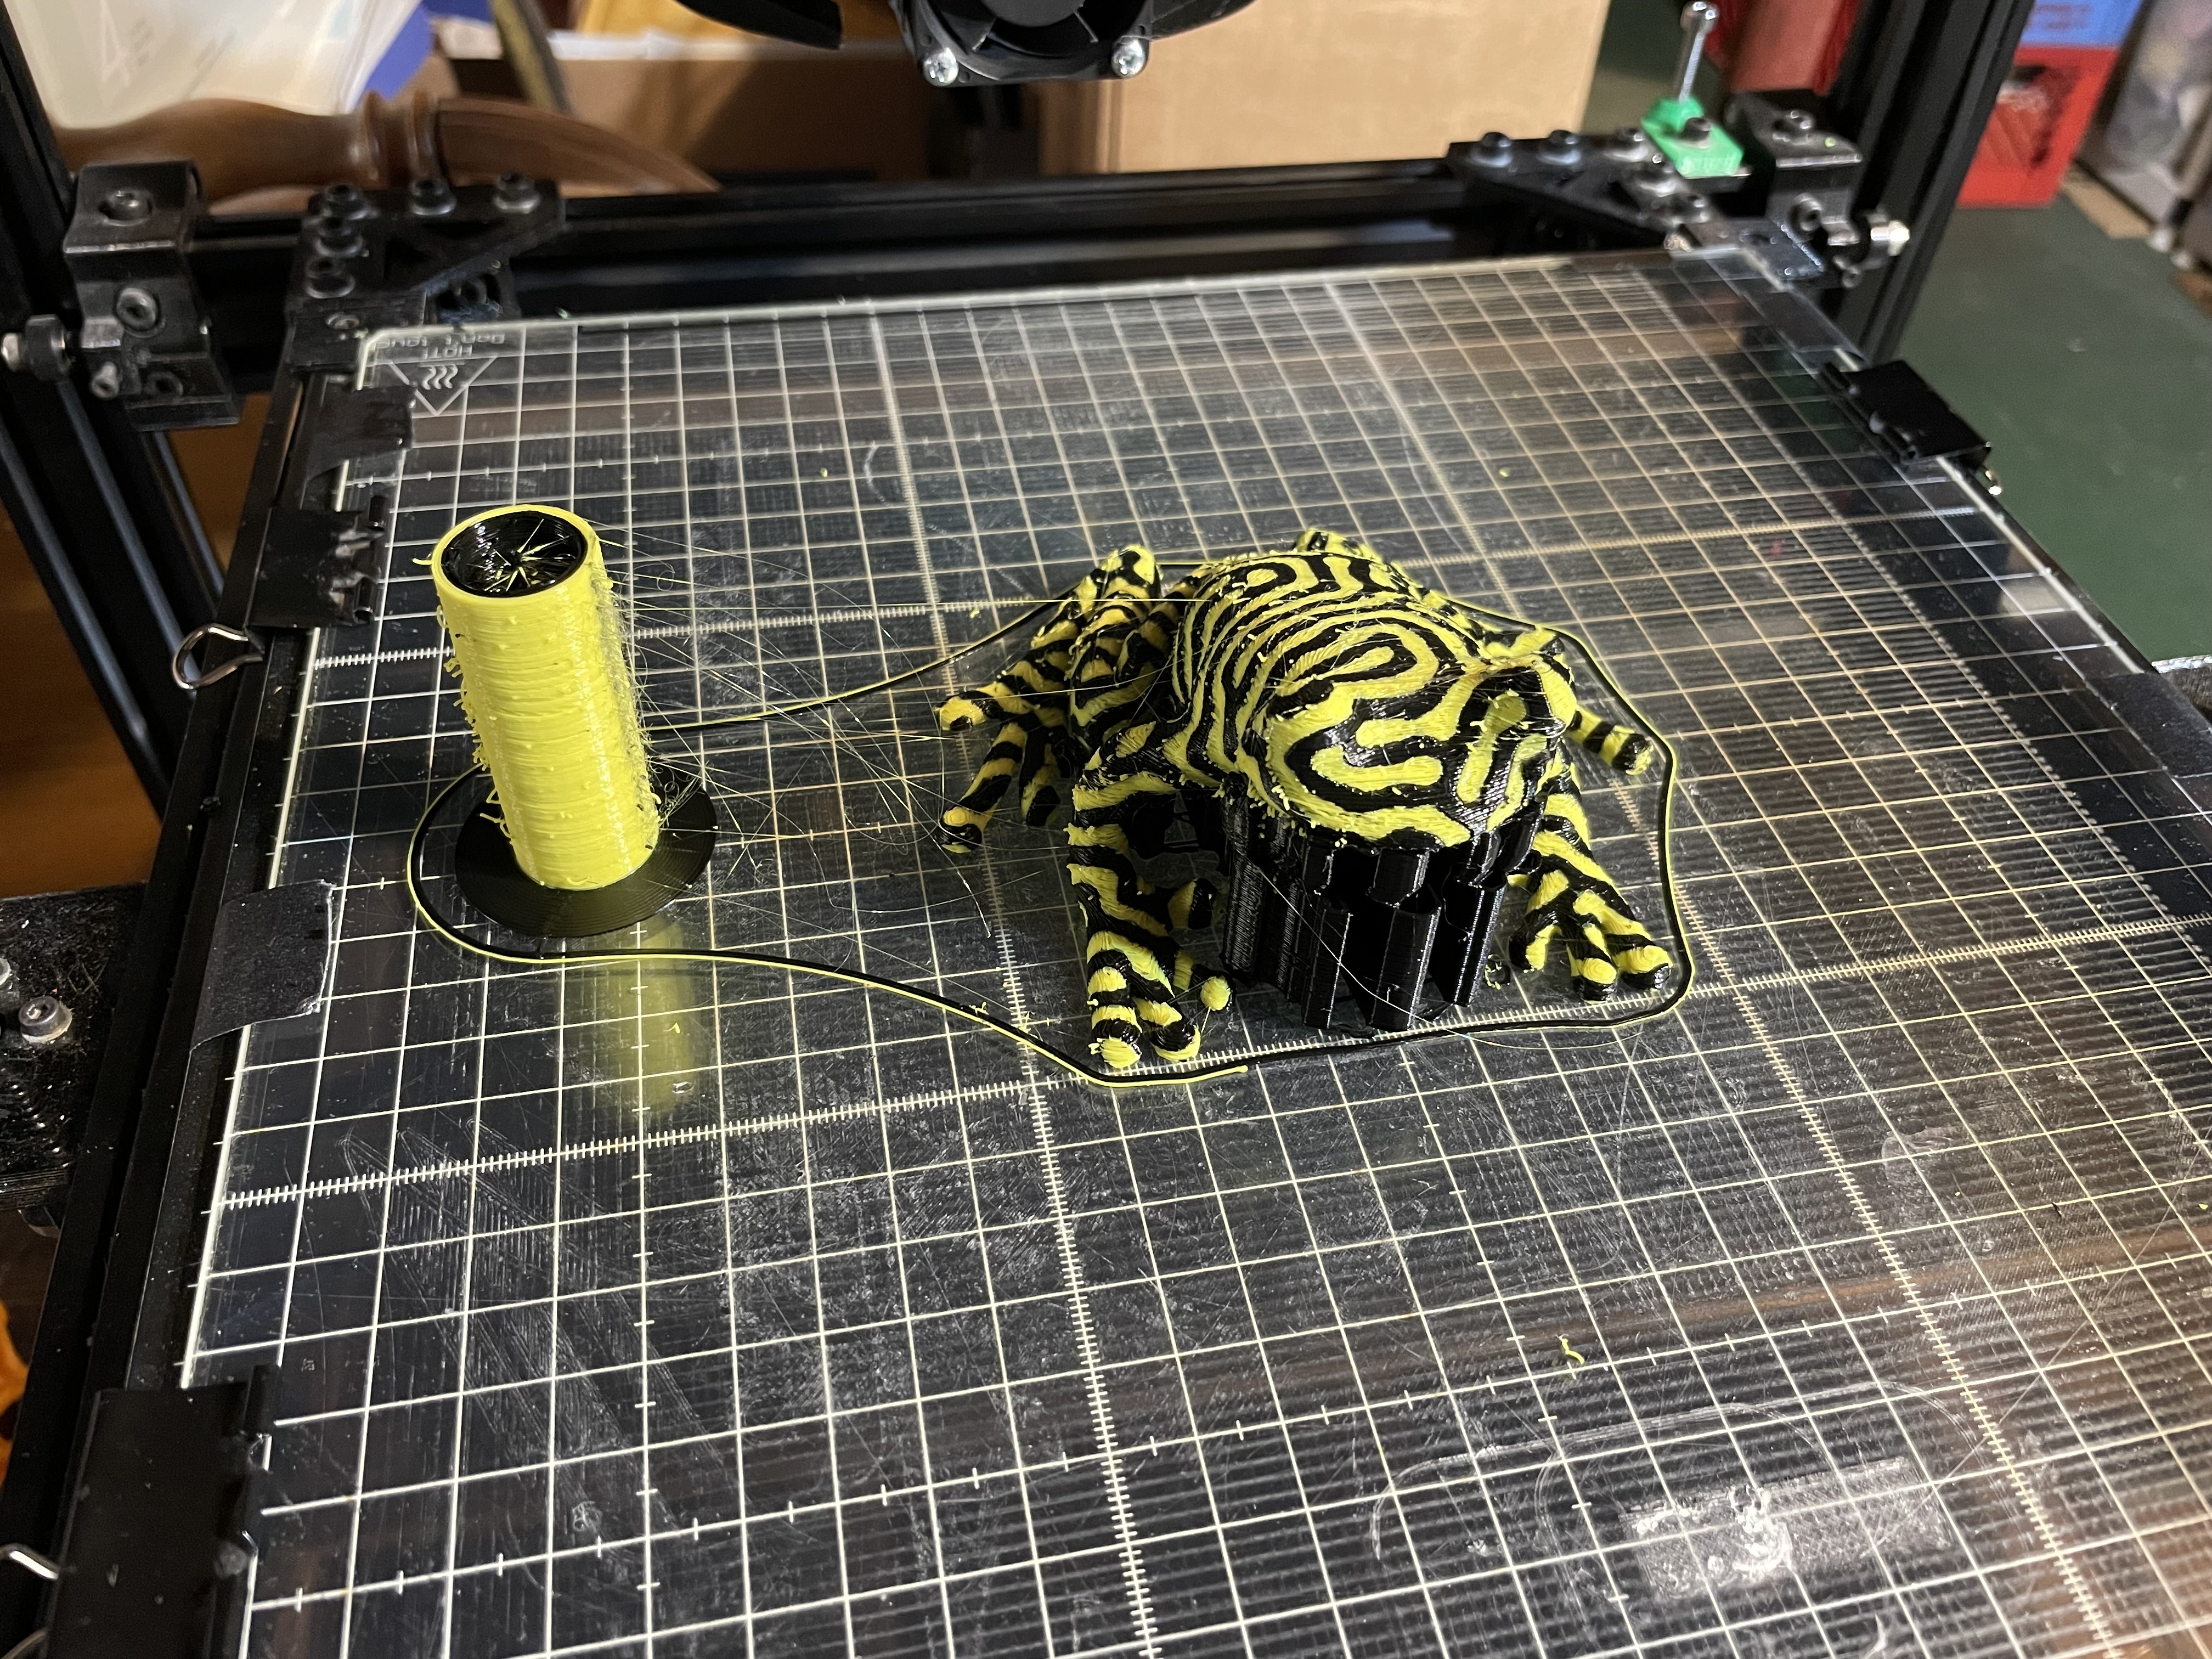
Everything is a game of physics against engineering. The behavior of molten plastic under pressure is non-linear and must be compensated for. It's also subject to thermal expansion, which can cause parts to warp and detach from the bed. Even slight imperfections in the motion of the print head will create weird artifacts on the surface of the finished part, and so on. Software can help with a lot of that, but there's no substitute for understanding those limitations.
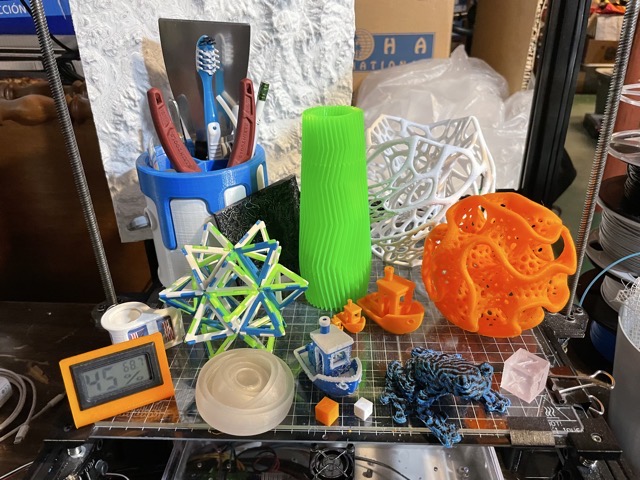

The fruits of my first full year of 3D printing as my primary hobby. (2021)
This was about as good as I could get, quality-wise, when running the printer in dual extrusion mode. (2021)
Trying to use a biodegradable filament called PHA. Unfortunately, the stuff I had turned out to be total junk. (2022)
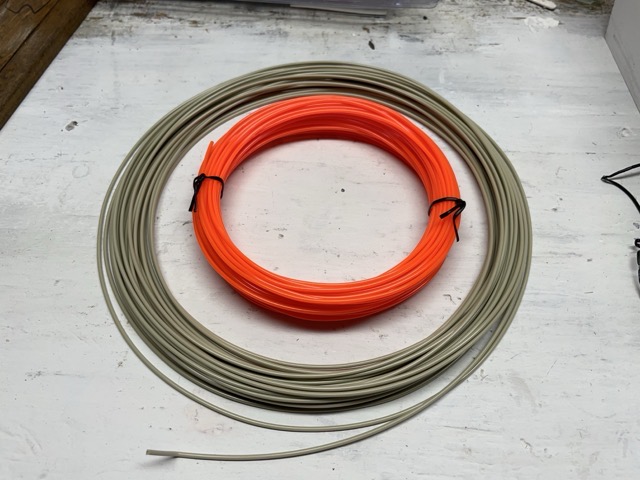
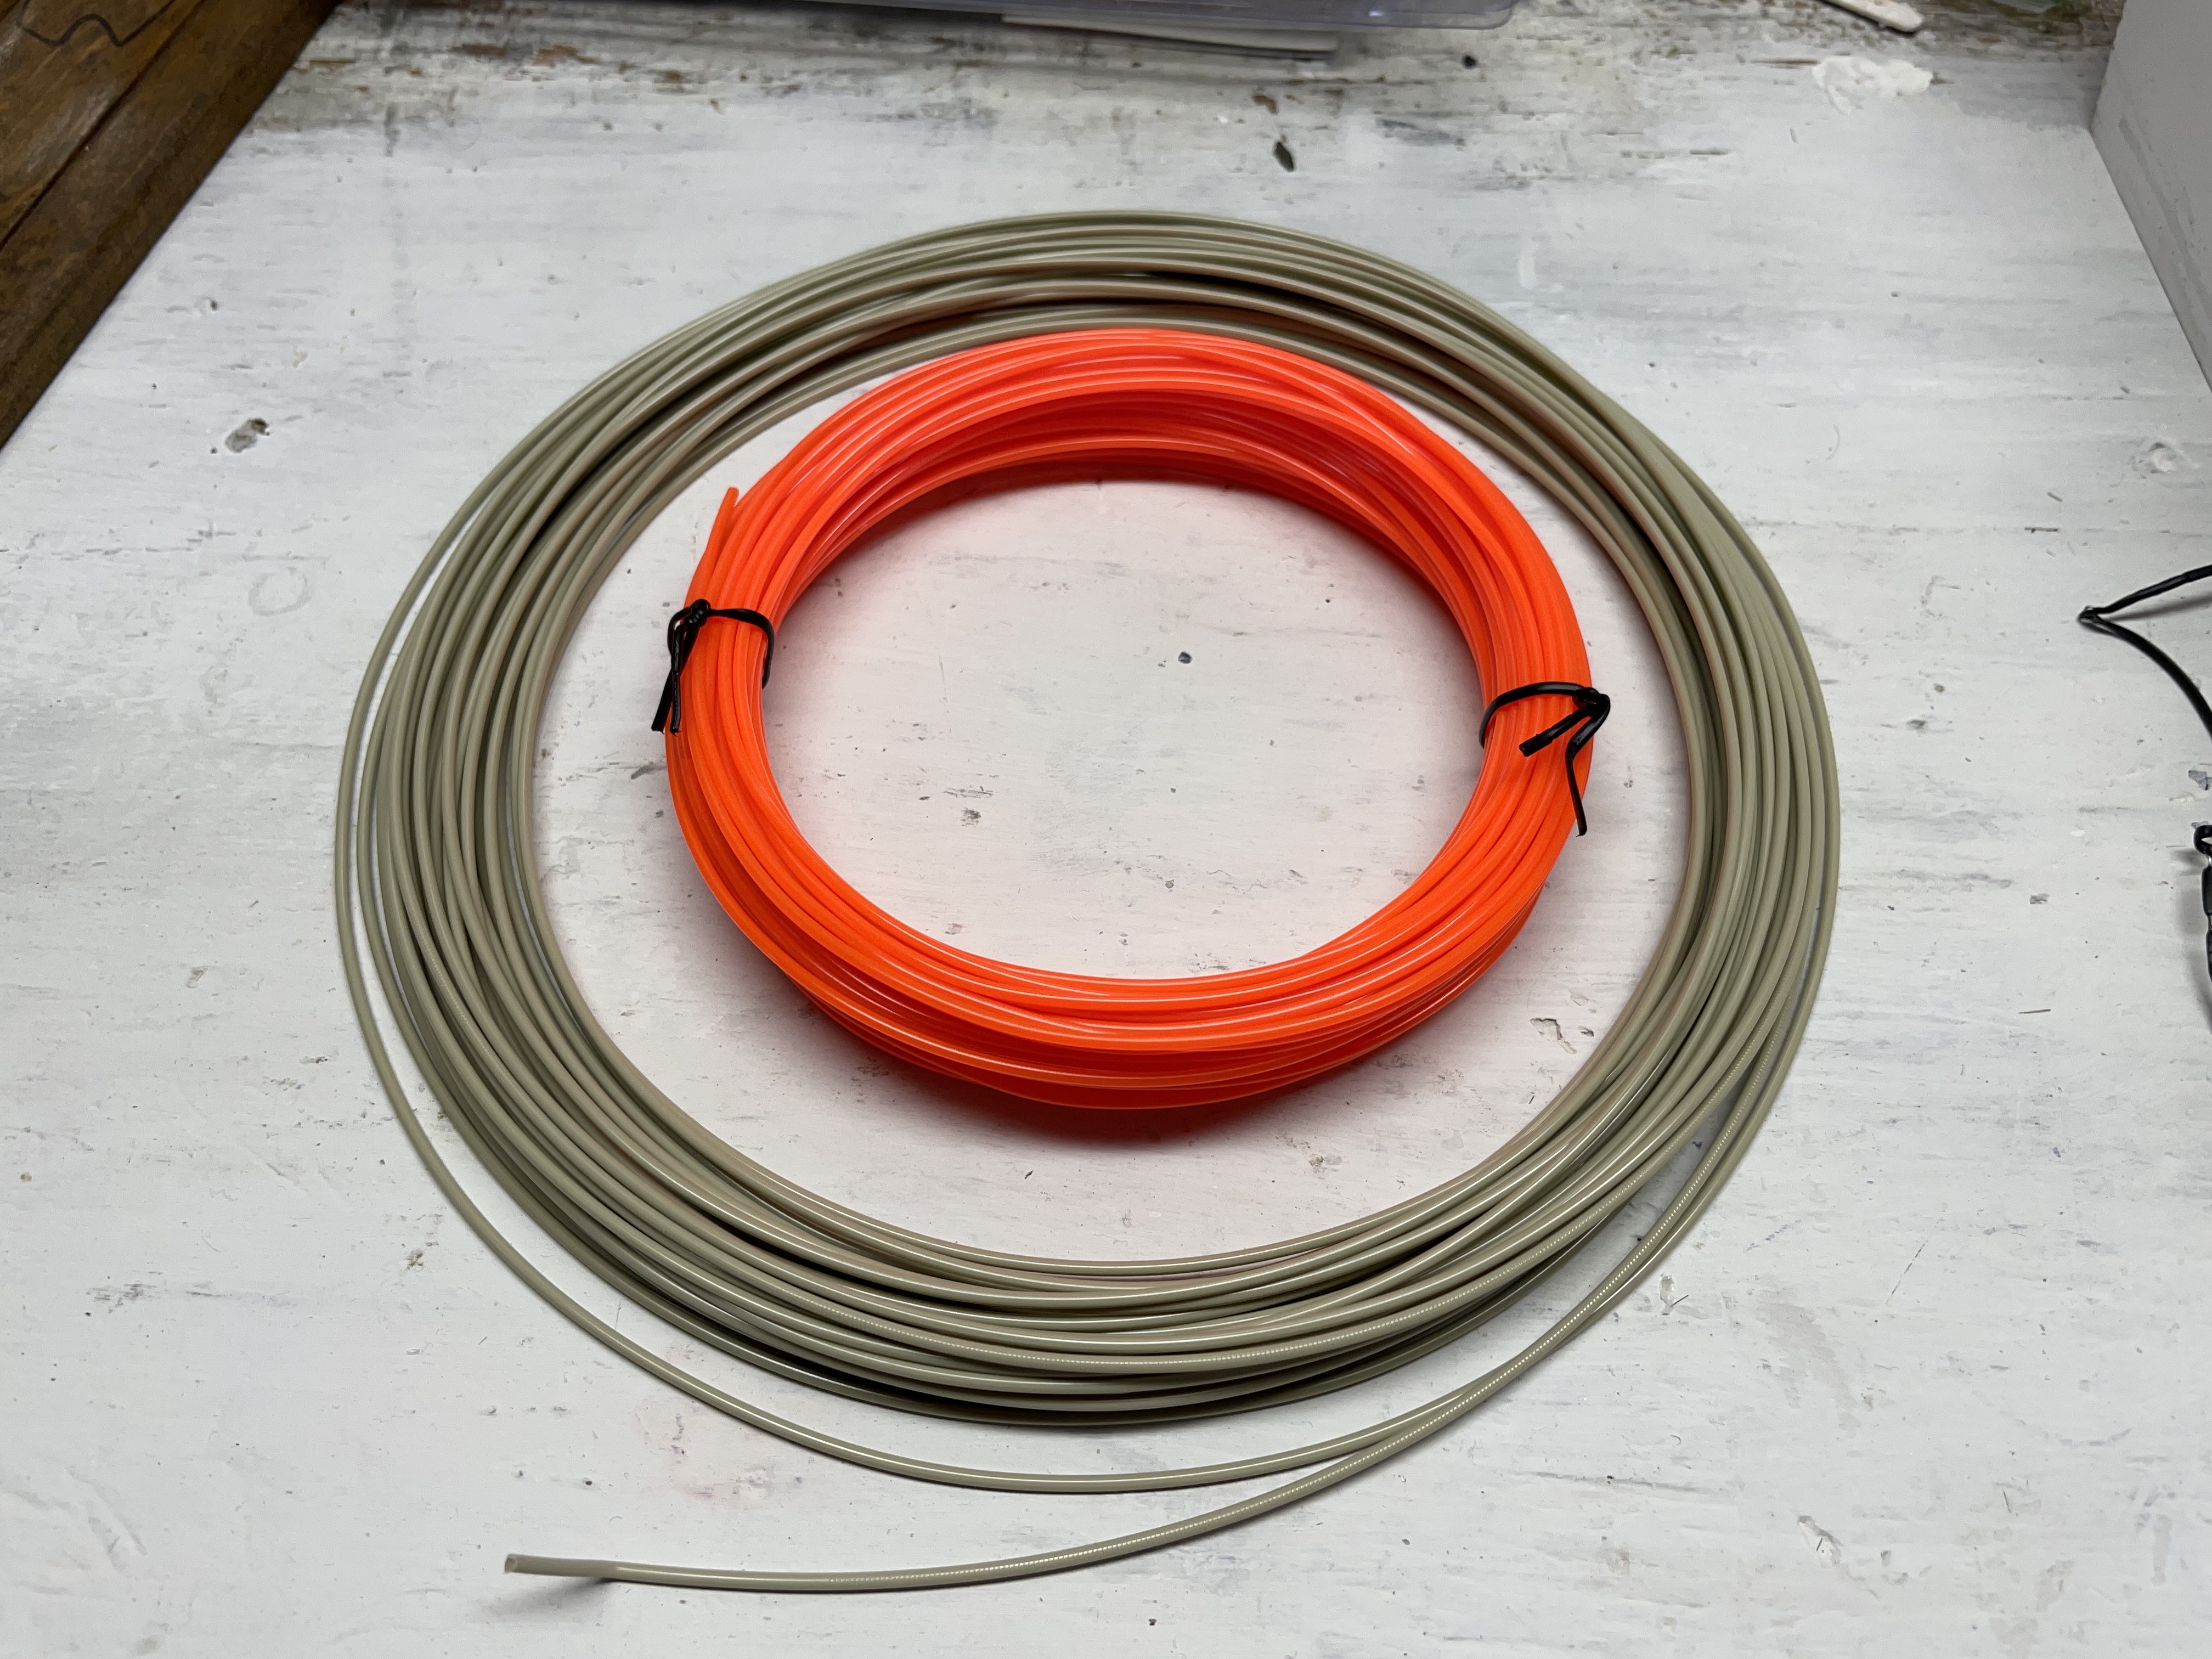
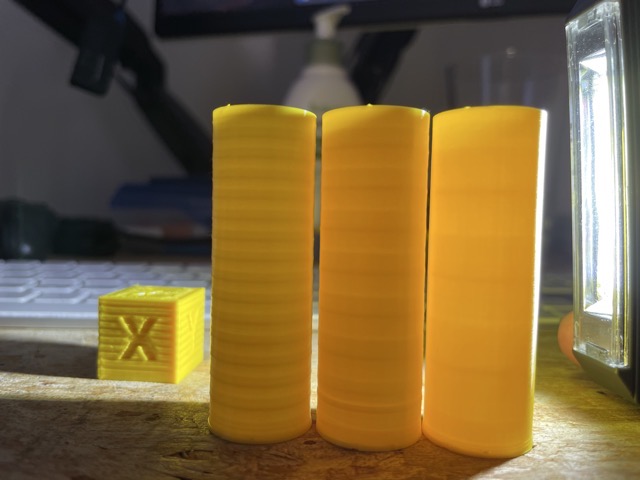
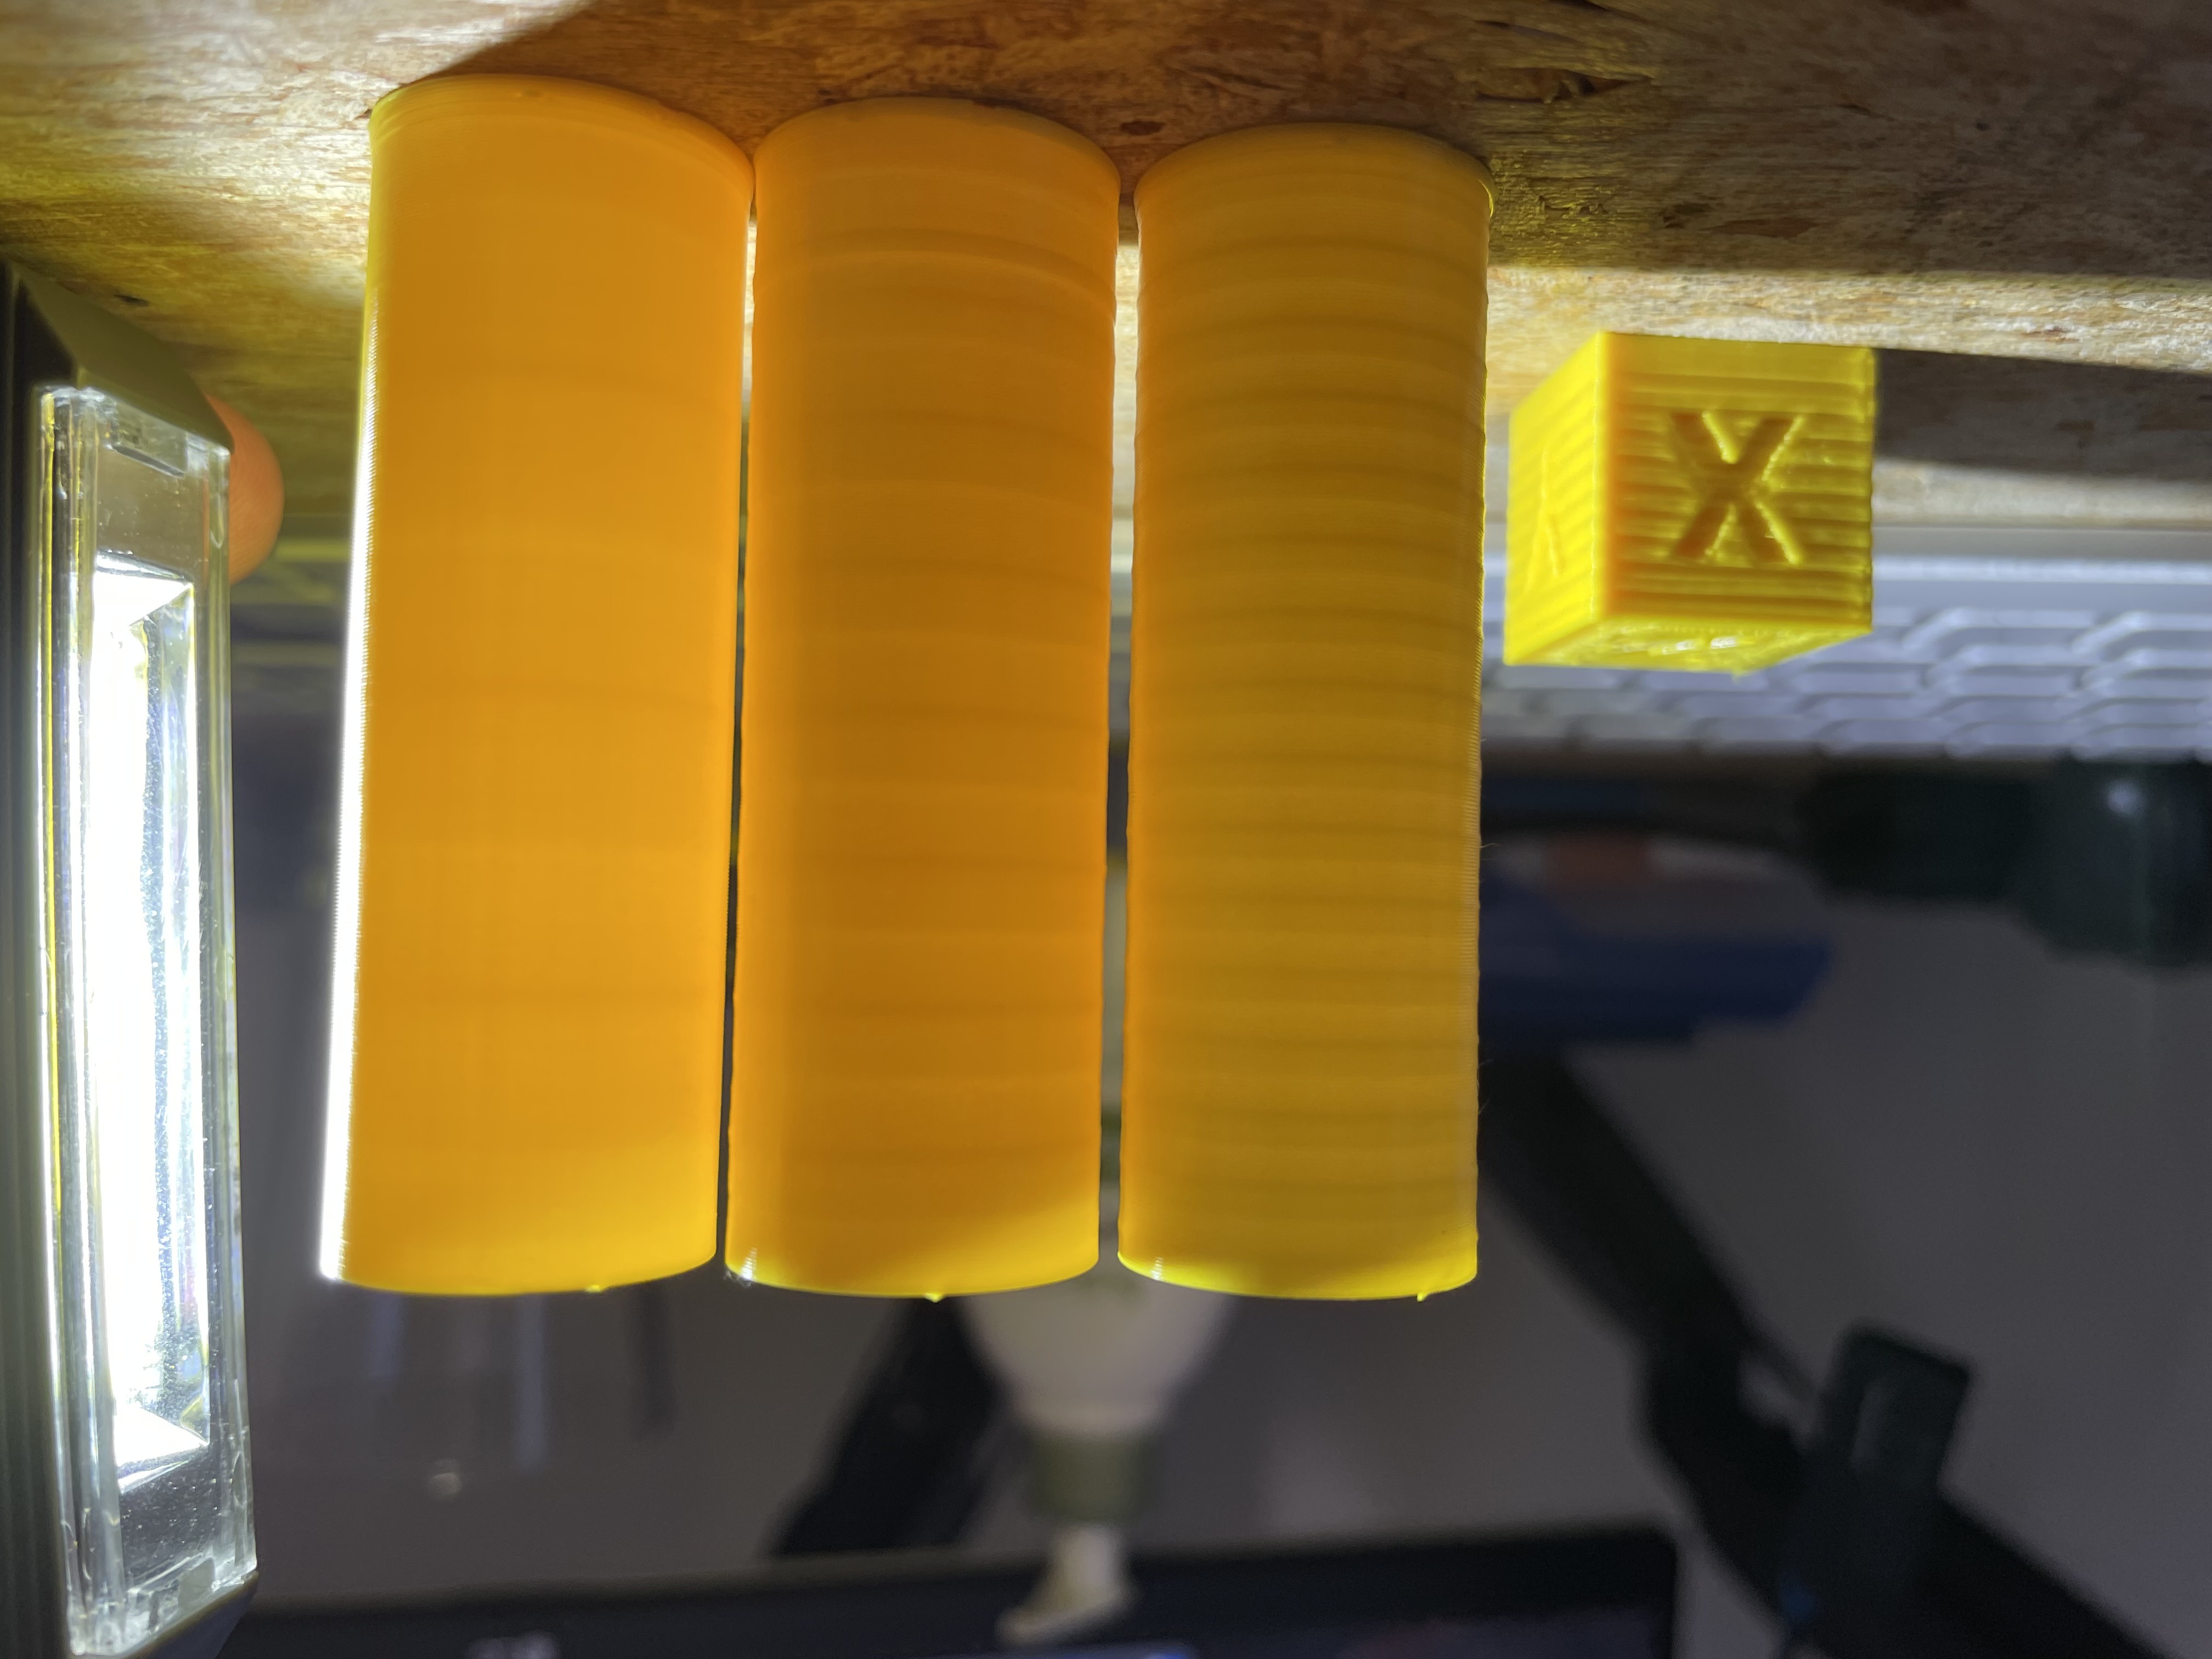
These small "sample" coils of filament were clearly wound from full spools, as they sprung back to original size when released. (2022)

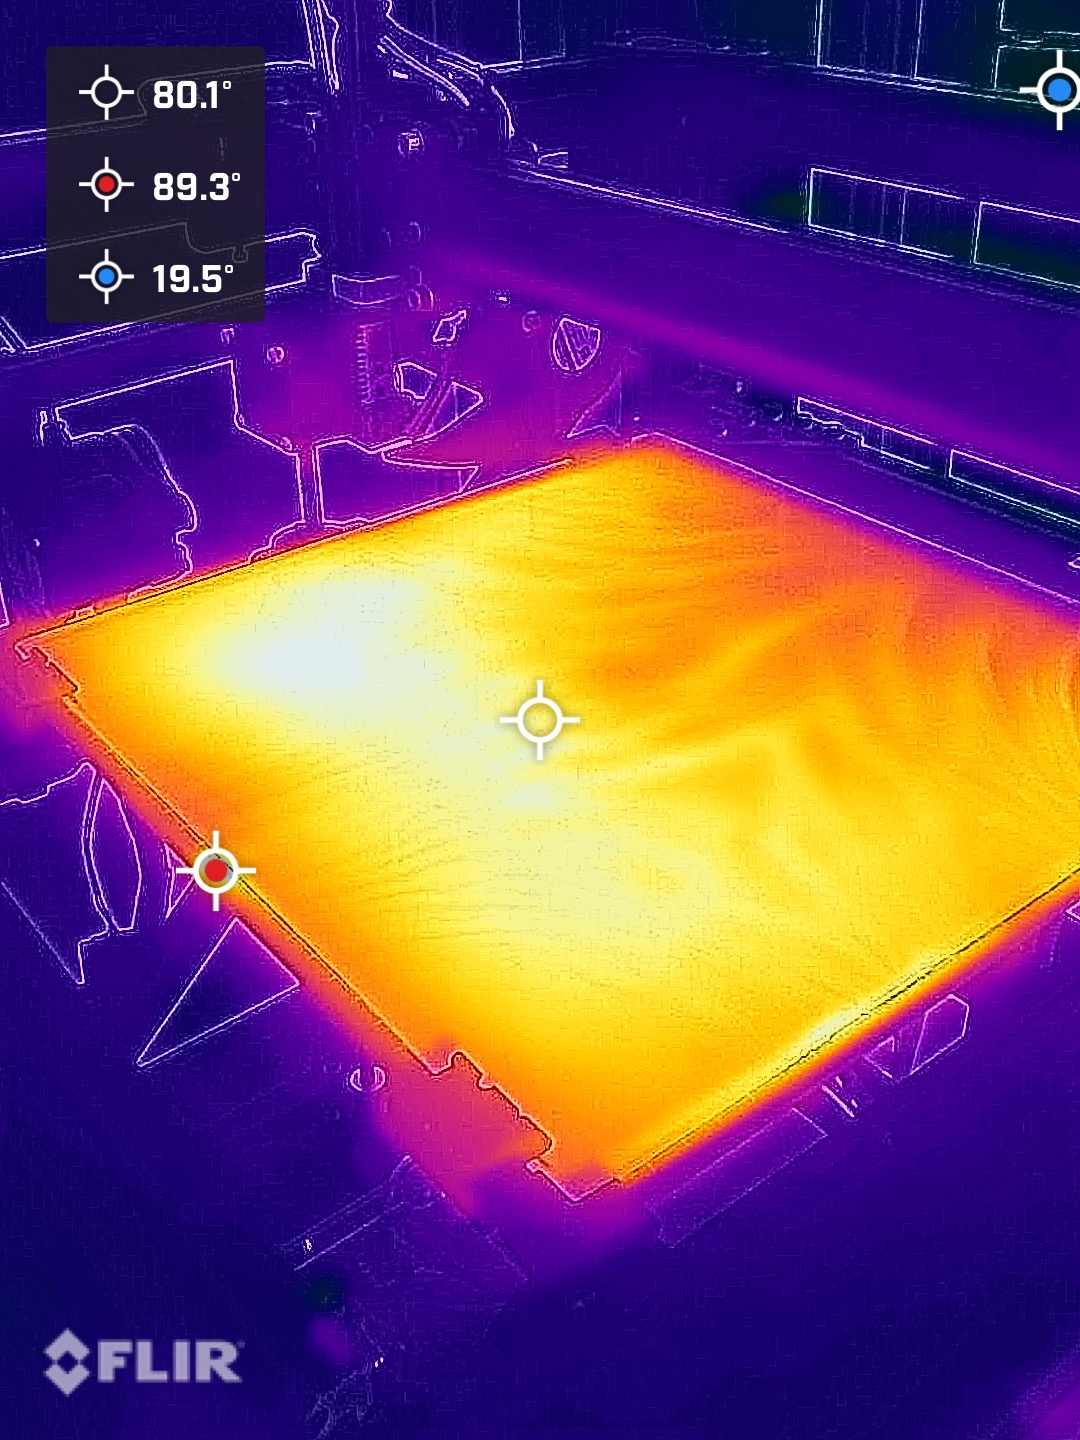
Thermal image of the bed under power. I added aluminum foil between the heater and the glass in an attempt to even out the temperature. (2023)
Printing in fantastic detail with a tiny 0.2mm-diameter nozzle. (2024)
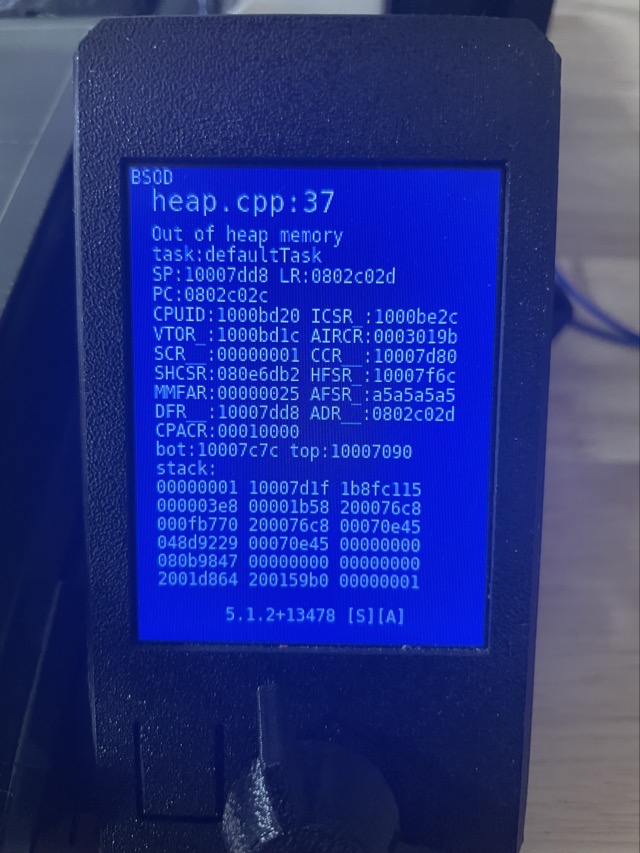
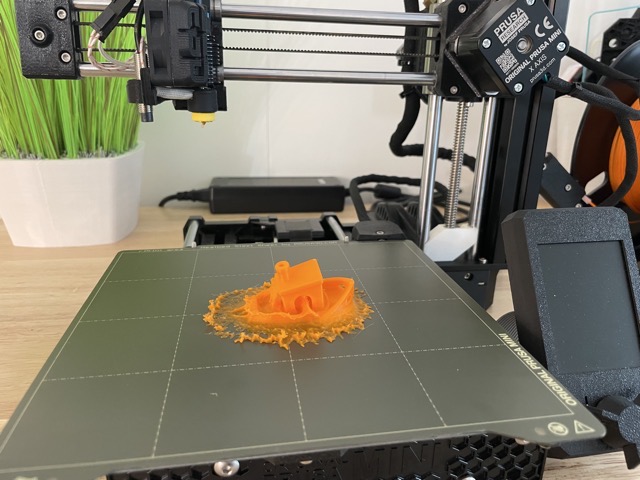
A freak software crash on my Prusa Mini. Its firmware was advanced enough to actually show a BSOD instead of just freezing or resetting itself. (2024)


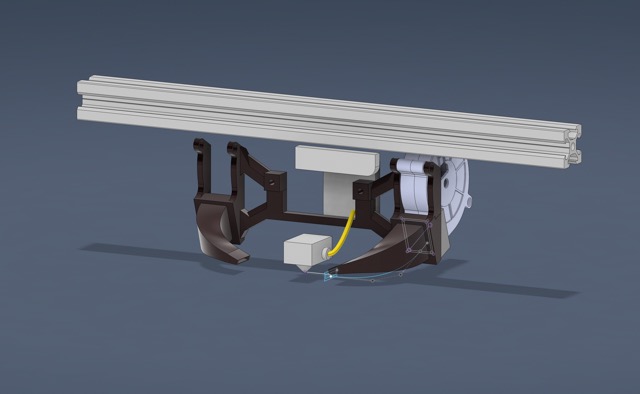
Freed of its role as my workhorse printer, I could experiment with the D-Bot, like adding a high-flow nozzle for printing giant things quickly . (2024)
Designing my own stuff
A great many people who own 3D printers simply use them for toys, or display pieces, or memes. While I've definitely enjoyed my hardware, I'm far more fascinated by functional printing—harnessing this unique manufacturing technology to solve physical problems in the real world. Amusingly, this also includes recursively upgrading the printer itself, with stuff like the cooling ducts, bezel for the control panel, and even the individual parts required for the upgraded extruders.
In terms of scale, by far the greatest impact by far was at work. We needed a way to easily work with unconventional tablet PCs, and I rose to the occasion with a simple, yet sturdy kickstand that would hold them at a comfortable angle. I printed dozens and dozens of those things, later taking advantage of my D-Bot's large bed to combine several into one giant stand useful for a storage shelf. Another experimental project involved high-visibility custom cases for smaller devices and rigid mounting brackets, but that effort never got off the ground.
Most recently, I used my printer to repair damage to the brush I use to clean snow off my car. The brush's head is separated from its handle by a latching swivel mount, but its design concentrates a lot of force on the plastic button used to release the latch. I've broken that button multiple times now, and since the rest of the brush remained in good shape, it would have been a waste to just throw the pieces away and buy a new one. And as a bonus, I only had to measure the part and design the replacement the first time!
In the near future, I'll make the stuff I've designed available for download.


My first custom project: an adapter to connect my father's random-orbit sander to his Shop-Vac. (2020)

Designing and printing my own upgrade parts, like this dual-cooling duct shaped to bolt onto the existing motion carriage. (2021)
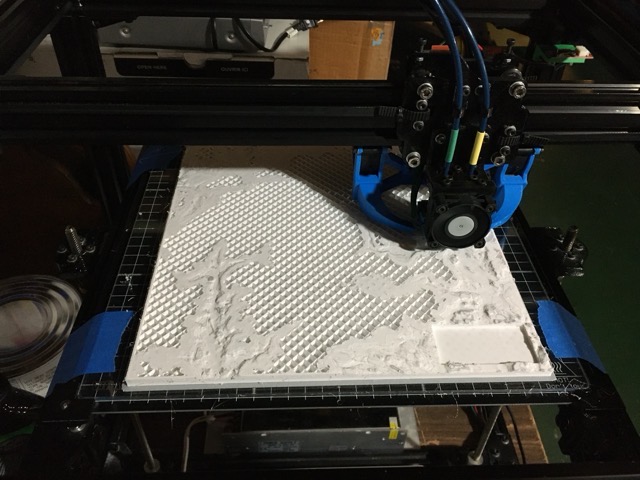

Testing out a custom script to use the dual-extrusion hardware to build a 3D topographic contour map. (2021)
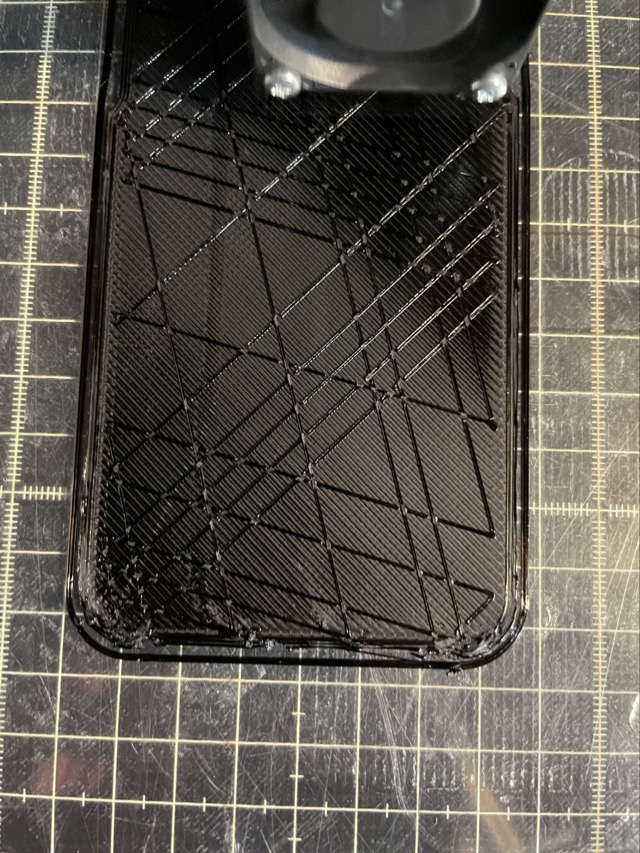
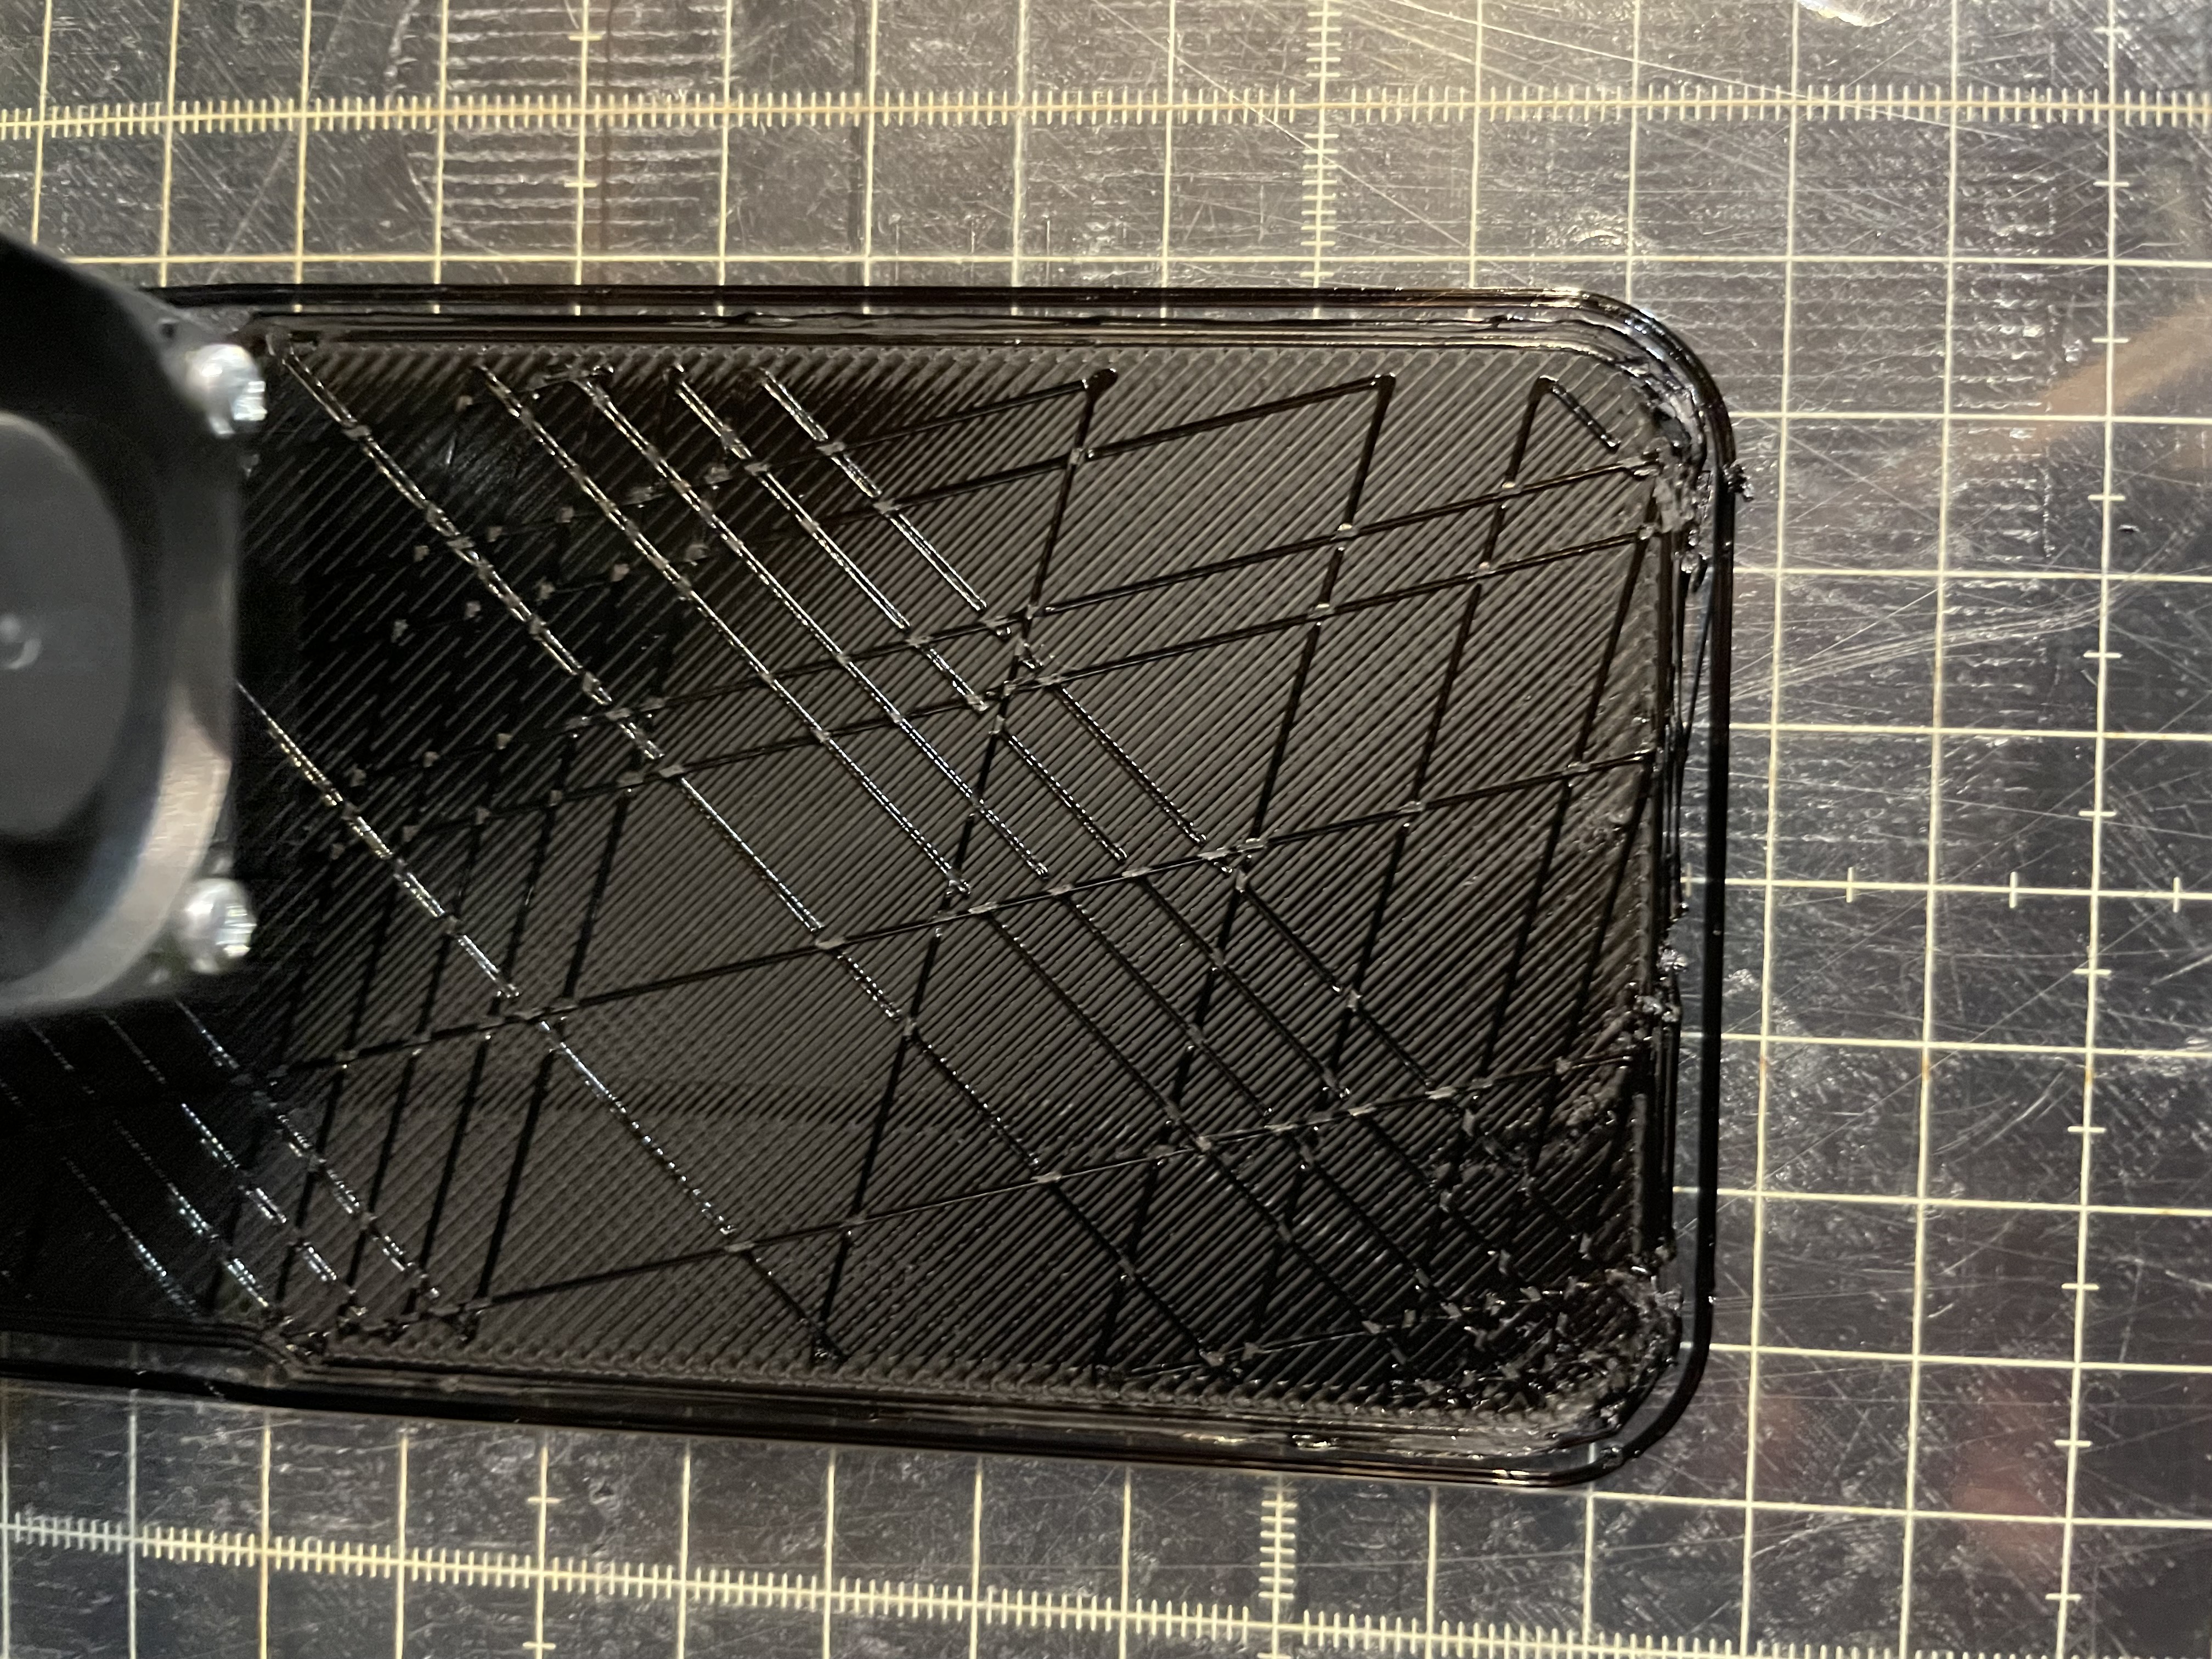
Partway through attempting to print the infill of a phone case. This partial pattern looked really cool. (2021)

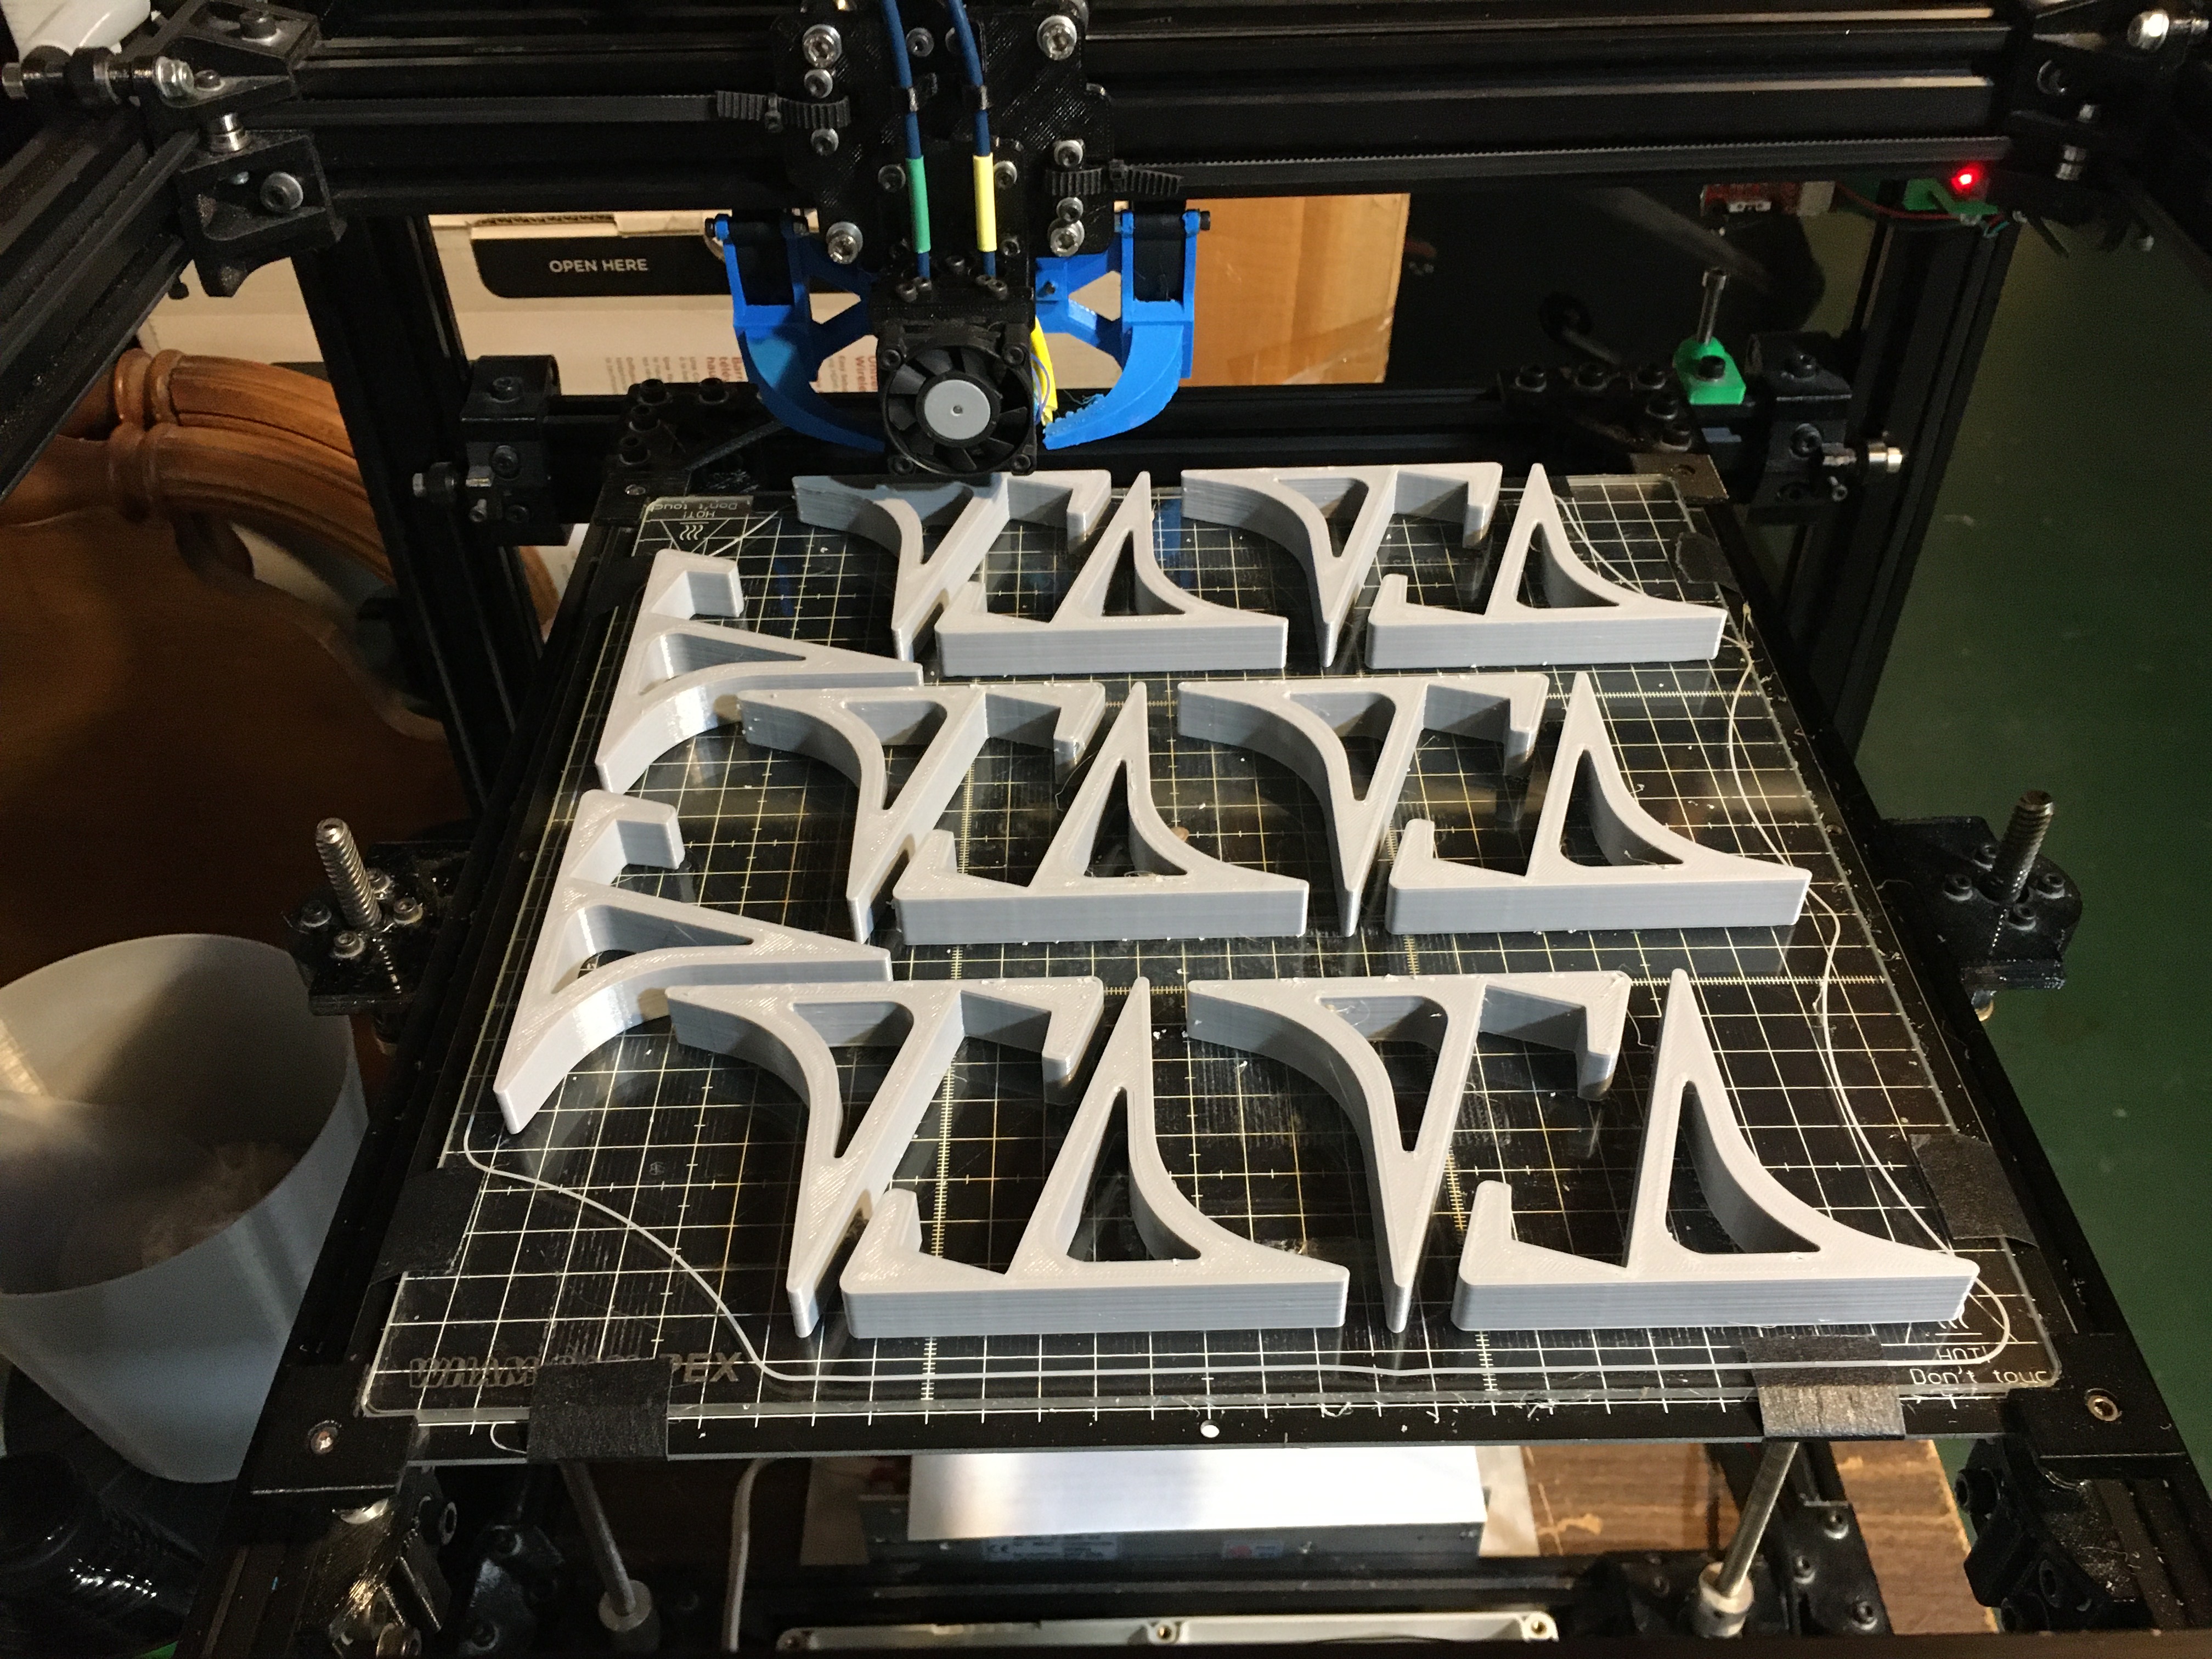
A full plate of custom stands for thick tablet PCs at my job. (2021)
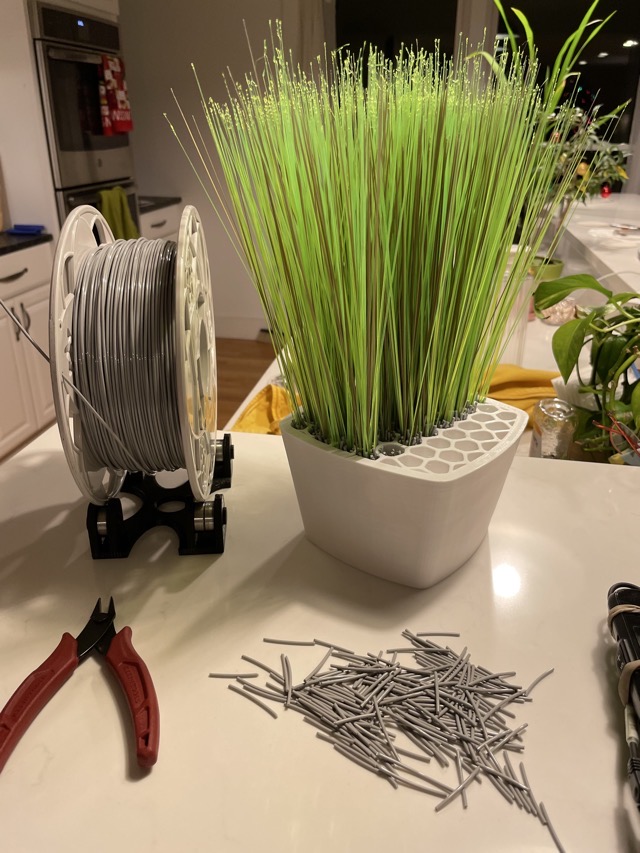
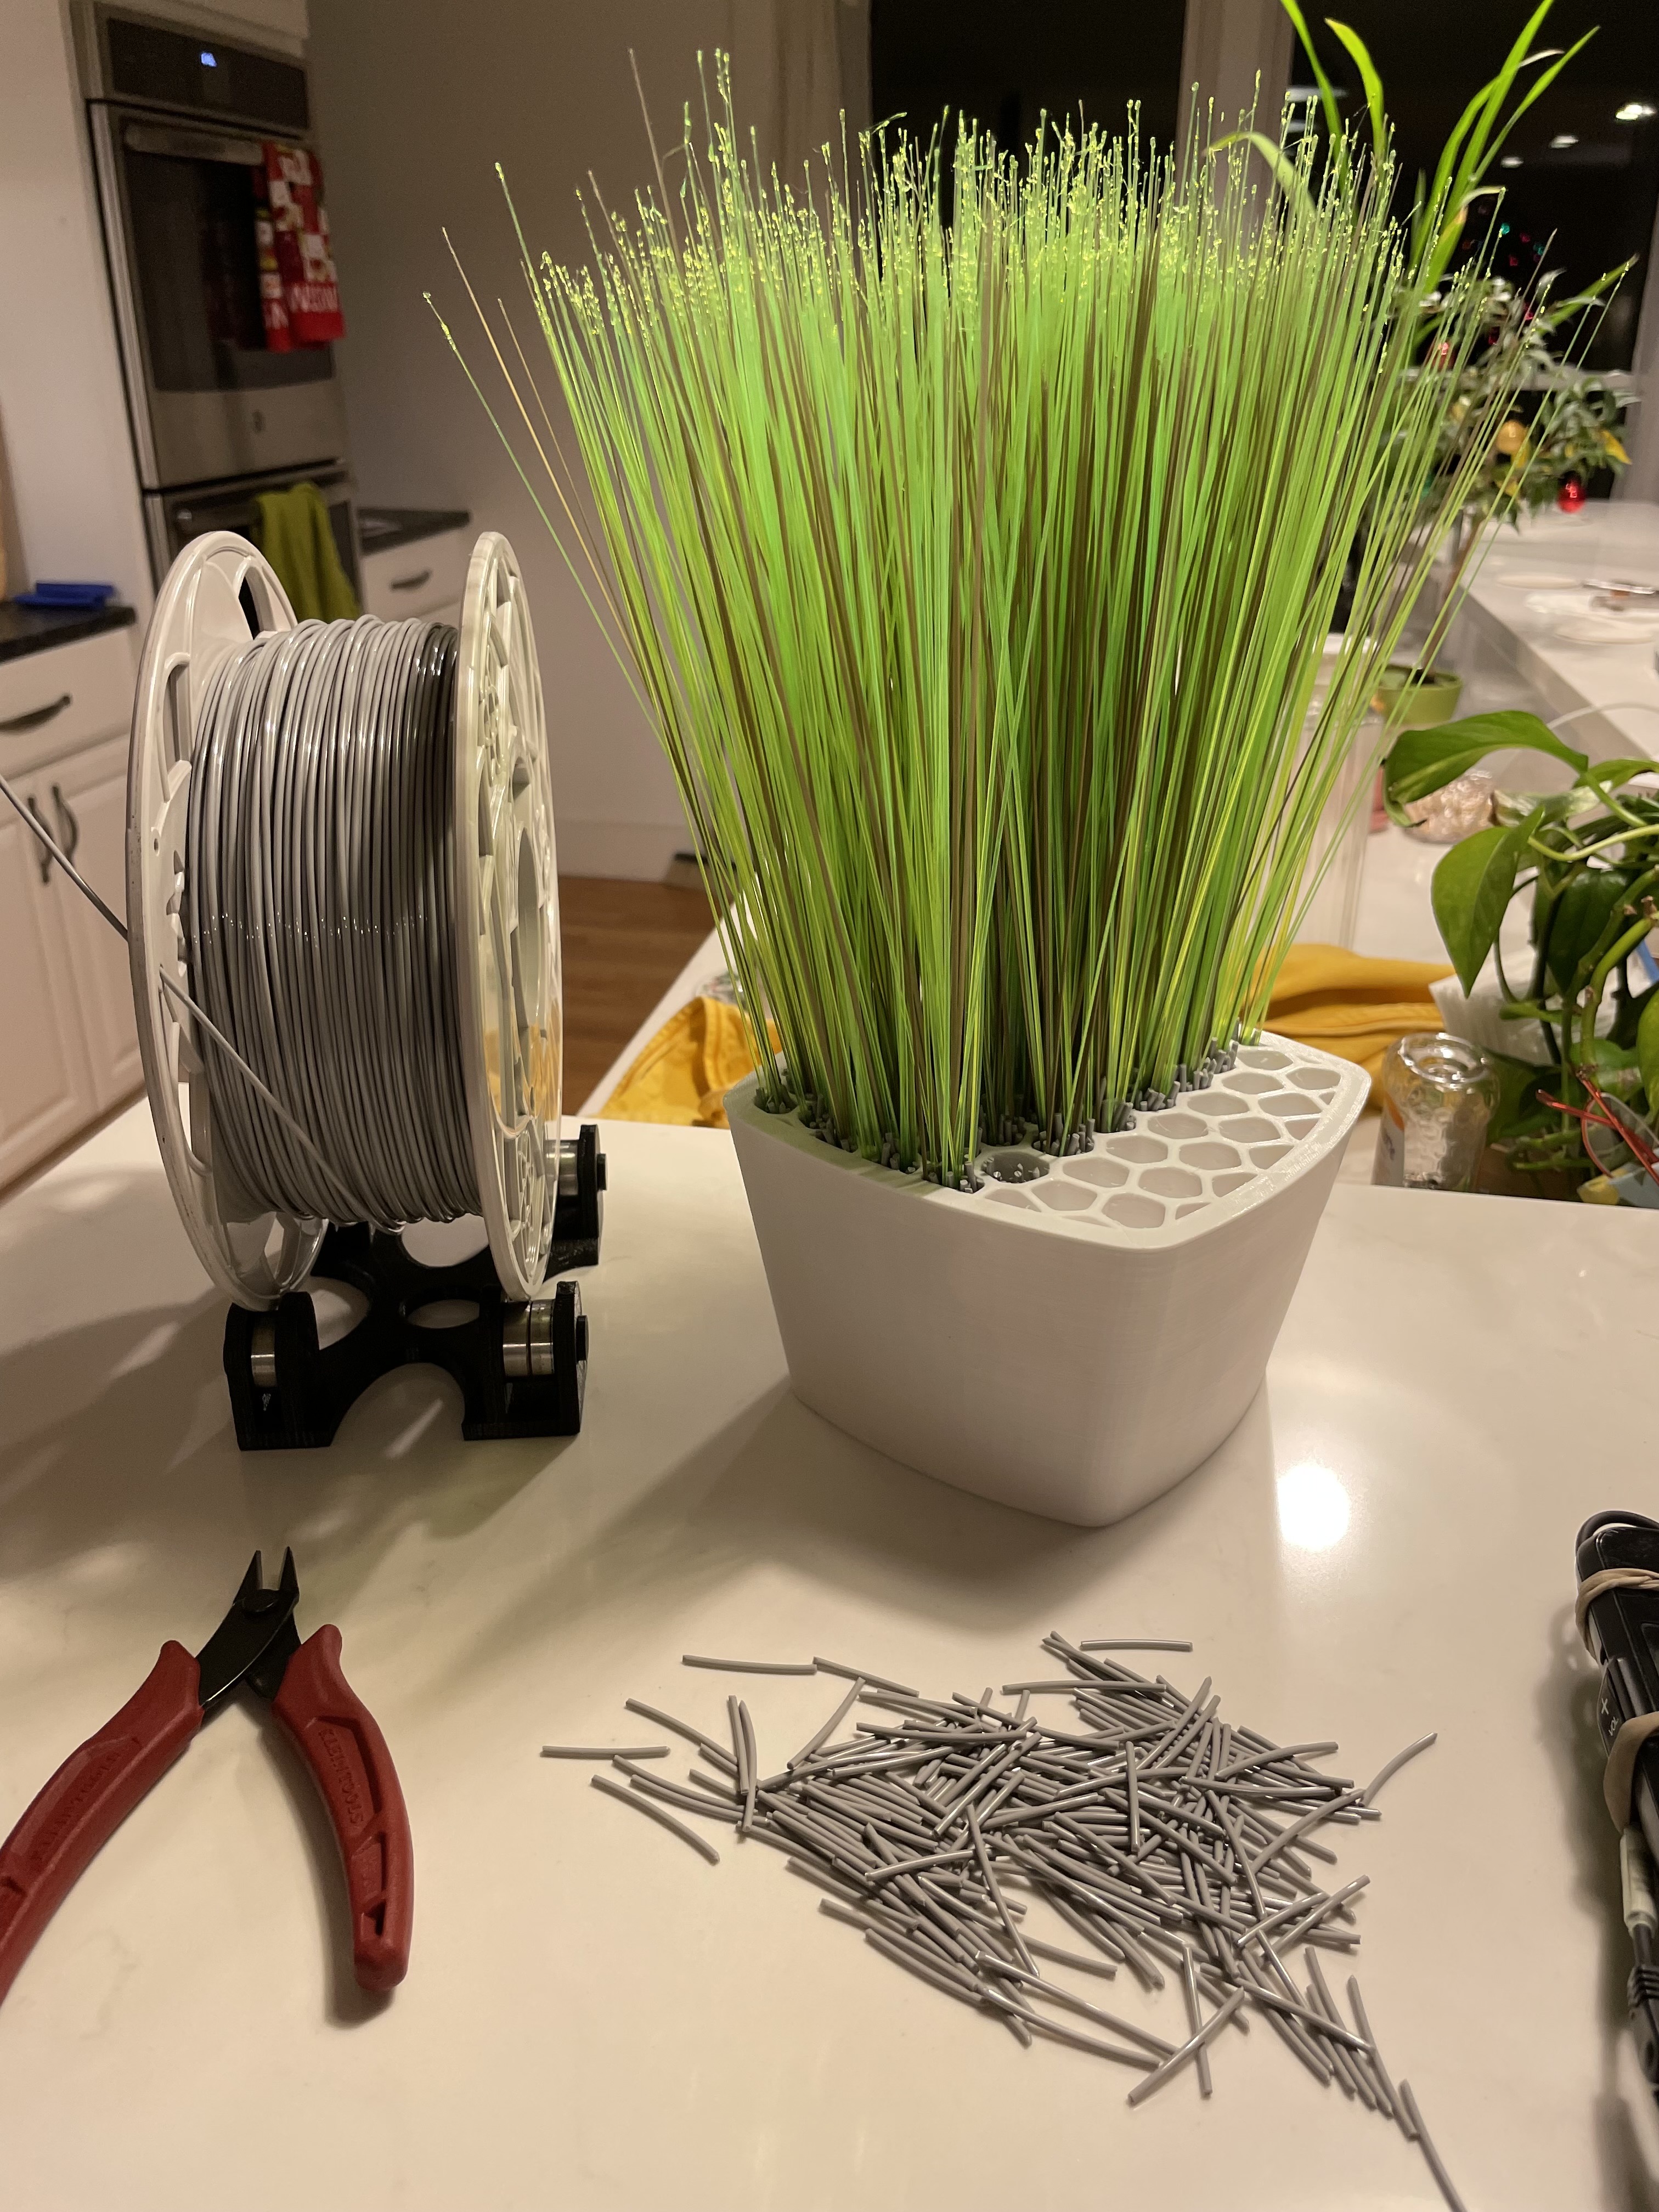
Using a load of purge lines to mimic the blades of something like lemongrass. This was a phenomenal waste of time, but at least the final results were pretty. (2021)
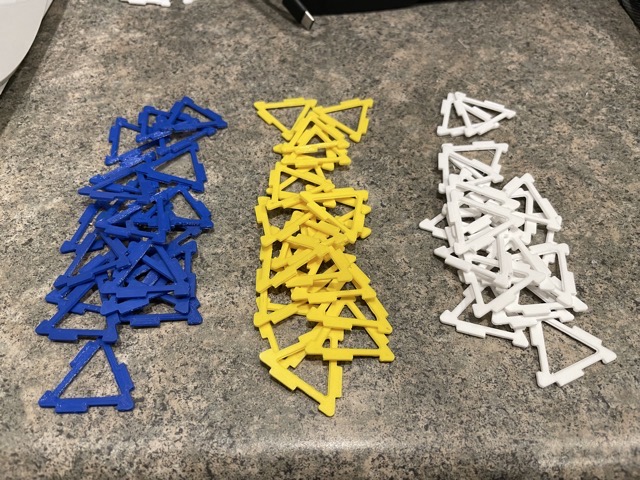
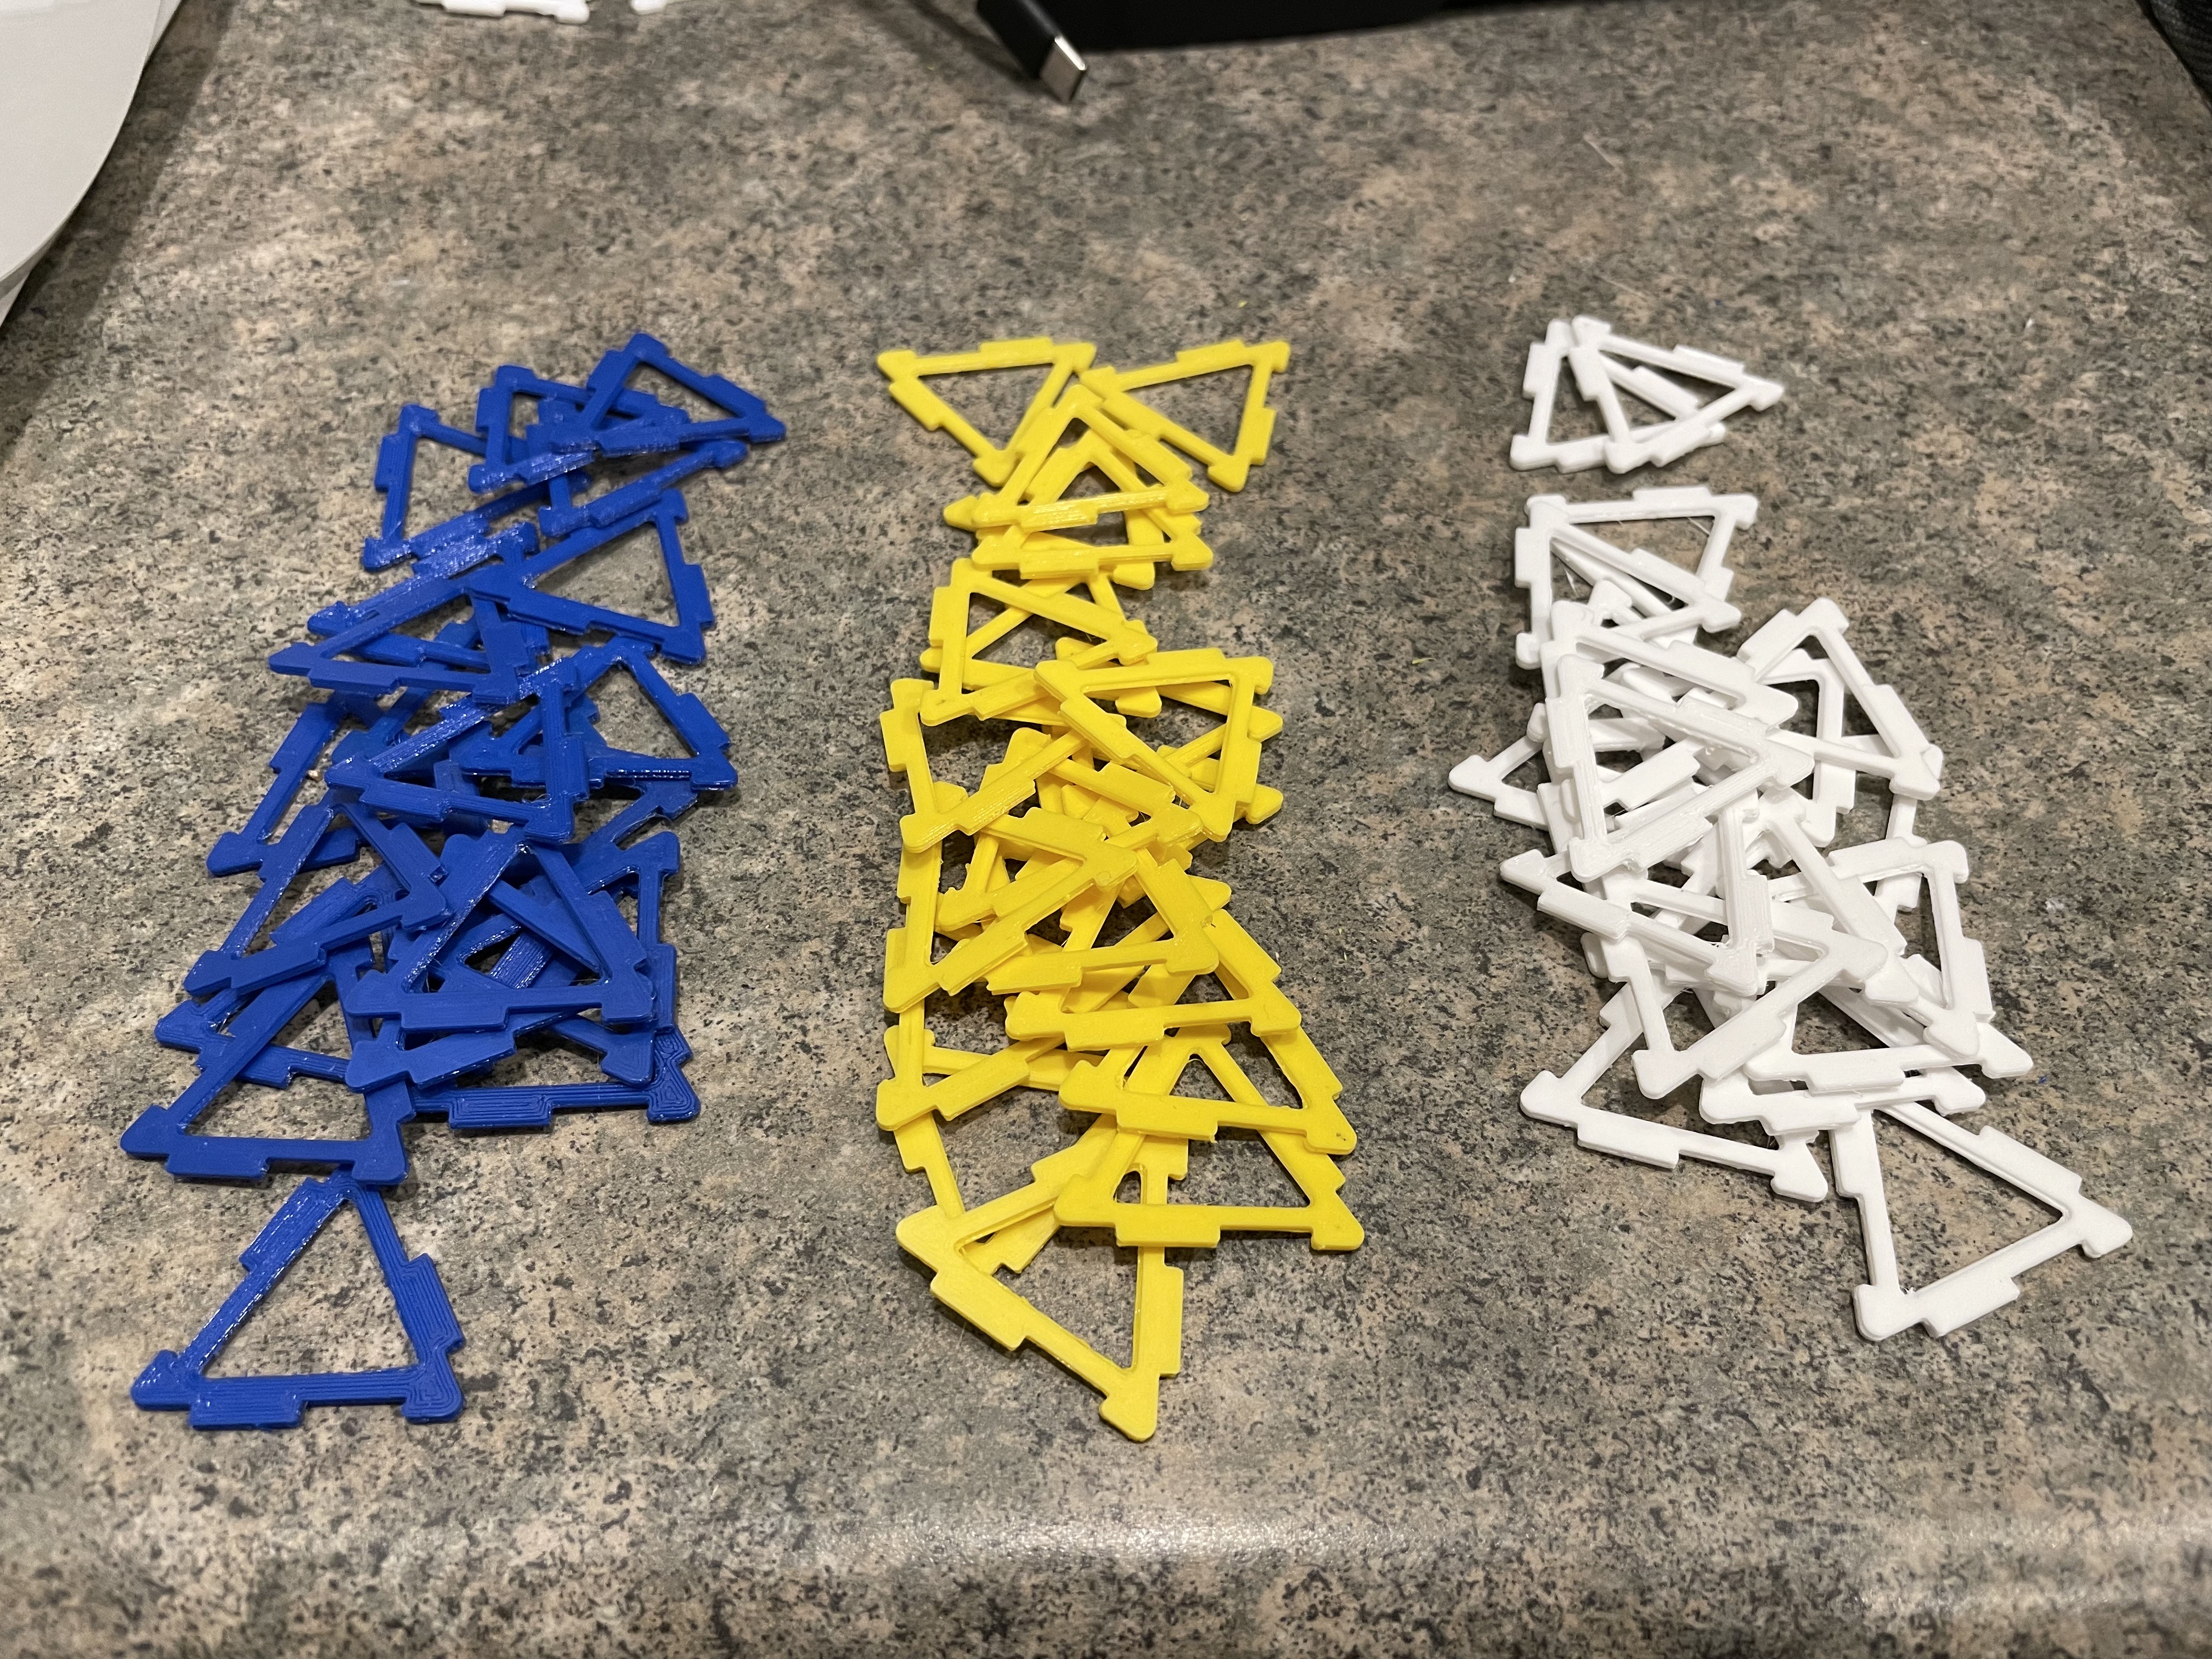
The 60 individual pieces needed to assemble a stellated icosahedron. (2022)
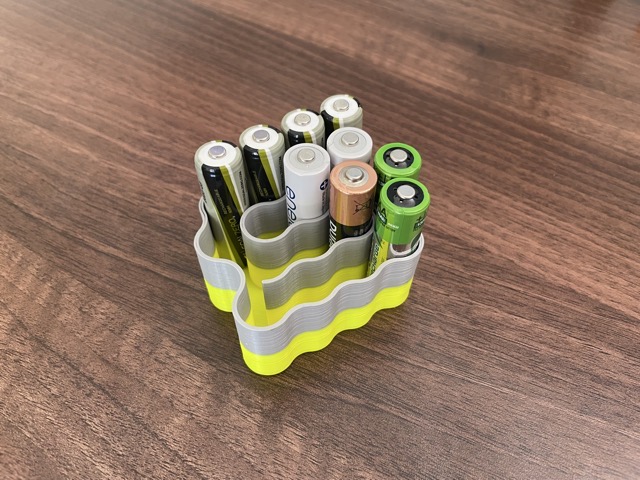
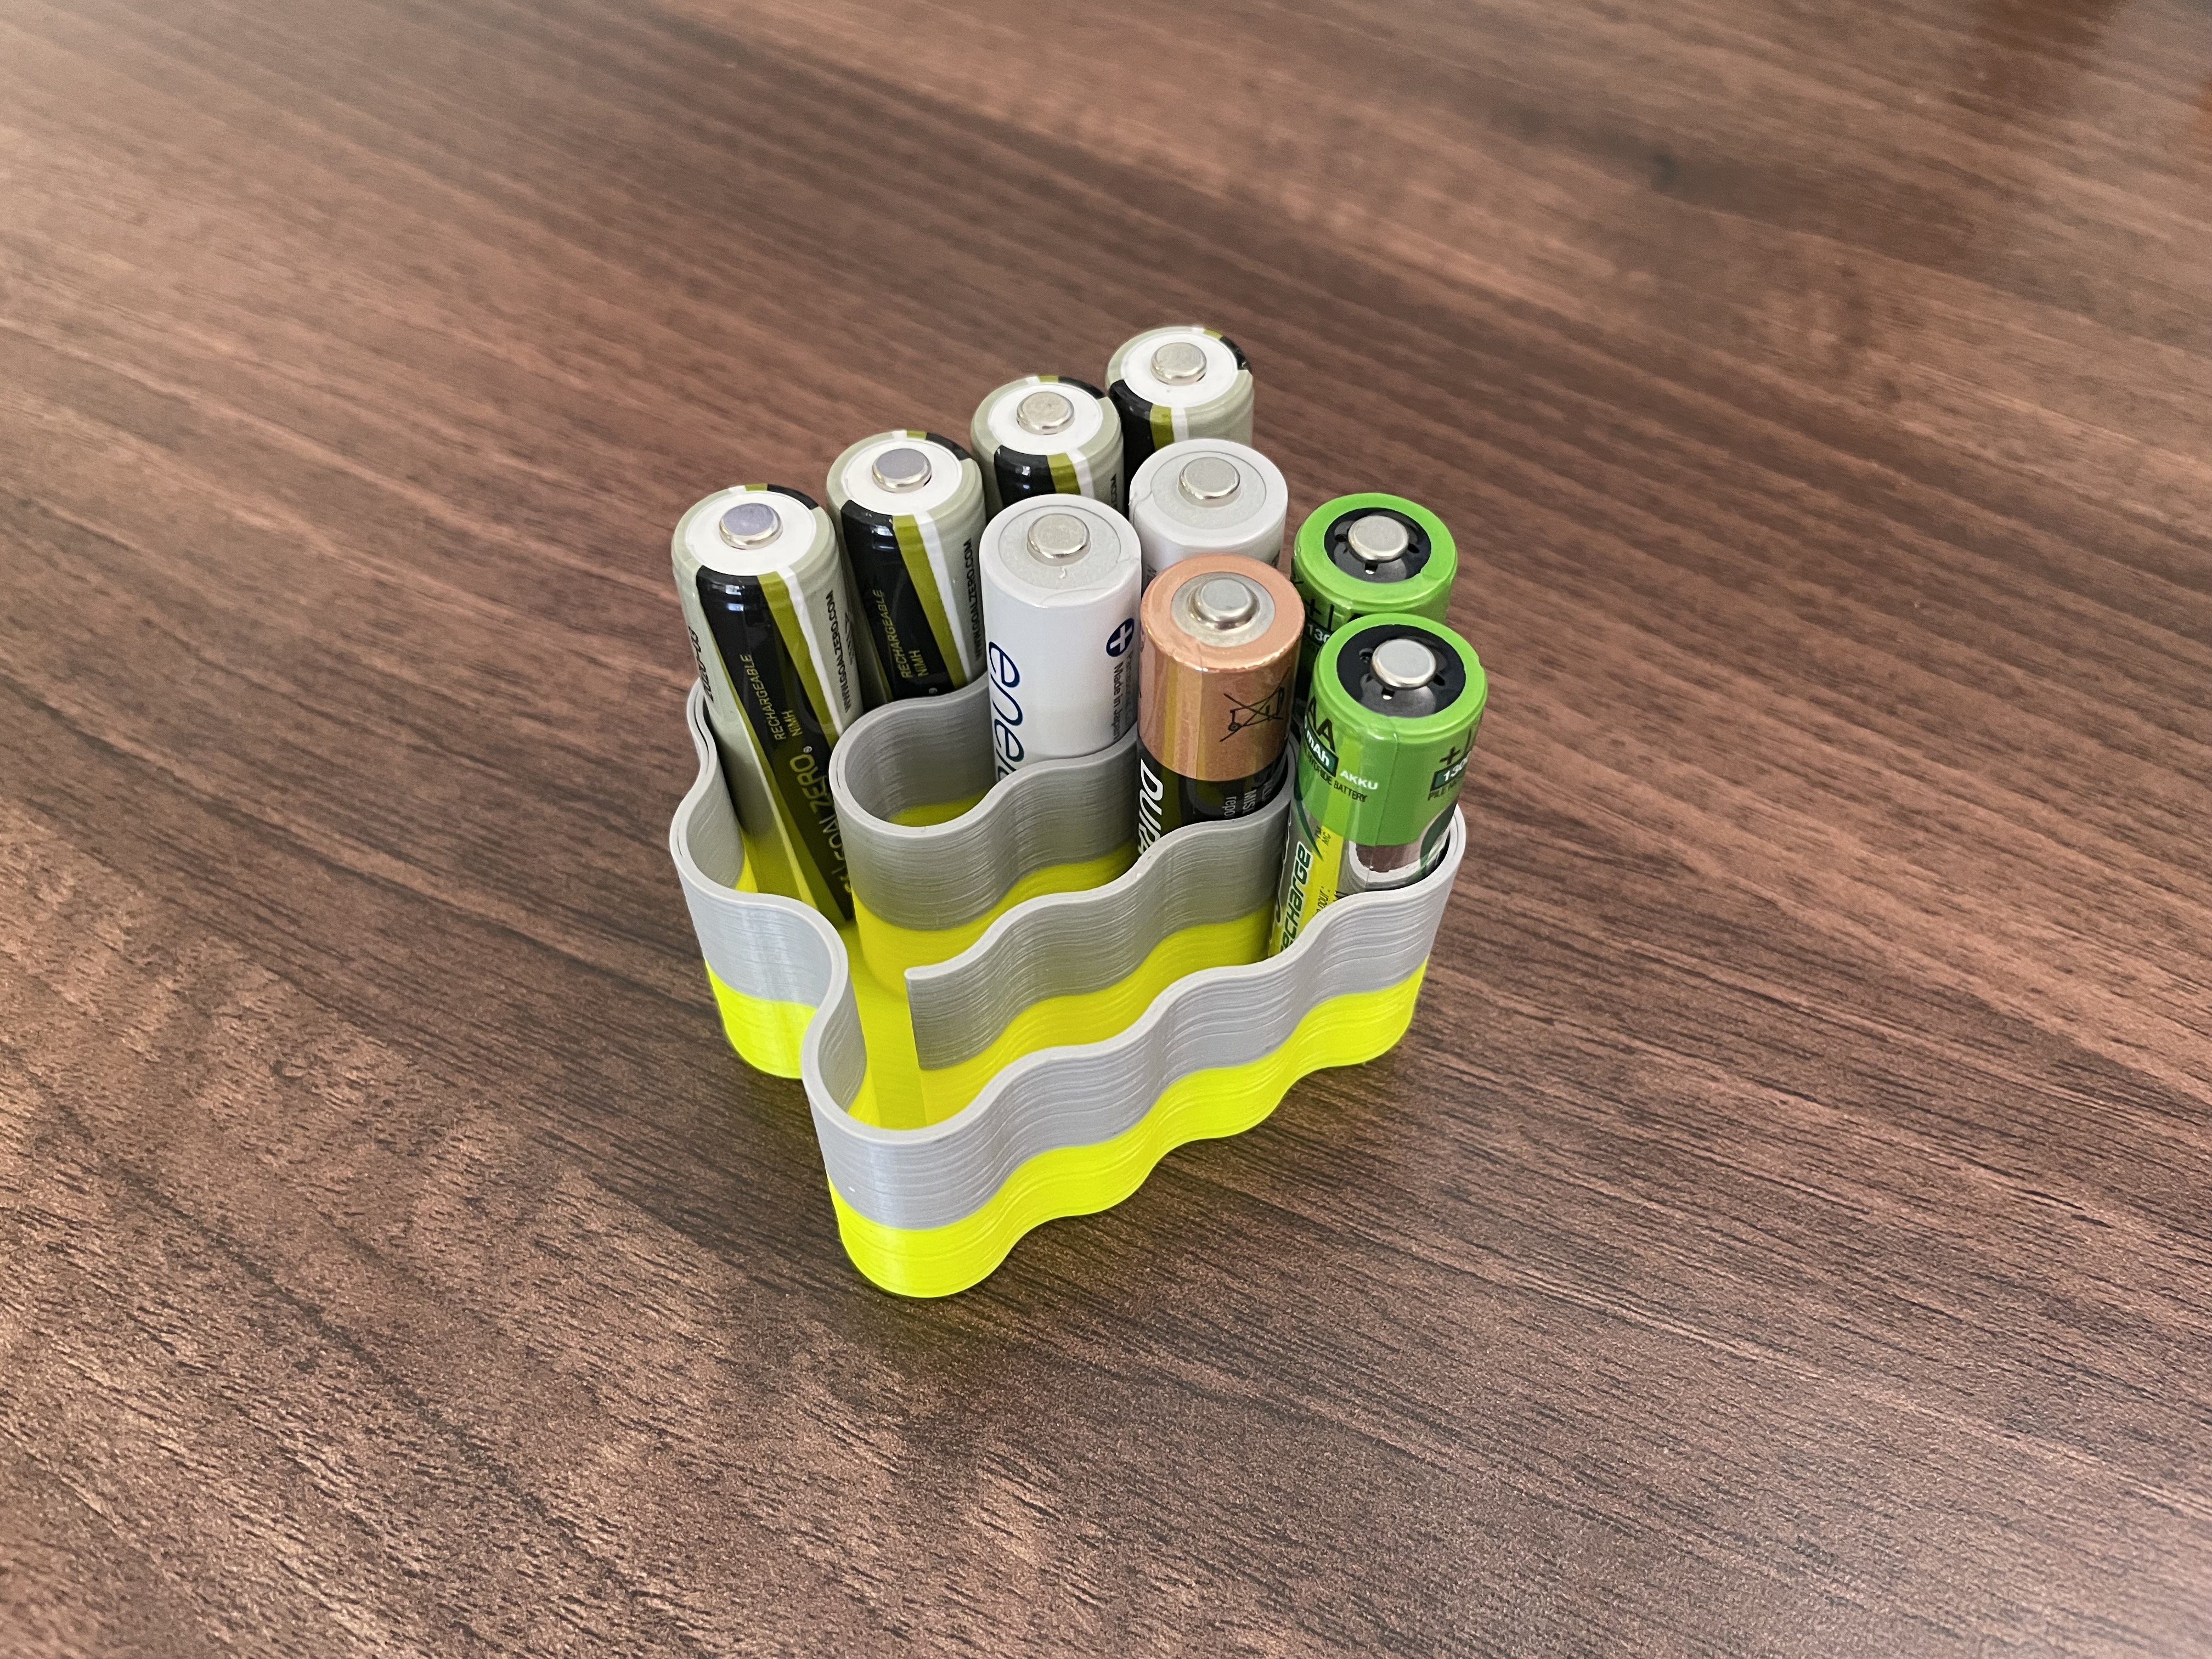
A one-piece holder for AA batteries. Getting a consistent fit was near-impossible, as I learned that the dimensions of these cells weren't closely standardized. (2022)

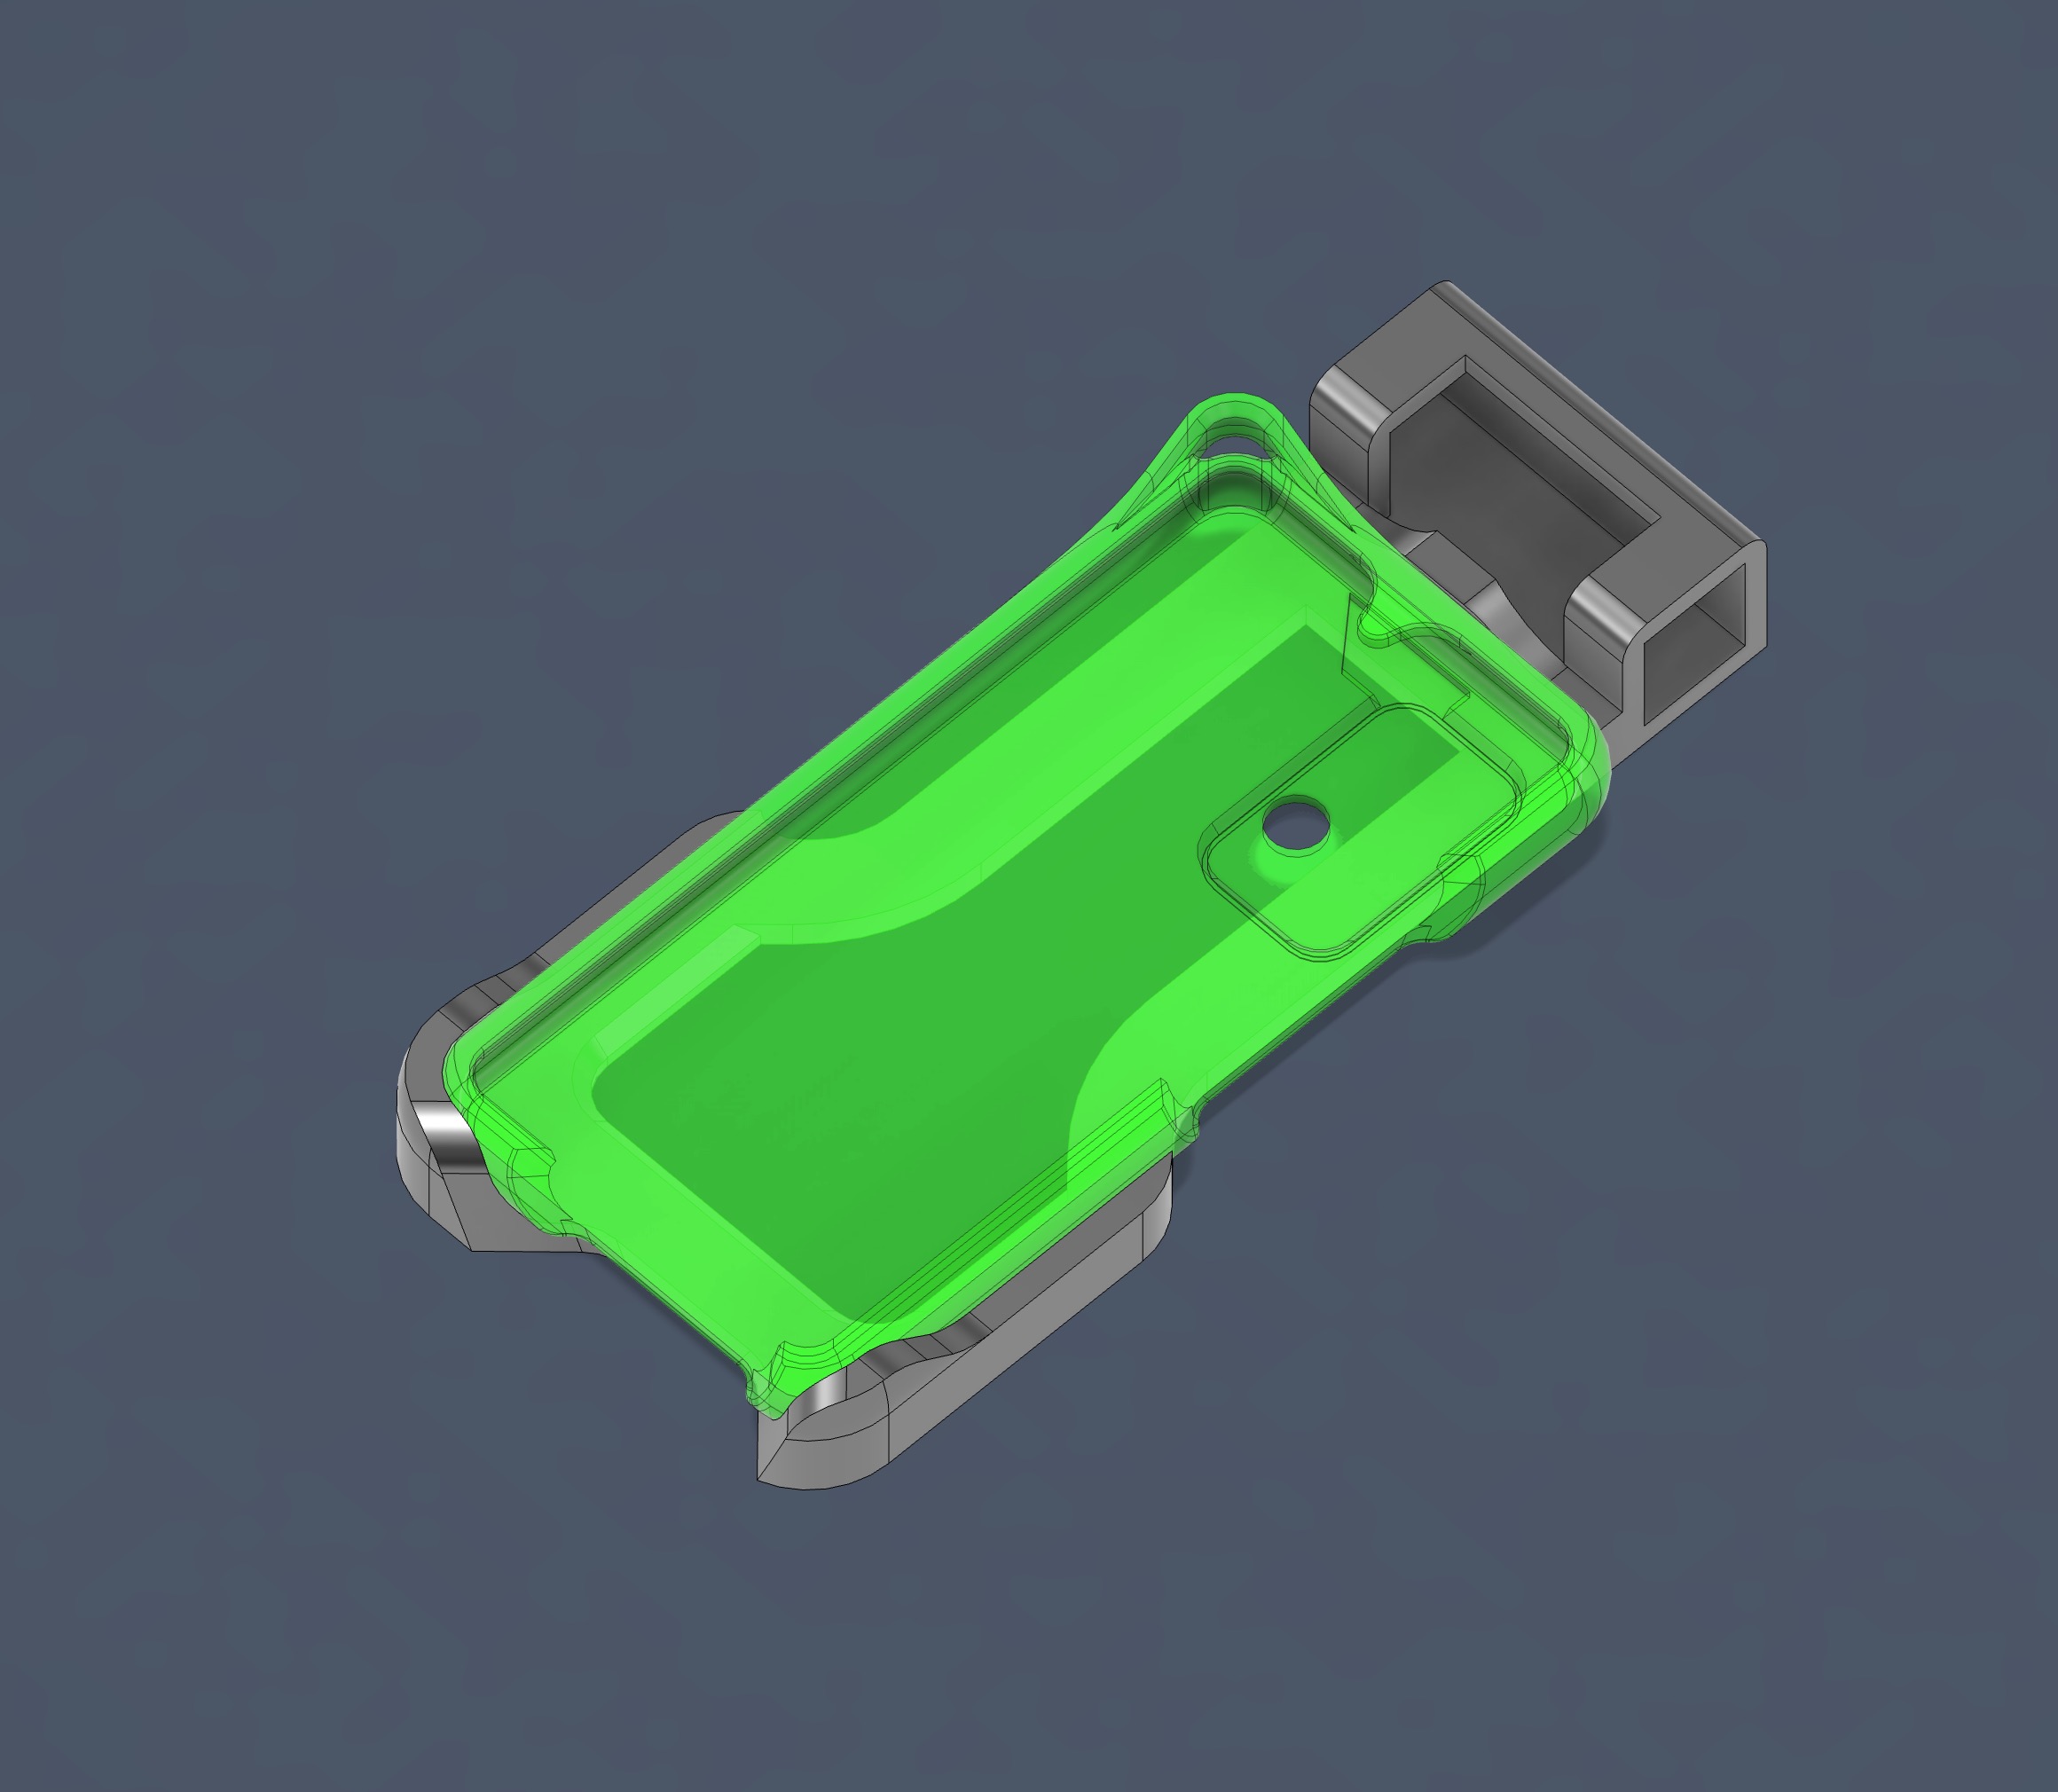
A side project related to my day job: custom phone cases and corresponding rigid mounting brackets. (2022)

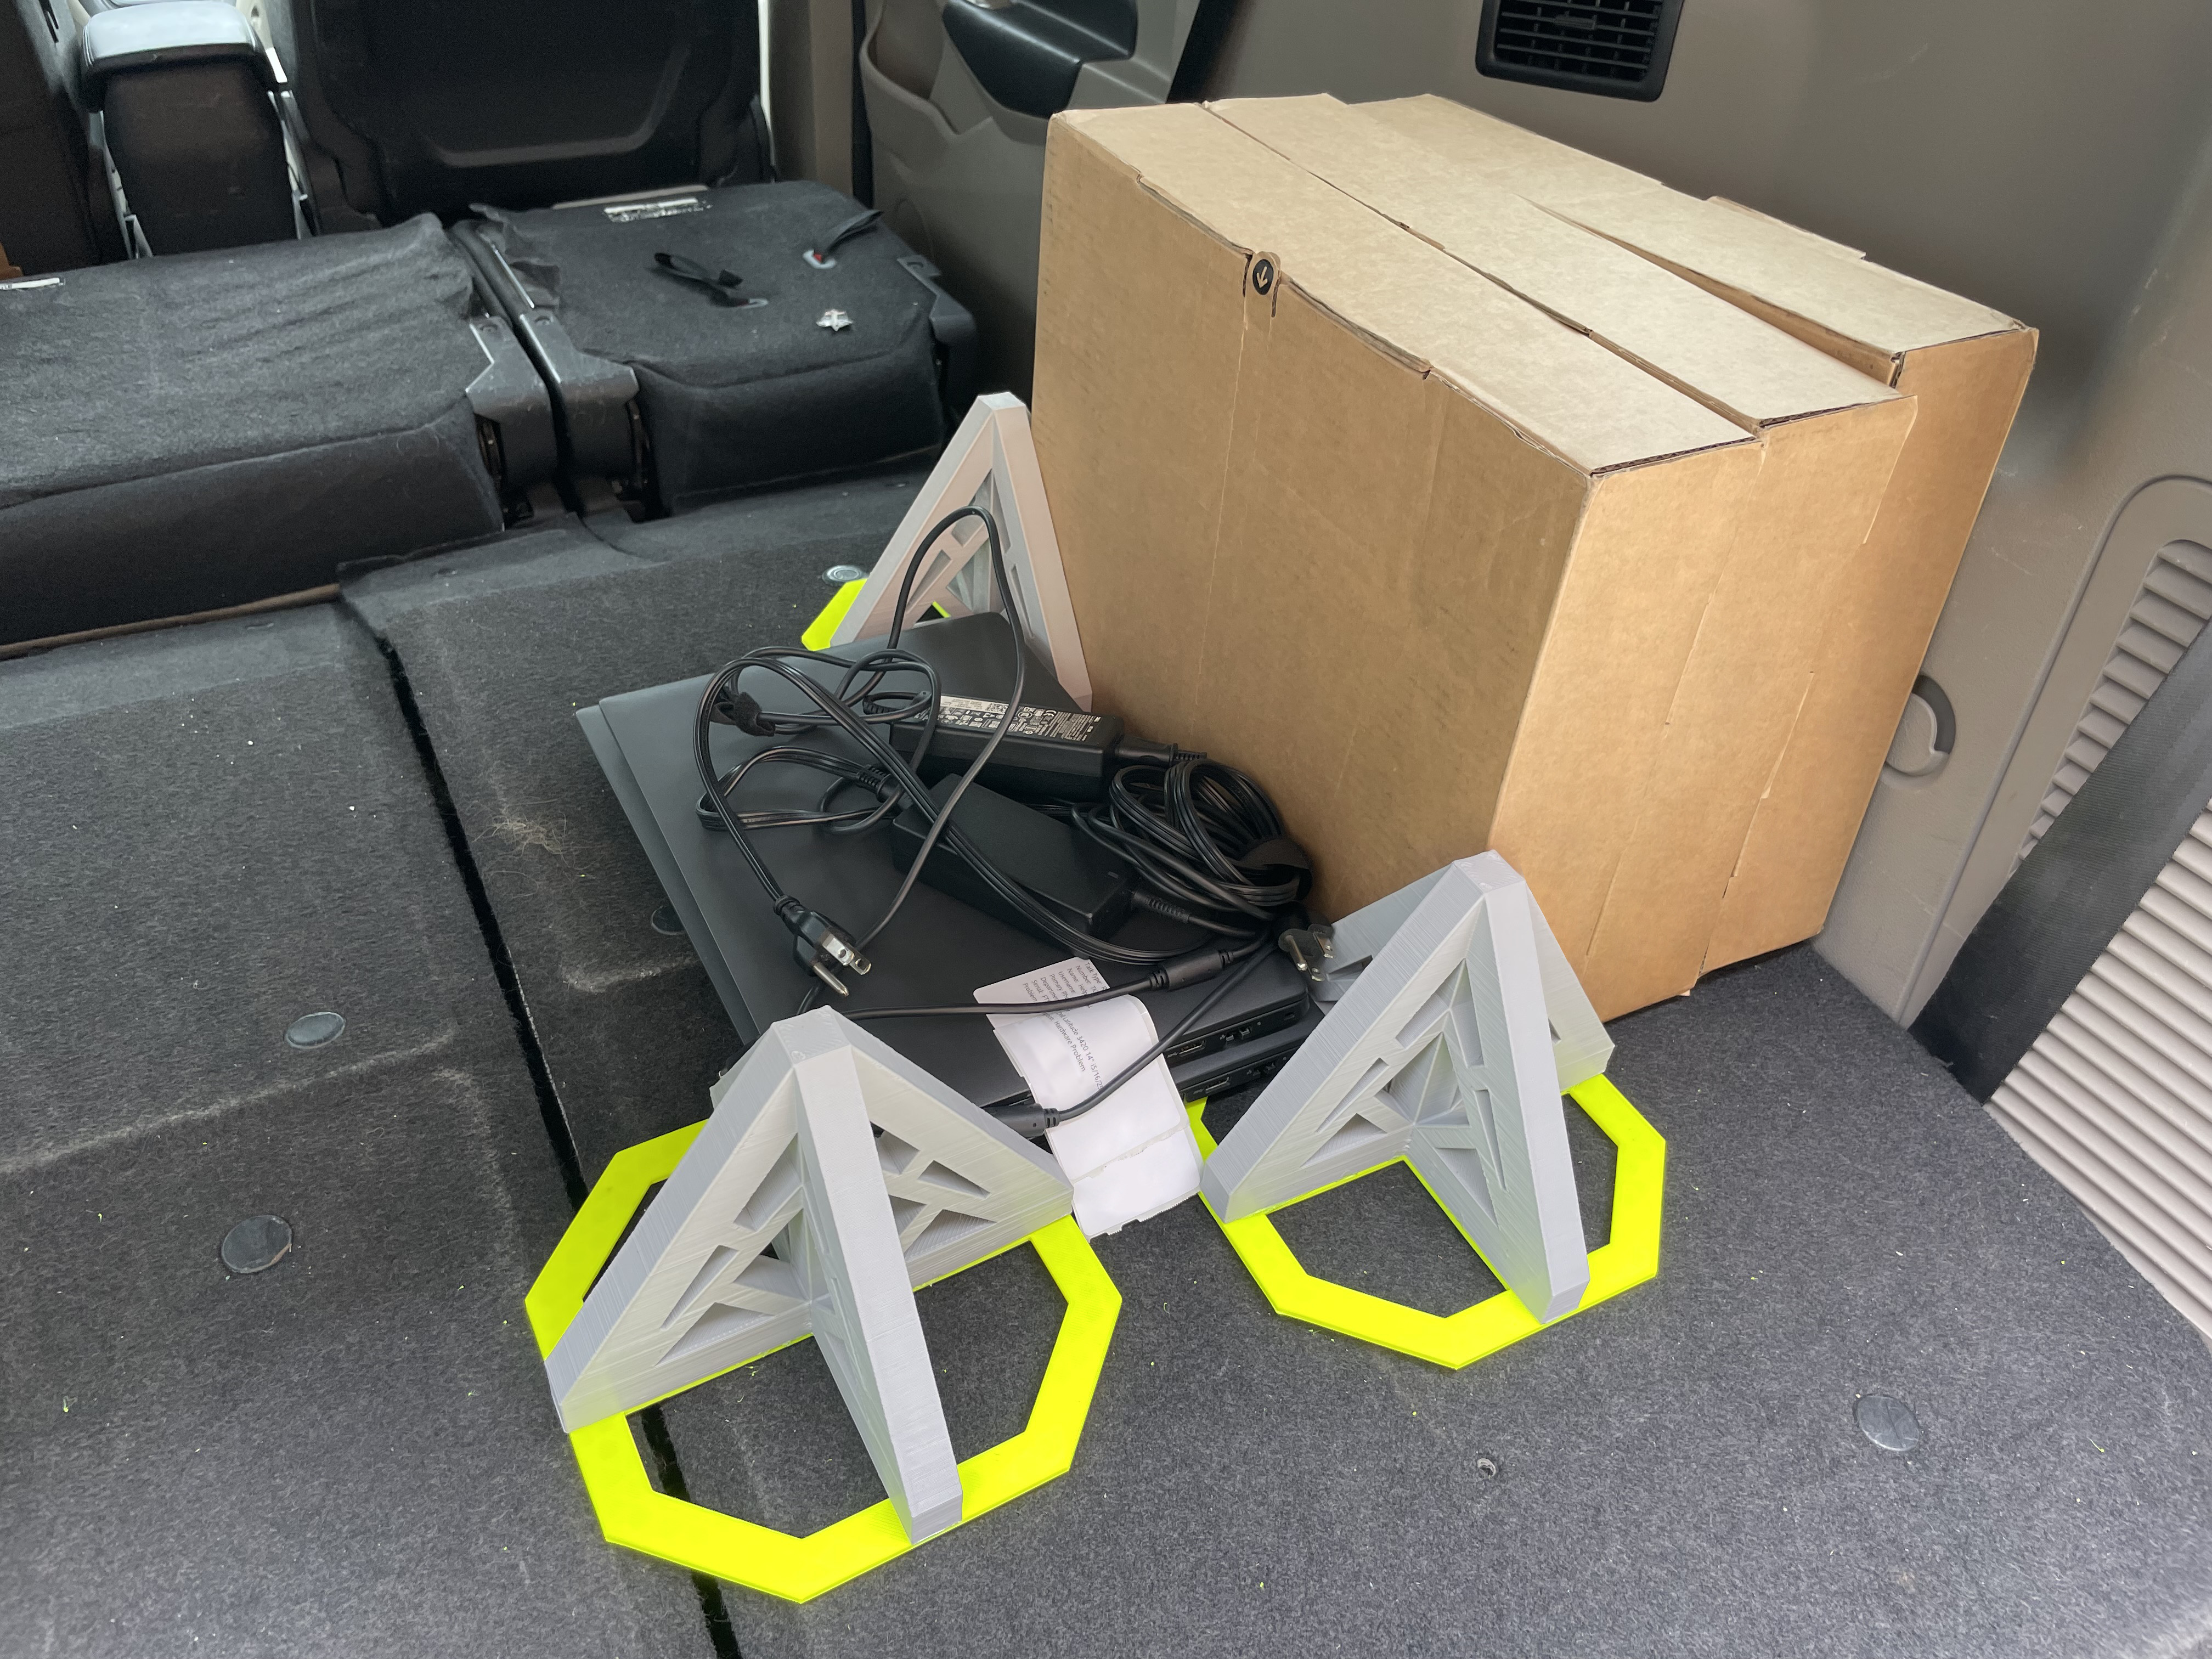
A two-piece model designed to grip and hold cargo securely on vehicle carpeting. (2024)
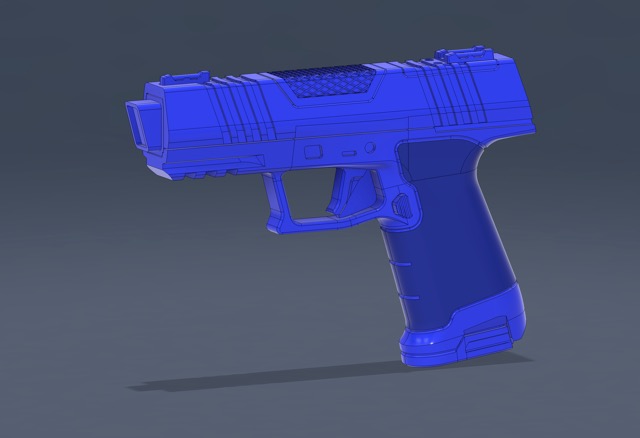
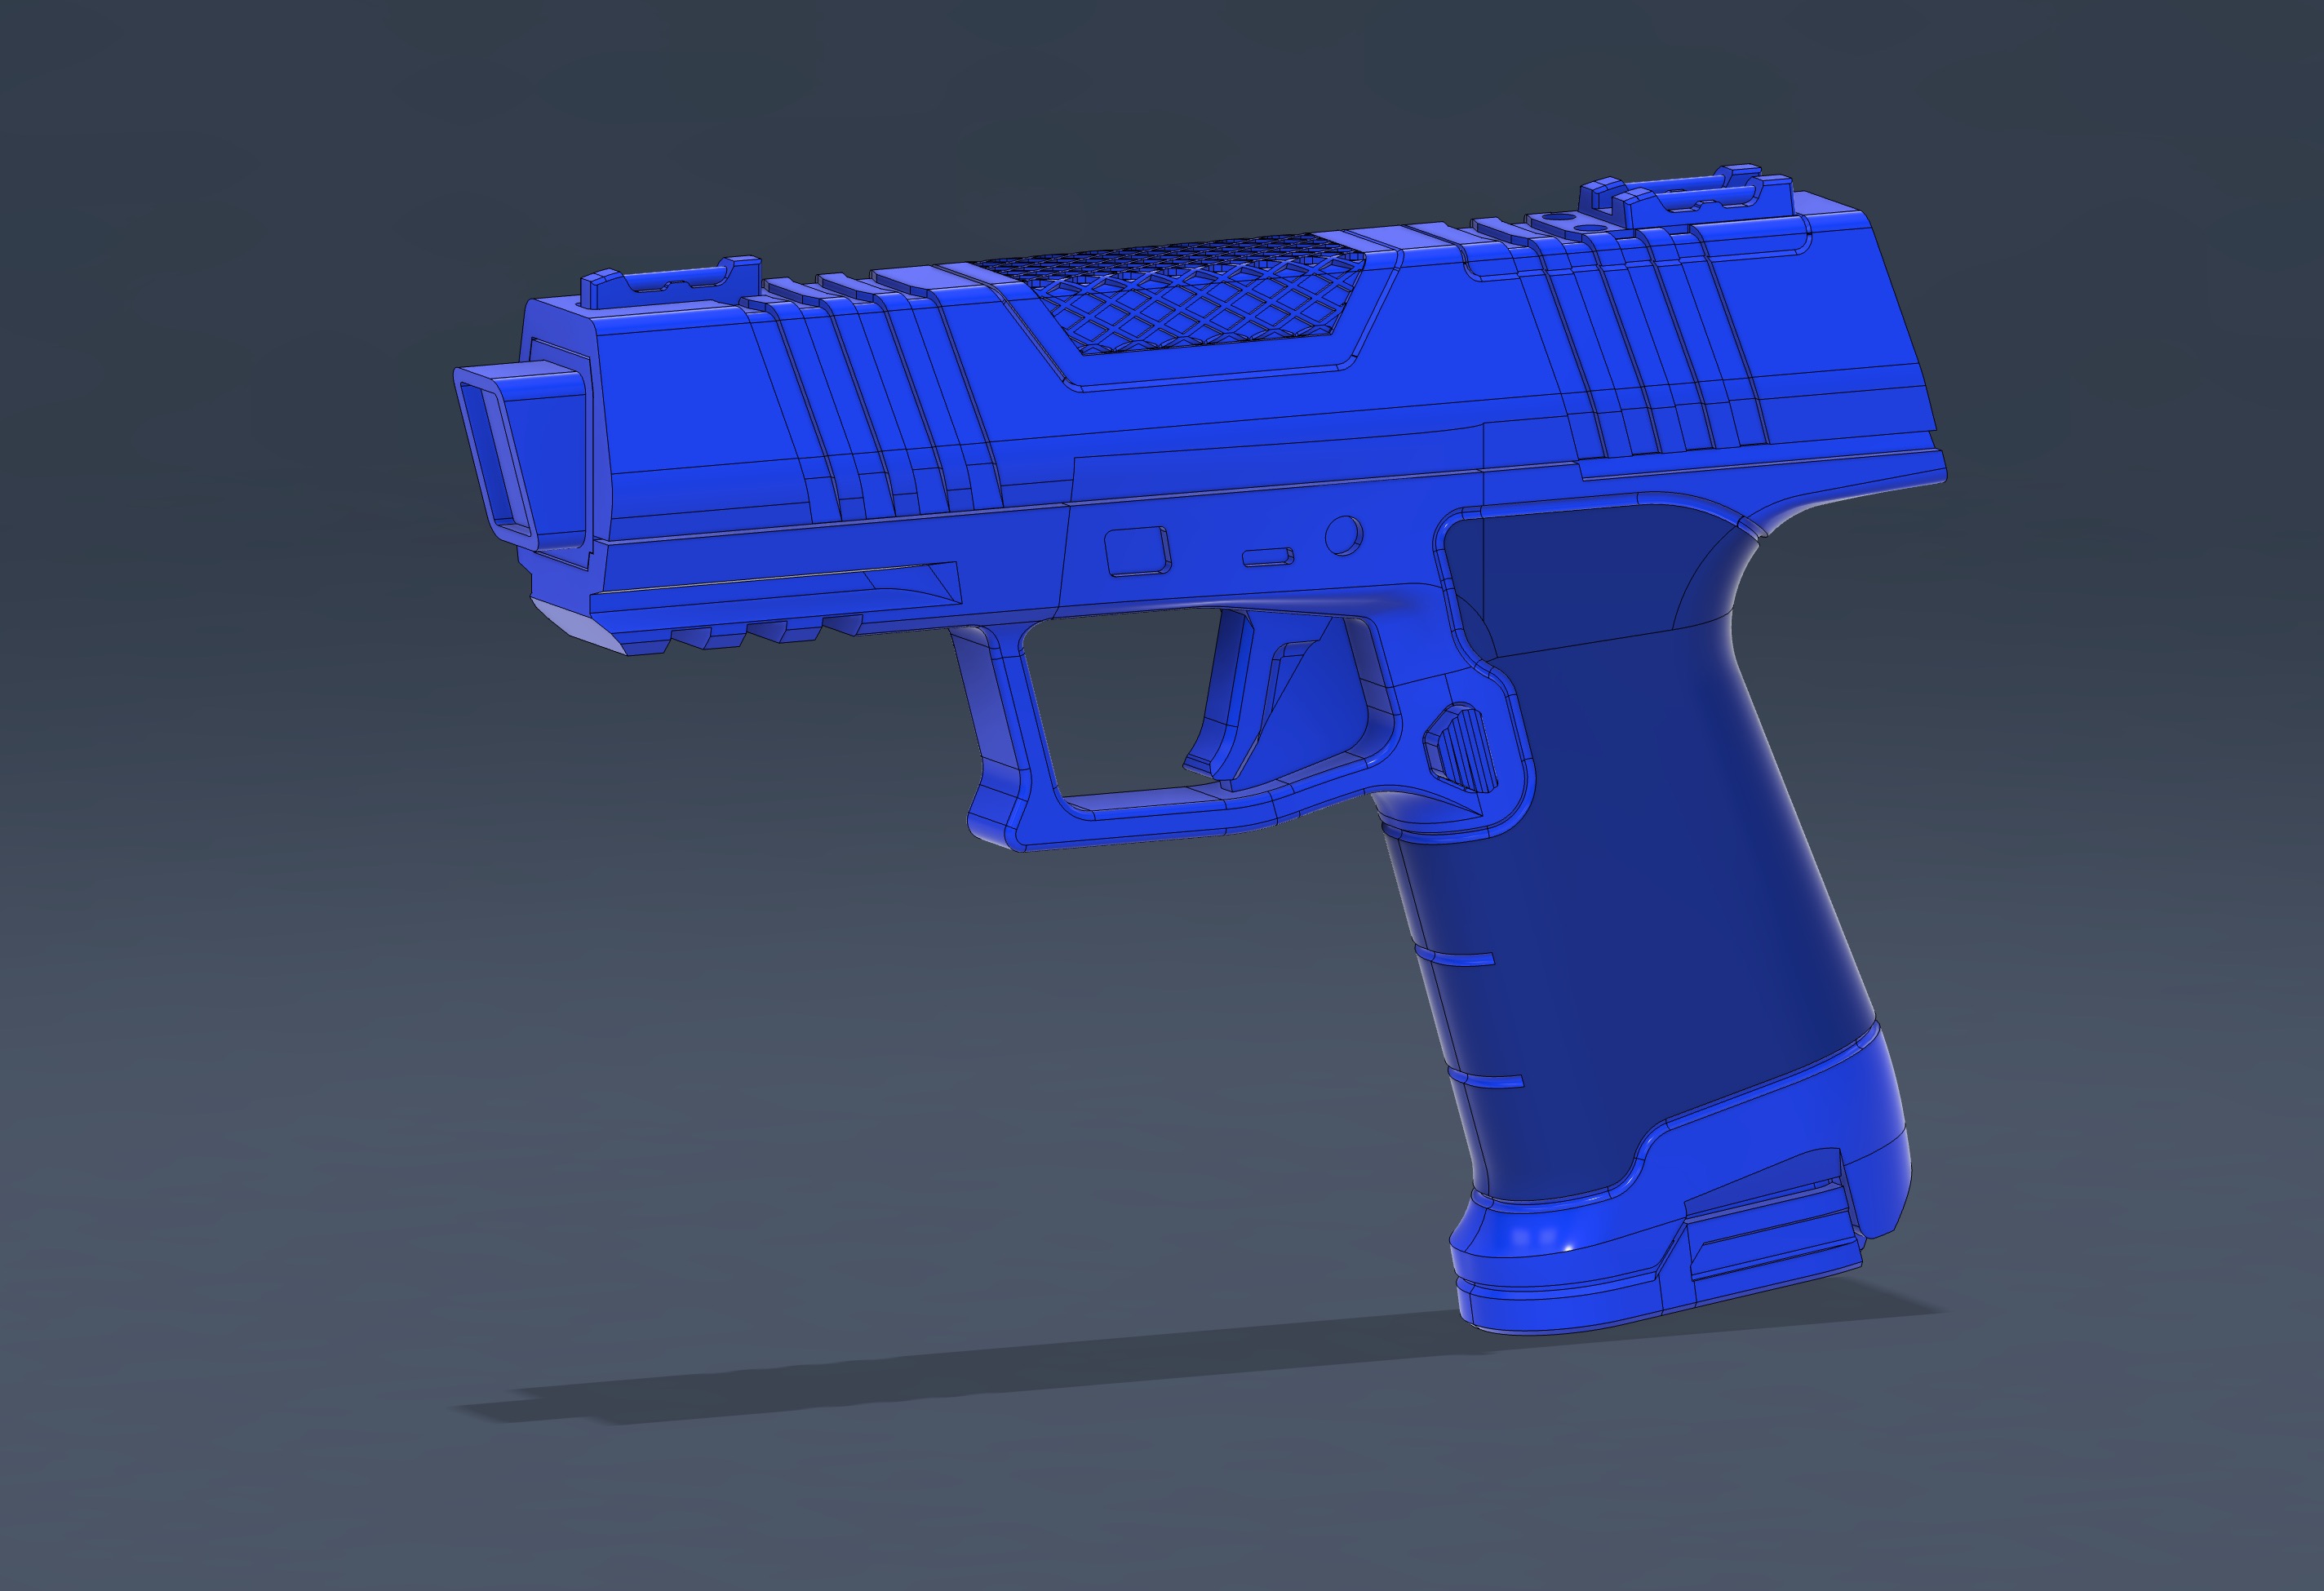
An easily-printable training prop version of a weapon from my sci-fi project. (2025)

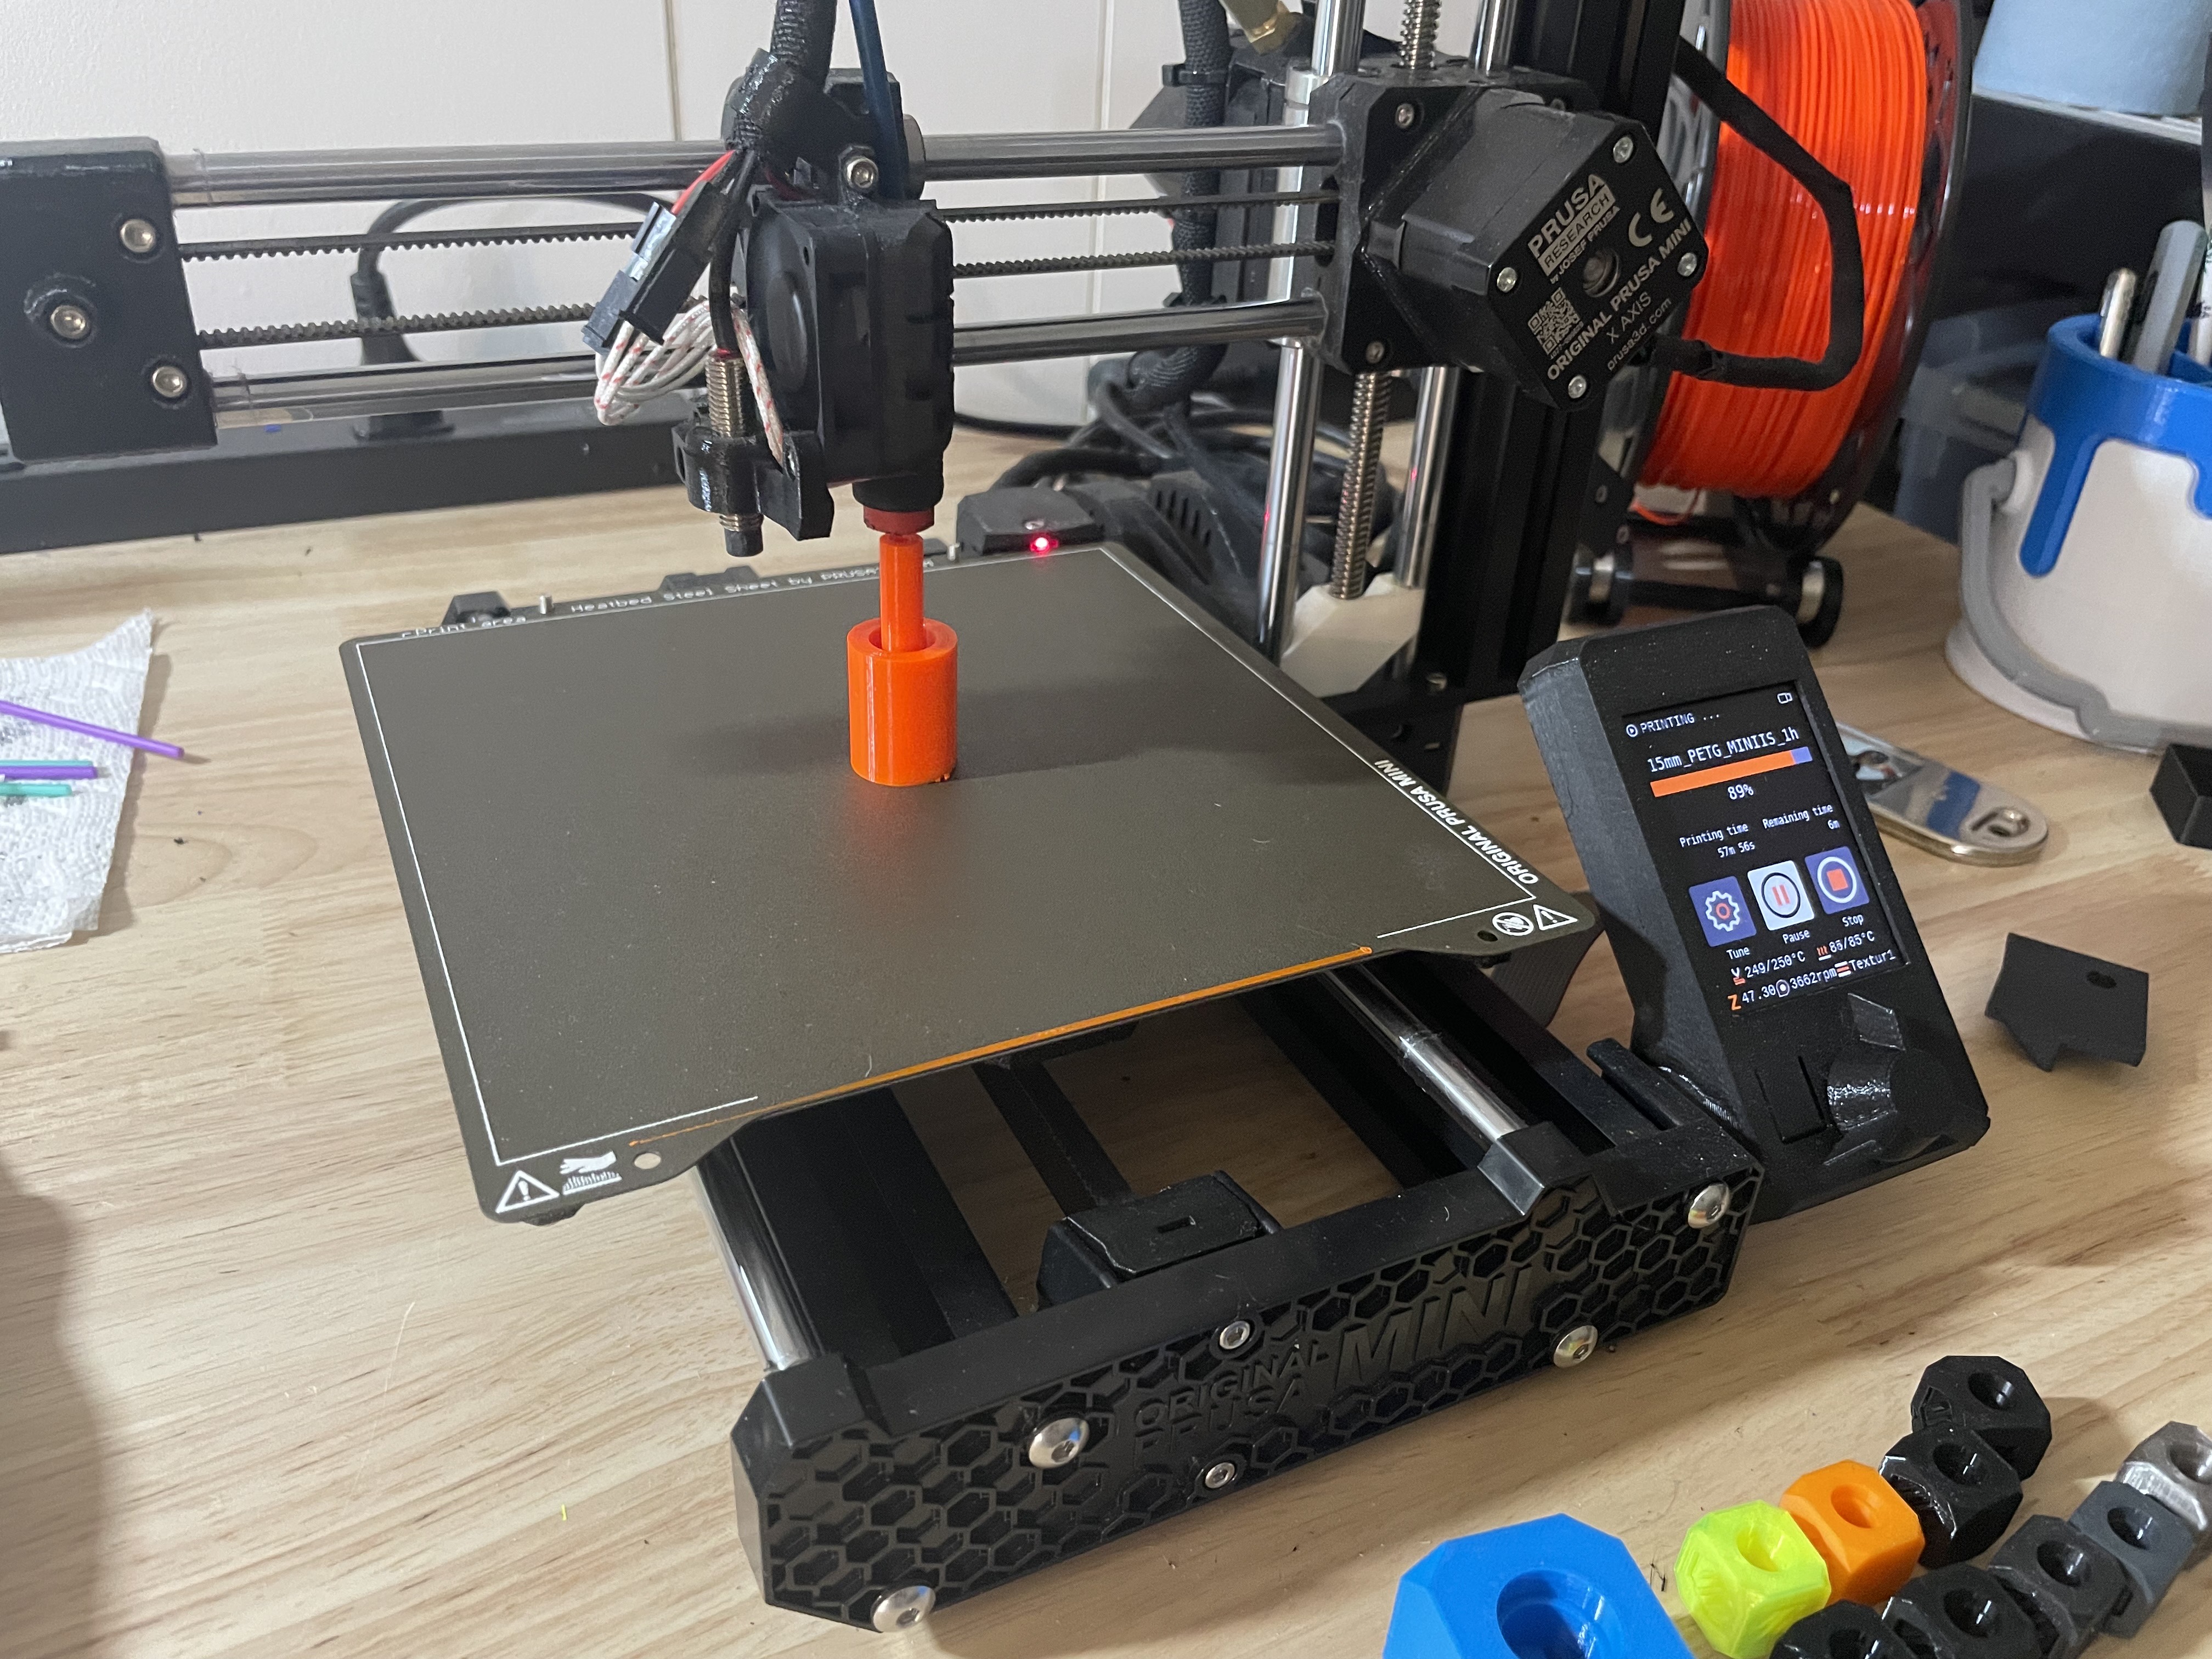
Printing a replacement button for the fragile spring-loaded latch on a vehicle snow brush. (2025)